How to Rehydrate Dried Potting Soil Before Planting
Dried potting soil can be frustrating: you pour water on it, and instead of soaking in, the water beads up, runs down the sides of the pot, or sits on the surface. The mix may look dusty on top but still contain hard, dry chunks underneath.
Rehydrating dried potting soil is usually simple. Break up clumps, add water gradually, and give the mix time to absorb moisture evenly before planting. If the soil is old, you may also need to refresh its structure and nutrients so it supports healthy roots.
Why Dried Potting Soil Repels Water
Many potting mixes contain peat moss, coco coir, composted bark, perlite, and other lightweight organic materials. These ingredients hold moisture while allowing air around roots. But when some mixes—especially peat-heavy mixes—dry out completely, they can become difficult to re-wet.
This is often called hydrophobic soil. “Hydrophobic” means water-repelling. Instead of soaking in, water may:
- bead up on the surface
- run through cracks and out the drainage holes
- flow down the inside wall of the container
- wet only the top layer while the root zone stays dry
- leave dry pockets inside the pot
This matters because roots need both moisture and oxygen. Dry pockets can damage fine roots, while soggy pockets can reduce oxygen and encourage rot. Unevenly moistened potting mix also makes watering confusing: water may drain quickly even when much of the mix is still dry.
Old potting soil can add another problem. As organic components break down, the mix may become compacted, crusty, or dusty. Water may then run through channels too quickly or sit in dense areas too long.
Before planting, the goal is not to make potting soil dripping wet. The goal is to return it to an evenly damp, crumbly condition so roots can grow through it easily.
The Best Ways to Rehydrate Dried Potting Soil
The best method depends on how dry the mix is, whether it is in a bag or already in a pot, and whether you are reusing old soil. For badly dried-out soil, soaking in a tub is usually most reliable. For mildly dry soil, slow staged watering may be enough.
| Situation | Best method | Why it works |
|---|---|---|
| Bone-dry bagged mix | Soak in a tub or bucket | Gives the whole mix time to absorb water |
| Dry soil already in a pot | Water slowly in stages | Prevents water from running straight through |
| Hard clumps or compacted old mix | Break up by hand first | Exposes dry interiors to moisture |
| Peat-heavy mix that refuses water | Use warm water | Helps water penetrate stubborn dry material |
| Water still beads up | Add a small amount of wetting agent | Helps water spread more evenly |
Soak the Soil in a Tub or Bucket
For seriously dry potting mix, soaking is the most dependable method. This works well when preparing soil for containers, seed trays, hanging baskets, or houseplants.
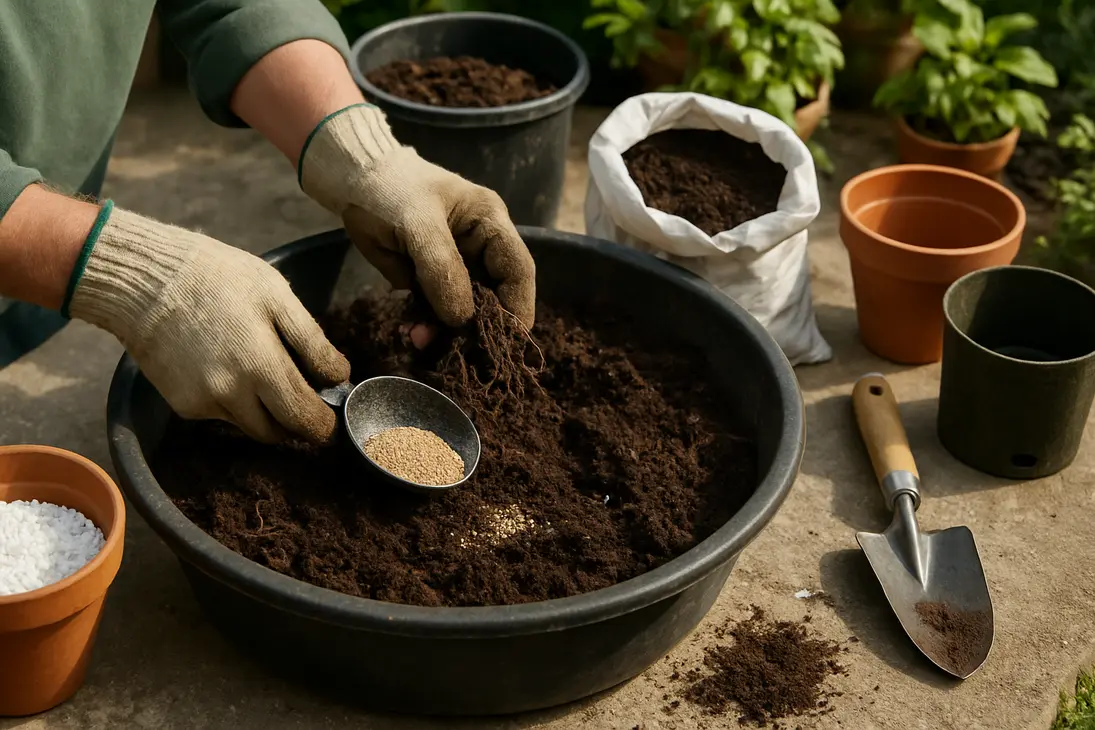
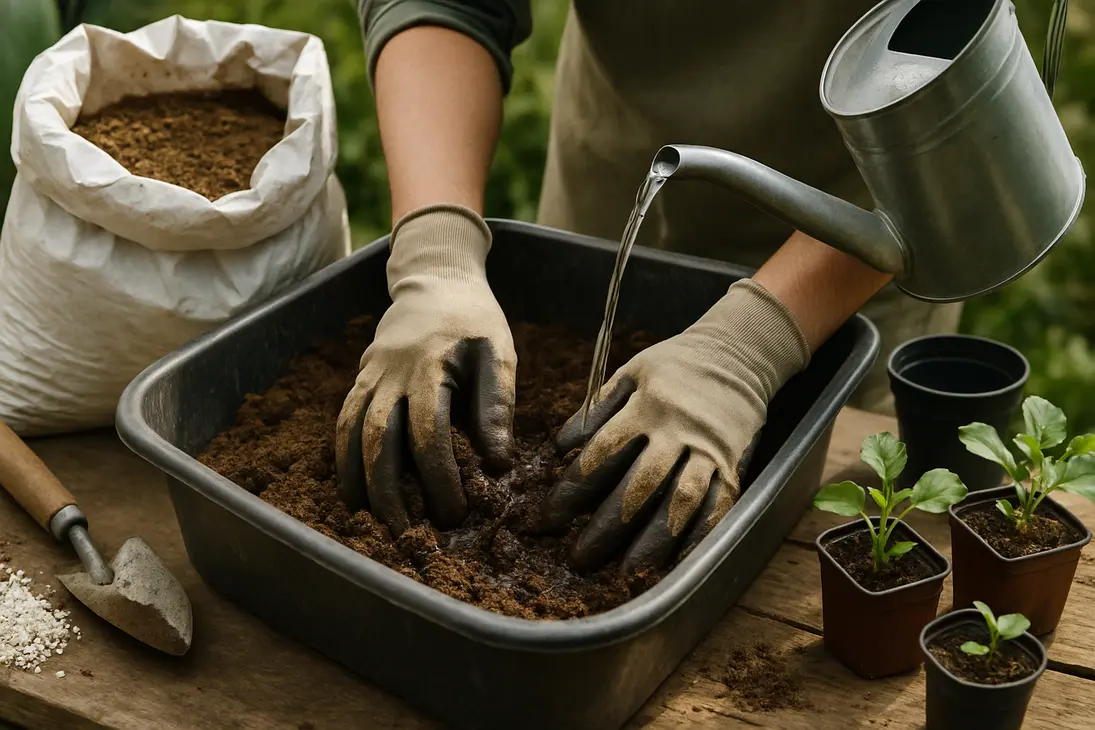
Use a clean tub, bucket, wheelbarrow, storage tote, or large planting tray. Add the dry potting soil, breaking up large chunks as you go. Then add water gradually while mixing.
A practical method:
- Put the dry potting mix in a tub or bucket.
- Break apart large clumps with your hands or a trowel.
- Add water slowly.
- Mix thoroughly, lifting dry material from the bottom.
- Let it sit for 10–20 minutes.
- Mix again and check the moisture.
- Add more water only if dry pockets remain.
If the mix is extremely dry, it may float at first. Press it down gently and stir. Avoid adding so much water that the soil becomes soupy; it is easier to add more water than to dry out an over-soaked mix.
Once the soil is evenly damp, let excess water drain or evaporate before planting. Potting mix should feel moist and springy, not muddy or waterlogged.
Water Slowly in Stages
If the dried potting soil is already in a container, staged watering is often better than one heavy watering. When soil is hydrophobic, a rush of water follows the easiest path: down the sides of the pot or through cracks. The center may remain dry.
Instead, water in small rounds:
- Apply a light watering over the surface.
- Wait 5–10 minutes.
- Water again slowly.
- Wait again.
- Repeat until the pot feels heavier and the surface absorbs water readily.
A watering can with a rose attachment or a gentle shower setting works better than a strong stream. The first watering softens the surface so later rounds can penetrate deeper.
For houseplants or small outdoor pots, you can also bottom-water. Set the pot in a basin with a few inches of water and let moisture wick upward through the drainage holes. After 20–30 minutes, check the top of the soil. If it is still dry, water lightly from above too. Once hydrated, remove the pot and let it drain. Do not leave it sitting in water for hours.
Break Up Compacted Clumps by Hand
Dry potting soil often forms hard chunks. If you add water without breaking them apart, the outside may get wet while the center stays dry. Crumbling them first makes rehydration faster and more even.
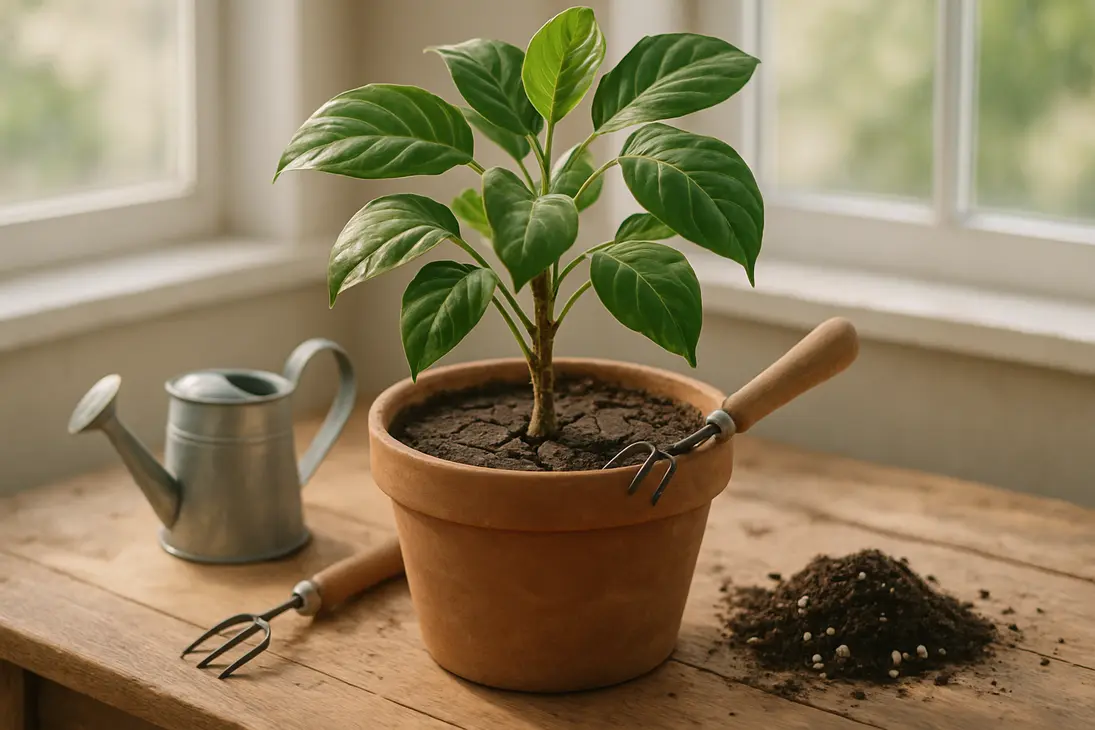
Use your hands, a trowel, or a small garden fork to loosen the mix. Remove:
- old woody stems
- thick root mats
- stones or foreign debris
- dry fertilizer crusts
- moldy or sour-smelling clumps
- compacted chunks that will not break down
Wear gloves if the mix is old, dusty, or stored outdoors. Dry potting soil can create fine dust, so work in a ventilated area and moisten lightly if needed.
For old container soil, pay attention to dense root balls. A mat of dead roots can shed water and prevent fresh roots from spreading. You do not need to remove every fine root, but loosen the structure enough for water to move through the mix.
If the soil has compressed into a solid block, rehydration alone may not restore it. Blend it with fresh potting mix, compost, perlite, bark, or coco coir to bring back a loose texture.
Use Warm Water for Very Dry Mixes
Warm water can help very dry, peat-heavy potting mixes that resist ordinary watering. It does not need to be hot; use comfortably warm water, not boiling water.
Break up the dry mix first, add a small amount of warm water, stir thoroughly, let it sit, and add more only if needed.
Do not pour hot water into soil that contains plant roots. Hot water can damage roots and beneficial soil life. For planted containers, use room-temperature to mildly warm water and apply it gradually.
Warm water will not fix poor-quality or broken-down soil. If the mix stays dense, slimy, or sour after hydration, the problem is structure, not just dryness.
Add a Small Amount of Wetting Agent if Needed
Most dry potting soil can be rehydrated with patience, mixing, and repeated watering. But if water still beads up or runs off, a small amount of wetting agent can help.
A wetting agent reduces surface tension so water spreads through dry potting mix more evenly. Some commercial potting mixes already contain wetting agents, but they can lose effectiveness over time or after repeated drying.
Options include:
- a commercial horticultural wetting agent, used according to the label
- a very small amount of mild liquid soap mixed into water as a last-resort home method
If using a commercial product, follow the label carefully. More is not better. Too much can interfere with normal drainage or irritate sensitive plants.
If using mild liquid soap, use only a tiny amount in a watering can or bucket, and avoid harsh detergents, degreasers, antibacterial soaps, or heavily scented products. This is best reserved for empty soil before planting, not as a routine treatment for planted containers.
How to Tell When Potting Soil Is Properly Rehydrated
Properly rehydrated potting soil is evenly damp throughout. It should not be dusty, powdery, muddy, or dripping.
Look for these signs:
- Color: The mix is darker and consistent throughout, not dark on top and pale underneath.
- Texture: It feels soft, crumbly, and slightly springy.
- Weight: A filled container feels noticeably heavier than it did when dry.
- Absorption: Water soaks in instead of beading or immediately running off.
- Evenness: When you dig into the mix, there are no dry pockets in the center or bottom.
The squeeze test is one of the easiest checks. Take a handful of moistened potting mix and squeeze it gently.
- If it falls apart instantly and feels dusty, it is still too dry.
- If it holds together briefly but crumbles when poked, it is about right.
- If water streams out or it forms a sticky, muddy ball, it is too wet.
For seed starting, the mix should be evenly moist before sowing because tiny seeds and young roots are vulnerable to dry pockets. For larger transplants, the mix can be slightly less moist, but roots should not go directly into dry material.
If you over-wet the soil, spread it out in a shallow tray or leave it in a container with drainage holes until it reaches a better consistency.
Reusing and Refreshing Old Dried Potting Soil
Old dried potting soil can often be reused, but it depends on what grew in it, how old it is, and what condition it is in.
Old potting soil is not automatically bad. However, it may have:
- fewer nutrients
- compacted structure
- broken-down organic matter
- salt buildup from fertilizers
- old roots that interfere with drainage
- pests, disease organisms, or weed seeds
Rehydrating old soil only solves the moisture problem. It does not restore nutrients or structure by itself. Before reusing it, inspect and refresh it.
Remove Old Roots, Debris, and Compacted Chunks
Dump the old soil into a tub, wheelbarrow, or onto a tarp. Loosen it thoroughly. Pull out large roots, stems, labels, stones, and dense mats.
A few fine roots are not usually a problem; they will break down over time. But large root masses can create dry channels and make the mix difficult to water evenly.
Discard soil that smells rotten, sour, or sewage-like. Healthy potting mix may smell earthy. Bad odors can indicate decay or prolonged waterlogging. Also be cautious with soil that contains many fungus gnats, visible pest larvae, or suspicious growths.
If the soil is simply dry and tired, it can often be refreshed.
Mix in Compost or Fresh Potting Mix
Old potting soil usually benefits from being blended with fresh material. Compost can add organic matter and some nutrients, while fresh potting mix improves texture and balance.
A practical starting point is to mix old potting soil with fresh potting mix at about half and half. If the old soil is still fluffy, you can use more of it. If it is dense and depleted, use less.
Compost is helpful, but do not turn container mix into mostly compost. Too much compost in pots can hold excess water, compact over time, and reduce air around roots. For many container plants, a modest amount mixed in or used as a light topdressing is safer.
Avoid using unfinished leaves, tea leaves, or kitchen scraps as a quick fix in pots. They may become compost eventually, but in a container they can mat together, attract pests, or temporarily tie up nitrogen as they decompose.
Restore Drainage with Perlite, Bark, or Coco Coir
If old dried potting soil feels heavy after rehydrating, improve its structure before planting. Roots need air as much as they need water.
Useful amendments include:
- Perlite: Adds air space and helps keep the mix light.
- Fine orchid bark or pine bark fines: Improves drainage and structure, especially for long-term containers.
- Coco coir: Holds moisture but usually re-wets more easily than peat.
- Fresh potting mix: Often the simplest way to rebalance old soil.
Choose amendments based on the plants you are growing. Rosemary, thyme, lavender, succulents, and many Mediterranean herbs prefer sharper drainage. Leafy annuals, vegetables, and many tropical foliage plants usually prefer a mix that stays evenly moist but still airy.
Avoid adding garden soil to containers as a fix. Garden soil is often too dense for pots and can reduce drainage, especially in small containers.
Avoid Reusing Soil from Diseased or Rotten Plants
Do not reuse potting soil from plants that died of root rot, serious fungal disease, unexplained wilt, or heavy pest infestation. It is tempting to save the soil, but the risk is often not worth it, especially for seedlings, houseplants, herbs, or expensive transplants.
If a plant died because you forgot to water it, the soil may be reusable after refreshing. If it died because the roots were black, mushy, foul-smelling, or diseased, discard the mix or put it through a proper hot composting system if you have one. For most home gardeners, throwing it out is safer.
Also avoid reusing soil from containers with persistent fungus gnats, vine weevils, root mealybugs, or other soil-dwelling pests unless you are confident the issue has been resolved.
When in doubt, use questionable old soil for low-risk outdoor ornamentals rather than seedlings, food crops, or indoor plants.
How to Keep Potting Soil from Drying Out Again
Preventing potting soil from becoming hydrophobic is easier than fixing it repeatedly. Good storage and watering habits make a big difference.
For unused bagged potting mix:
- Roll the bag tightly after opening.
- Clip, tape, or seal the bag to reduce airflow.
- Store it in a lidded bin if possible.
- Keep it out of direct sun and wind.
- Store it where rain cannot soak it and sun cannot bake it.
- Pre-moisten it before planting if it feels dusty or dry.
A sealed plastic tote, bucket with lid, or heavy-duty storage bin works well for partial bags. The goal is not to keep the mix wet forever, but to prevent it from becoming bone-dry.
For containers already planted:
- Water deeply enough to moisten the full root zone.
- Avoid frequent shallow watering that only wets the surface.
- Check moisture below the top layer with your finger or a wooden skewer.
- Mulch outdoor containers with bark, straw, leaf mold, or compost where appropriate.
- Move small pots out of intense afternoon sun during heat waves if plants allow.
- Group containers to reduce wind exposure.
- Use saucers carefully, and empty them after watering unless the plant prefers consistently moist conditions.
Container size also matters. Small pots dry out much faster than large pots. Hanging baskets and terra-cotta pots dry especially quickly in warm, windy weather. If you are constantly rehydrating the same container, the pot may be too small, the mix may be too peat-heavy, or the plant may need more water than the container can supply.
For long-term container plantings, refresh the top few inches of mix each season and repot when the soil becomes compacted or root-bound.
Conclusion
Rehydrating dried potting soil works best as a gradual process. Break up dry clumps first, then soak the mix in a tub or water it slowly in stages until it is evenly damp. For very dry, peat-heavy mixes, warm water can help. If water still refuses to penetrate, a small amount of wetting agent may be useful.
If you are reusing old dried potting soil, do more than add water. Remove roots and debris, refresh the mix with compost or fresh potting soil, and restore drainage with perlite, bark, or coco coir if needed. Discard soil from diseased, rotten, or pest-infested plants.
Once the soil is hydrated, store unused mix properly and water containers deeply so the potting mix does not dry into a water-repelling block again.
FAQ
Why does water sit on top of my potting soil?
Water sits on top of potting soil when the mix has become too dry, compacted, or hydrophobic. Peat-based mixes are especially prone to this after they dry out completely.
Break up the surface gently and water in stages. If the soil is not planted yet, dump it into a tub, crumble the clumps, and mix in water gradually until it is evenly damp.
Can dried-out potting soil still be used?
Yes, dried-out potting soil can often still be used if it smells normal, has no serious pest or disease problems, and can be rehydrated evenly. Dryness alone does not ruin potting mix.
However, old dried soil may need refreshing. Remove roots and compacted pieces, then mix it with fresh potting mix, finished compost, perlite, bark, or coco coir depending on what it lacks.
Should I add compost to old dry potting soil?
Finished compost can help refresh old dry potting soil, but use it in moderation. Compost adds organic matter and some nutrients, but too much can make containers heavy, wet, and compacted.
For many container plants, it is better to blend old soil with fresh potting mix and add a smaller amount of compost rather than relying on compost alone. Avoid using unfinished leaves, tea leaves, or kitchen scraps as a quick fix in pots.
Is it better to soak dry potting soil before planting?
Yes, it is usually better to rehydrate dry potting soil before planting. Pre-moistening helps prevent dry pockets around roots and makes watering more predictable after planting.
For very dry mix, soak and stir it in a tub or bucket until it is evenly damp. For mildly dry mix already in a pot, water slowly in several rounds. The soil should be moist and crumbly before planting, not soggy or dripping.
You Might Also Like