How to Flush Potted Plants Safely Without Causing Yellow Leaves
Flushing potted plants can help when fertilizer salts or mineral residues build up in the potting mix. Done correctly, it rinses excess material through the drainage holes and gives roots a cleaner environment. Done at the wrong time, it can leave soil waterlogged and cause more yellow leaves.
Use flushing as a targeted fix, not a routine chore. Yellow leaves after flushing usually come from root stress, overwatering, poor drainage, or a problem flushing could not solve.
What Flushing Potted Plants Means and When It Helps
Flushing means slowly running a generous amount of water through the potting mix so dissolved salts, excess fertilizer, and some mineral residues drain out. It is different from normal watering because the goal is to rinse the growing medium, not just moisten it.
Pots are closed systems. Fertilizer and minerals only leave when water drains freely from the bottom. Flushing may help after over-fertilizing, when white crust appears on the soil or pot rim, or when hard water has left deposits.
It is not a cure-all. If the plant is yellow because roots are rotting, the pot has no drainage, light is too low, or the soil has stayed wet for weeks, flushing can make things worse.
Signs Your Plant May Need Flushing
A plant may benefit from flushing when several signs point to salt or fertilizer buildup:
- White, tan, or gray crust on the soil, pot rim, or drainage holes
- Brown, crispy leaf tips after fertilizing
- Wilting after a strong fertilizer application, even though soil is moist
- Slowed growth despite reasonable light and watering
- Frequent liquid or water-soluble feeding
- Repeated hard tap water use with visible deposits
Salt stress often damages root tips first. The plant may look thirsty even when the mix is damp because roots cannot take up water well. Leaves may curl, droop, scorch, or yellow unevenly.
Context matters. One old yellow lower leaf on a pothos or philodendron is not a flushing emergency. Yellowing soon after heavy feeding is a stronger clue.
When Flushing Is Not the Right Fix
Do not flush automatically when leaves turn yellow. Flushing is usually not the first step if:
- The soil is already wet and has stayed wet for days
- The pot has no drainage hole
- The soil smells sour or rotten
- Stems are mushy or collapsing
- The plant was recently repotted
- The plant is in very low light
- Yellowing is limited to old lower leaves
- The soil is bone-dry and repelling water
If the potting mix is saturated, adding more water reduces oxygen around the roots. Roots need air as well as moisture, and waterlogged soil can lead to decline.
In a pot without drainage, true flushing is not possible. Water can enter, but dissolved salts have nowhere to go. Repotting or moving the plant into a draining nursery pot is safer.
Why Potted Plants Get Fertilizer or Salt Buildup
Buildup happens when minerals enter the container faster than they leave. Fertilizer, tap water, softened water, and potting mix amendments can all contribute.
Each time you use soluble fertilizer, the plant absorbs some nutrients, but unused salts may remain. If you water lightly and little runoff leaves the pot, those salts concentrate over time. Hard water can add minerals, and softened water may add sodium or potassium salts.
Drainage is just as important. Without drainage, or when pots sit in saucers of runoff, salts are not removed. They dissolve, move around, and re-concentrate as water evaporates.
Overusing Fertilizer or Miracle-Gro-Type Products
Water-soluble fertilizers, including common Miracle-Gro-type products, can work well when used correctly. Problems usually come from concentration and frequency, not the format itself.
Overuse often happens when:
- Fertilizer is applied more often than the label recommends
- A full outdoor dose is used on small indoor pots
- Slow-growing plants are fed heavily in winter
- Fertilizer is added to already fertilized potting mix
- Spikes, granules, and liquid feeds are stacked together
- Dry soil is fertilized heavily
A plant growing slowly because of low light, cool temperatures, compacted soil, or root damage cannot use heavy feeding. Excess fertilizer can burn root tips. If you accidentally fed too much and the pot drains well, one careful flush may reduce further damage. Burned leaves will not turn green again, but new growth may improve.
Hard Water, Softened Water, and Bottled Water Concerns
Hard water can leave chalky deposits on soil, terracotta, and saucers. Many houseplants tolerate it, but sensitive plants may show tip burn sooner.
Softened water is often more concerning. Many home softeners exchange calcium and magnesium for sodium, which can build up in potting mix and contribute to leaf burn and poor growth.
If possible, use an unsoftened tap, rainwater, distilled water, or reverse-osmosis water for flushing. Filtered water may help, but not all filters remove dissolved salts. Bottled water is not automatically better because some bottled waters are mineral-rich.
Pots Without Drainage Holes
Pots without drainage holes are a common reason flushing fails. A no-drainage setup also makes watering risky: excess water pools at the bottom, roots suffocate, and salts stay in the container. Yellow leaves may come from root stress, salt buildup, or both.
If you like a decorative pot without holes, keep the plant in a plastic nursery pot inside it. Remove the inner pot to water or flush, let it drain completely, then place it back.
How to Flush Soil in a Potted Plant Step by Step
Flush slowly and only when drainage is available. Do not blast the pot with cold water, leave it soaking in runoff, or flush a plant already sitting in saturated soil.
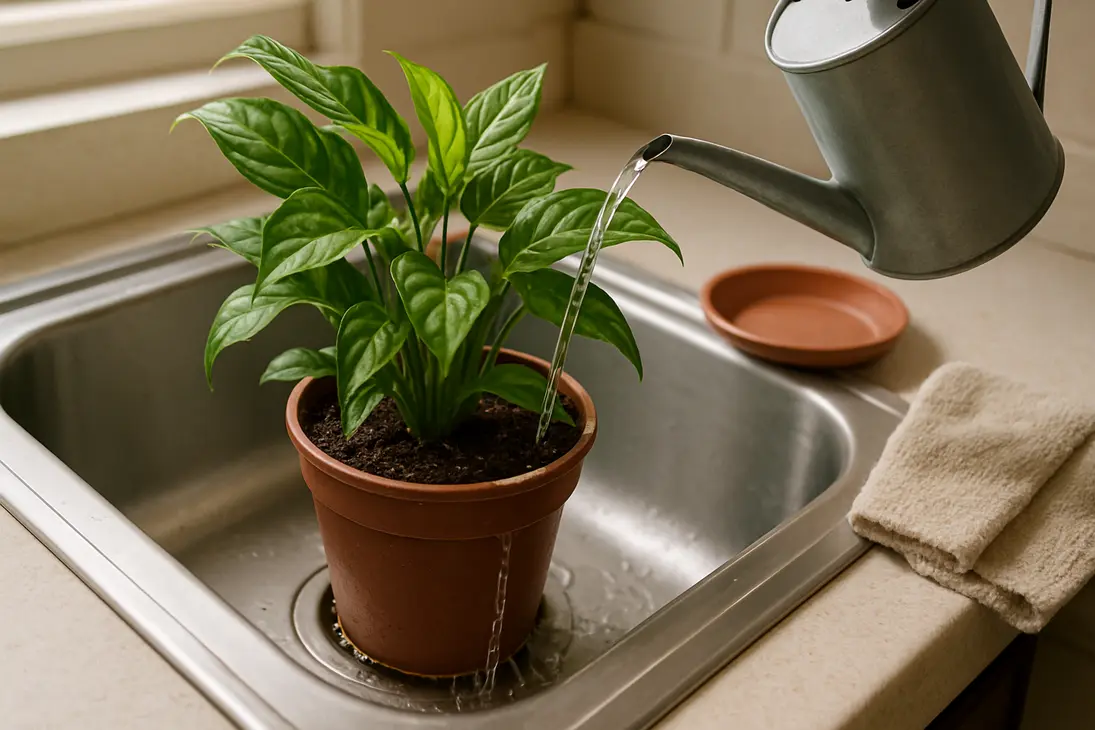
Use a sink, tub, shower, outdoor bench, or another place where runoff can drain away. Use room-temperature water. Very cold or hot water can shock roots, especially on tropical houseplants.
Check the Pot and Soil First
Before flushing, check for:
- At least one open drainage hole
- Soil that is moist or slightly dry, not swampy
- No rotten smell
- No mushy stems at the base
- A mix that is not dense sludge
- A plant stable enough to move and water
Clear blocked drainage holes if possible. If the plant is in a decorative pot, remove the nursery pot first. If there is no drainage, repot instead of flushing.
If the mix is extremely dry and water runs down the sides, pre-moisten it. Add a little water, wait several minutes, then continue. Bone-dry peat-based mixes can repel water, causing a rushed flush to bypass the root ball.
If the soil is already very wet, pause. Let it dry, or unpot the plant to inspect roots if decline is serious.
Use the Right Amount of Water
A common target is about three times the pot’s volume of water. For a 1-quart pot, use roughly 3 quarts over the whole process. This does not need to be exact, but it gives a useful scale.
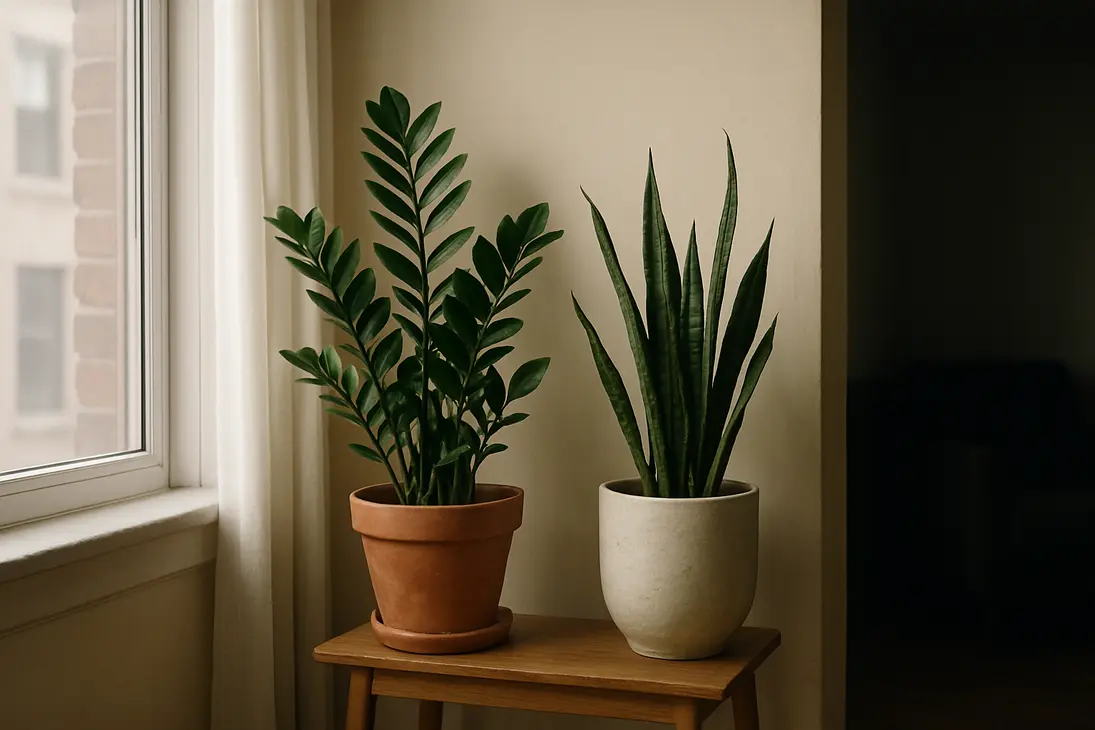
Use extra caution with succulents, cacti, snake plants, ZZ plants, and other plants that dislike prolonged wet soil.
A safe method:
- Place the pot where water can drain freely.
- Use room-temperature, low-mineral water if possible.
- Pour slowly over the soil surface, not against the stem.
- Let water drain before adding more.
- Repeat until a generous amount has passed through.
- Remove surface crust first instead of washing it deeper.
Slow watering is better than dumping water quickly. It gives salts time to dissolve and move out. For large containers, flush in place only if you can collect and remove runoff. Never let the pot sit in drained water.
Let the Plant Drain Completely
After flushing, leave the pot in the sink, tub, shower, or outdoor area until water stops dripping freely. This may take 15 minutes for a small pot and much longer for a large one.
Empty any saucer or cachepot before returning the plant. Do not place a freshly flushed nursery pot back into an outer pot with water pooled at the bottom.
Good drainage after flushing is what prevents yellow leaves from oxygen-starved roots. The goal is a rinsed but aerated mix, not a soggy one.
Avoid Flushing Too Often
Most healthy potted plants do not need frequent flushing. Too much flushing can keep soil wet, wash out nutrients, and stress roots.
| Situation | Flushing need |
|---|---|
| Light fertilizing and occasional runoff | Rarely needed |
| Regular liquid feeding during active growth | Occasionally if buildup appears |
| Hard water with crusting | May help, but better water may be needed |
| Softened water use | Switch water source |
| No drainage holes | Do not flush |
| Fertilizer overdose | One careful flush may help |
If normal watering sometimes produces runoff and you empty the saucer, you are already reducing buildup.
What to Do After Flushing
After flushing, the plant needs steady conditions. The mix has been saturated, and some nutrients may have washed out. Avoid adding stress.
Return the plant to suitable light, but not harsh sun. Keep temperatures stable and avoid cold drafts while the root zone is wet.
Do not water again just because the surface dries. Check deeper with a finger, wooden skewer, or by lifting the pot. The lower root ball can stay moist long after the top looks dry.
When to Fertilize Again
Pause fertilizer after flushing. Wait until the plant shows active growth and the mix has gone through at least one normal drying cycle. During the growing season, this may mean a few weeks. In winter or low light, wait longer.
When you resume, use a diluted dose. Fast-growing plants in bright light need more nutrition than slow-growing plants in dim rooms.
If over-fertilizing caused the problem, simplify. Use one fertilizer, follow the label, and feed only when the plant is actively growing. Fertilizer cannot compensate for poor light, compacted soil, or damaged roots.
How to Monitor Yellow Leaves After Flushing
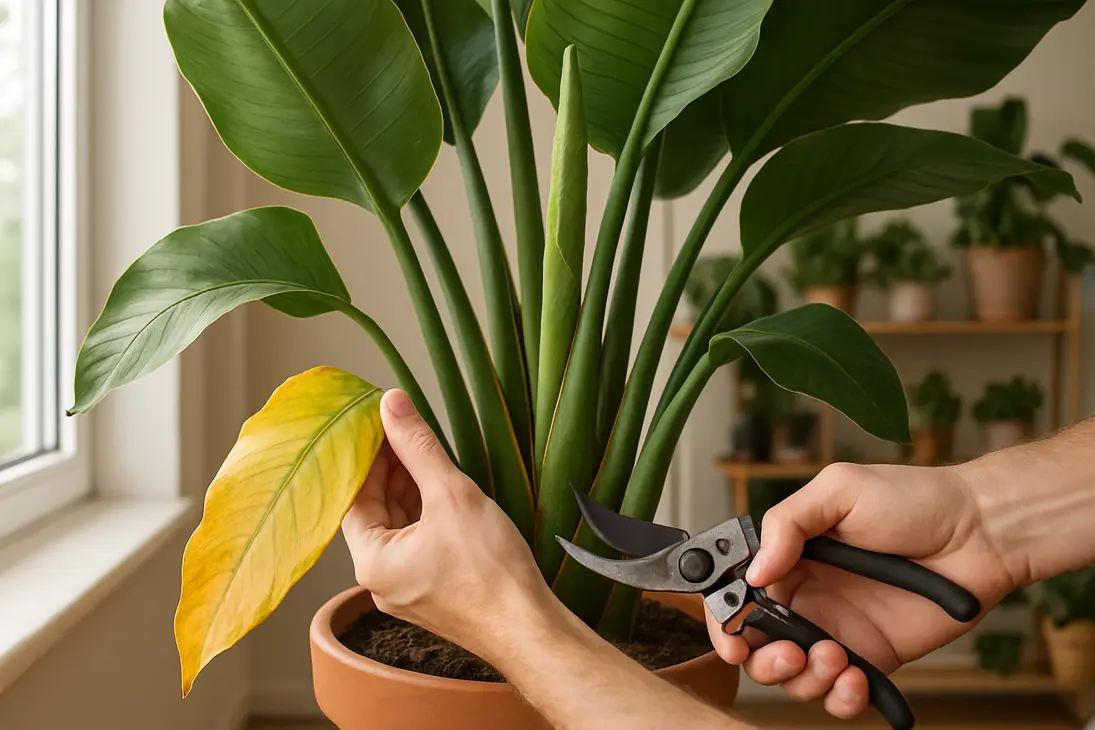
Some yellowing after flushing does not always mean failure. A stressed plant may shed damaged older leaves even after conditions improve. Burned or mostly yellow leaves usually will not repair.
Watch the pattern:
| What you see | Likely meaning | What to do |
|---|---|---|
| A few older leaves yellow, new growth normal | Recovery or normal shedding | Remove fully yellow leaves |
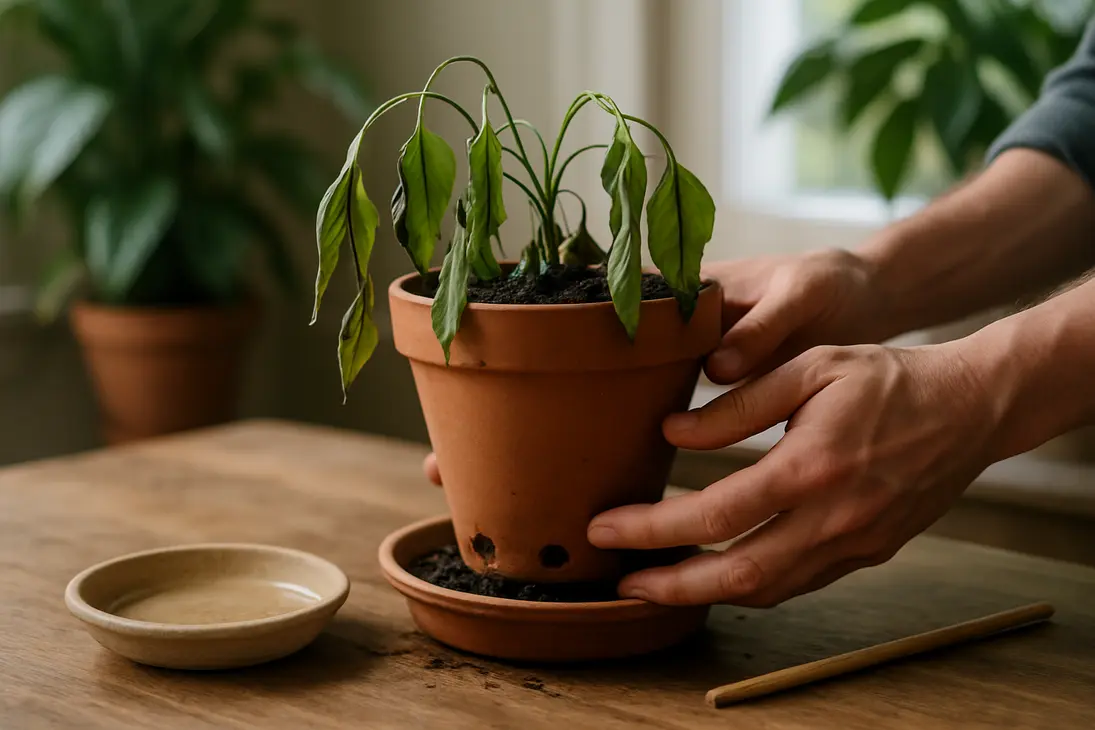
| Leaves droop while soil stays wet | Root oxygen stress | Hold water and improve drainage |
| New leaves are pale or weak | Low nutrients, low light, or root damage | Wait, then feed gently if conditions are good |
| Brown tips stop spreading | Salt issue may be improving | Maintain better care |
| Yellowing spreads quickly | Roots or conditions are still failing | Inspect roots and consider repotting |
Do not keep flushing repeatedly because leaves are yellow. If yellowing continues, reassess light, pests, temperature, roots, pot size, and watering habits.
When Repotting Is Better Than Flushing
Repotting is better when the potting mix is no longer suitable. Old, compacted, sour, or heavily crusted mix may not recover with rinsing.
Choose repotting if:
- The pot has no drainage
- Soil smells rotten
- Roots are brown, mushy, or slimy
- The mix drains very slowly
- Fertilizer granules or crust are concentrated in the soil
- The plant has been in the same mix for years
- Water runs down the pot edges without wetting the root ball
When repotting after fertilizer stress, be gentle. Remove loose contaminated mix, trim dead roots with clean scissors, and repot into fresh, well-draining mix in a container with drainage holes.
For succulents and other dry-loving plants, repotting into a gritty, fast-draining medium is often safer than repeated flushing.
Common Mistakes That Can Harm Potted Plants
The biggest mistake is flushing a plant that is already overwatered. If yellow leaves are caused by soggy roots, more water will not help. Check moisture and drainage first.
Another mistake is using softened water. If sodium-softened water contributed to buildup, flushing with more of it may worsen the issue. Use rainwater, distilled water, reverse-osmosis water, or unsoftened tap when possible.
Leaving the pot in standing runoff is also counterproductive. Runoff contains the salts you are trying to remove. Empty saucers and cachepots completely.
Other common mistakes include:
- Flushing on a strict schedule when the plant is healthy
- Using icy water
- Fertilizing immediately after flushing a stressed plant
- Flushing dense garden soil in pots
- Ignoring blocked drainage holes
- Trying to flush a pot with no drainage
- Placing a freshly flushed plant in harsh sun to dry it out
Yellow leaves do not always mean fertilizer burn. They can also come from overwatering, underwatering, low light, cold damage, pests, root rot, transplant shock, natural aging, or nutrient deficiency. Flushing only helps certain problems.
Conclusion
Flushing potted plants can help when excess fertilizer, hard-water minerals, or salt buildup are stressing roots. It works best in a pot with clear drainage, soil that is not already waterlogged, and room-temperature, low-mineral water that can move slowly through the mix and out the bottom.
Flush only when there is a reason, let the pot drain completely, pause fertilizer afterward, and monitor new growth. Yellow leaves do not always mean a plant needs flushing, and damaged leaves may not recover.
FAQ
Should I flush my potted plants regularly?
Most potted plants do not need regular heavy flushing if they are healthy, fertilized moderately, and watered so occasional runoff leaves the pot. Flush when there are signs of buildup, such as crust on the soil, brown tips after feeding, or a known fertilizer overdose.
Frequent flushing can keep soil too wet and wash out nutrients. It is better to fix the cause of buildup.
Can flushing save a plant that got too much fertilizer?
It can help if you act soon and the pot drains well. Flushing dilutes and removes excess fertilizer salts, reducing further root damage.
It cannot repair burned leaves or severely damaged roots. After flushing, let the plant drain fully, pause fertilizer, and watch for healthy new growth. If soil stays soggy or smells rotten, inspect roots and consider repotting.
Is Miracle-Gro bad for potted plants?
Miracle-Gro and similar water-soluble fertilizers are not automatically bad. They can work well when diluted and used according to the plant’s needs.
Problems happen when they are applied too strongly, too often, or to plants that are not actively growing. Small indoor pots, low-light plants, and winter conditions usually need less fertilizer than vigorous outdoor containers.
What kind of water is best for flushing plants?
Room-temperature, low-mineral water is best. Rainwater, distilled water, reverse-osmosis water, or unsoftened tap water are common options.
Avoid sodium-softened water when possible. Hard tap water may be fine for many plants, but if mineral crust is already present or the plant is salt-sensitive, use a lower-mineral source. Bottled water is not always better because some contains significant minerals.
You Might Also Like