How to Water Plants on an Upper Deck Without Overwatering or Dripping Below
Upper-deck watering depends on container count, water access, deck structure, wind and sun, plant moisture needs, and safe drainage. A few pots suit a long-spout can; a larger collection often suits drip irrigation or self-watering containers. Upper-deck containers dry faster than in-ground beds, but that does not mean daily watering. Never lean over a railing or stand on furniture, and never let water, soil, or fertilizer fall onto people or property below.
Key Takeaways
- Match the method to your deck setup: For a few pots, use a watering can; for grouped containers, use drip; for individual thirsty plants, use self-watering pots.
- Water the root ball, not the clock: Use moisture signals, water slowly in passes, and stop when controlled drainage begins.
- Calibrate drip systems by output: Catch-test each emitter and adjust flow and run time by zone.
- Control runoff before it reaches the deck or below: Use deep detachable saucers, shared trays, and pot feet; empty collected water promptly.
- Diagnose wilt before adding water: Dry-root wilt and wet-root wilt need opposite responses; hydrophobic medium may need slow rewetting.
Check the Deck, Water Source, and Runoff Path Before Choosing a Watering Method
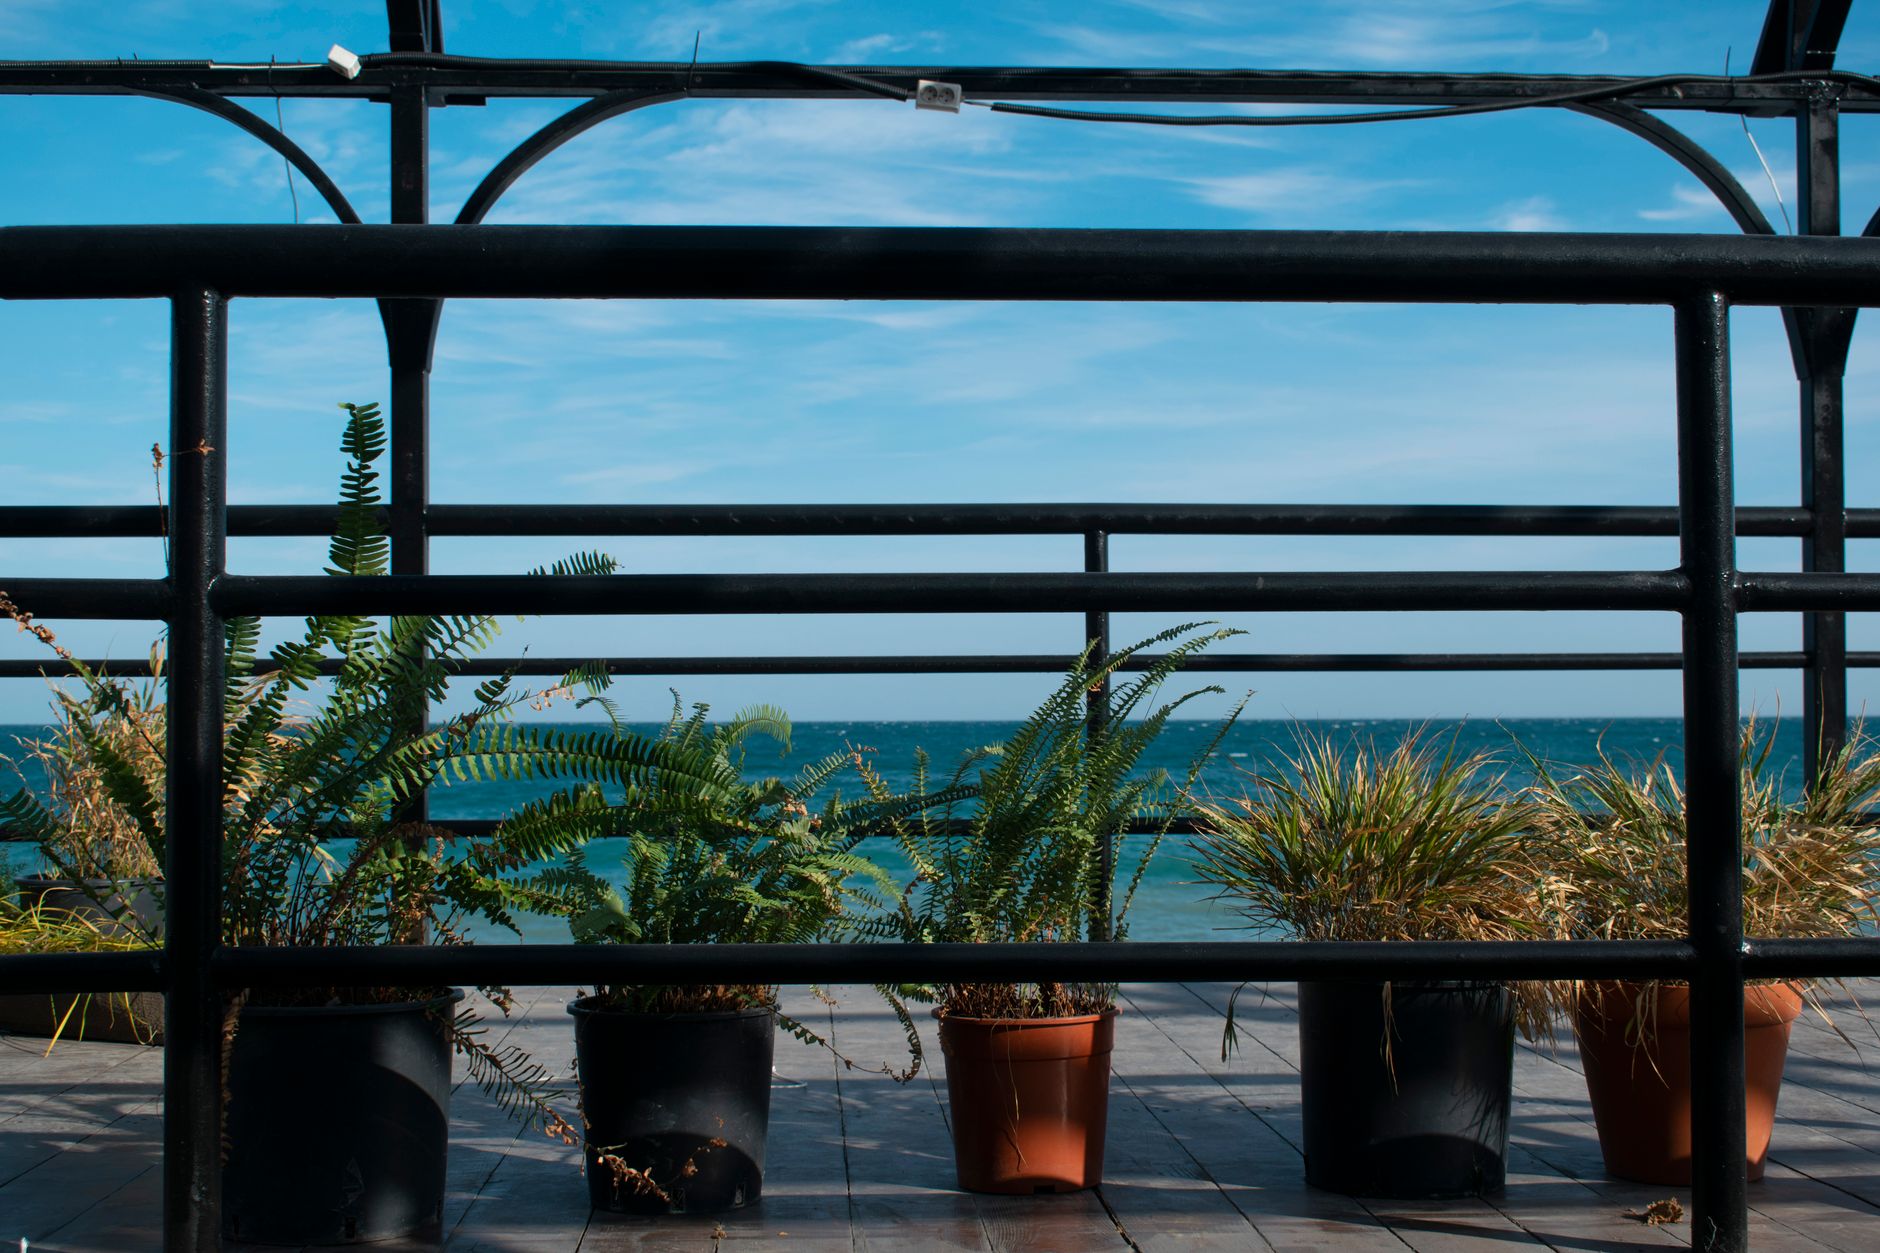
Start with the deck rather than the plants. Record surface type, who uses the space below, drain locations, water and power sources, carrying route, sun and wind exposure, and container sizes. Include wet mix and reservoir water in load estimates.
Confirm the Deck or Balcony Rules and Structural Limits
Check lease, HOA, or property-manager rules before installing heavy containers, reservoirs, or railing planters. Inspect for damaged boards, loose railings, cracked membranes, and blocked drains. Filled containers and stored water add significant weight; seek structural advice for large planters, trees, water tanks, or older decks.
Map the Water Source and Carrying Route
Treat carrying water as part of the design. Choose a volume you can safely lift, keep one hand free, and use a narrow-spout can. For an indoor-faucet hose, confirm the adapter fits and check for leaks. For a reservoir, use a covered, stable container, prevent algae and mosquitoes, and position it where a leak cannot reach a door, wall, or deck edge.
Trace Where Every Drop of Drainage Water Goes
Before expanding your collection, watch one watering event and follow the runoff: does water stay in the saucer, run under the pot, reach the edge, or flow toward a wall? Do not solve a neighbour-runoff problem with shallow, inadequate water, or assume clear-looking drainage is free of soil, fertilizer, or salts.
Audit Sun, Wind, Reflected Heat, and Rain Exposure
Containers on the same deck dry at very different rates. Record direct-sun hours, wind, shelter, reflected heat, and whether rain reaches each pot. Railing baskets, west-facing walls, and dark pots in full sun are highest risk. Pots under an overhang may stay dry after rain.
Group Containers by Water Need, Size, and Accessibility
Group plants by water need, container size, and reachability: high-, moderate-, and low-water plants, small fast-drying pots, large slow-drying containers, hanging planters, and newly potted plants. Keep frequently checked pots within comfortable reach, keep drainage holes accessible, and ensure saucers can be emptied. Avoid putting succulents and thirsty vegetables on one fixed drip schedule.
Choose the Watering Method That Matches the Deck Setup
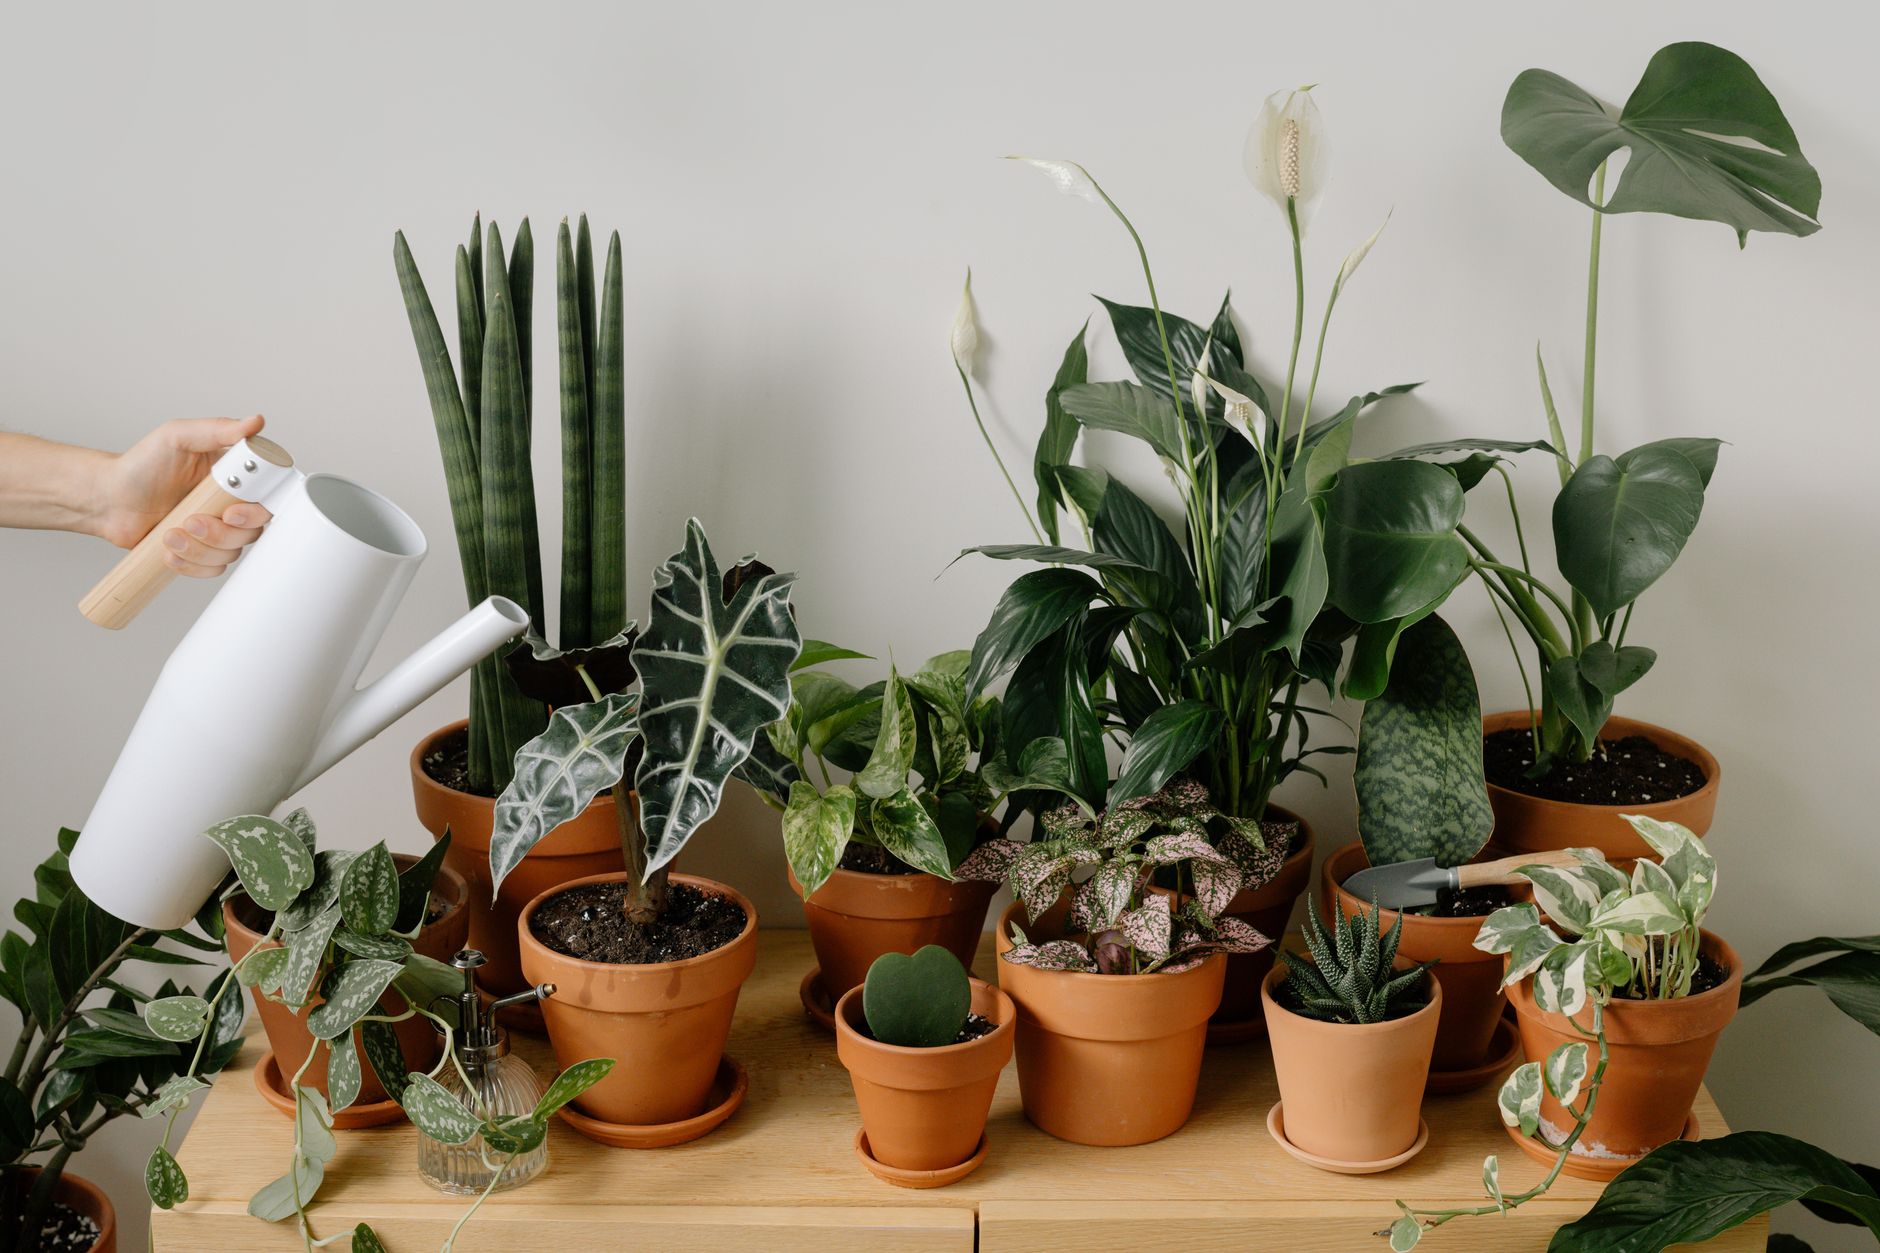
No single method is universally best. Many setups work best as a hybrid: manual watering for dry-adapted plants, self-watering containers for thirsty crops, and drip irrigation for grouped pots. Choose based on your setup:
- Long-spout watering can: few accessible pots; precise and easy to stop, but carrying becomes tiring.
- Controlled hose or wand: many pots with safe faucet access; fast and easy to direct, but use a shutoff nozzle.
- Faucet-fed micro-drip: several grouped containers; automates slow root-zone watering, needs filter and calibration.
- Reservoir-and-pump drip: several pots with no spigot; works without permanent plumbing, but adds tank weight and pump risk.
- Gravity-fed drip: small low-pressure setups; simple and low-energy, but uneven pressure.
- Self-watering container: thirsty plants needing even moisture; reduces free drainage but adds weight.
- Wick, cone, or bottle: one or two pots while travelling; inexpensive but inconsistent.
- Hand watering plus shared tray: mixed plants needing individual decisions; controlled runoff.
Use a Watering Can for a Small, Mixed Collection
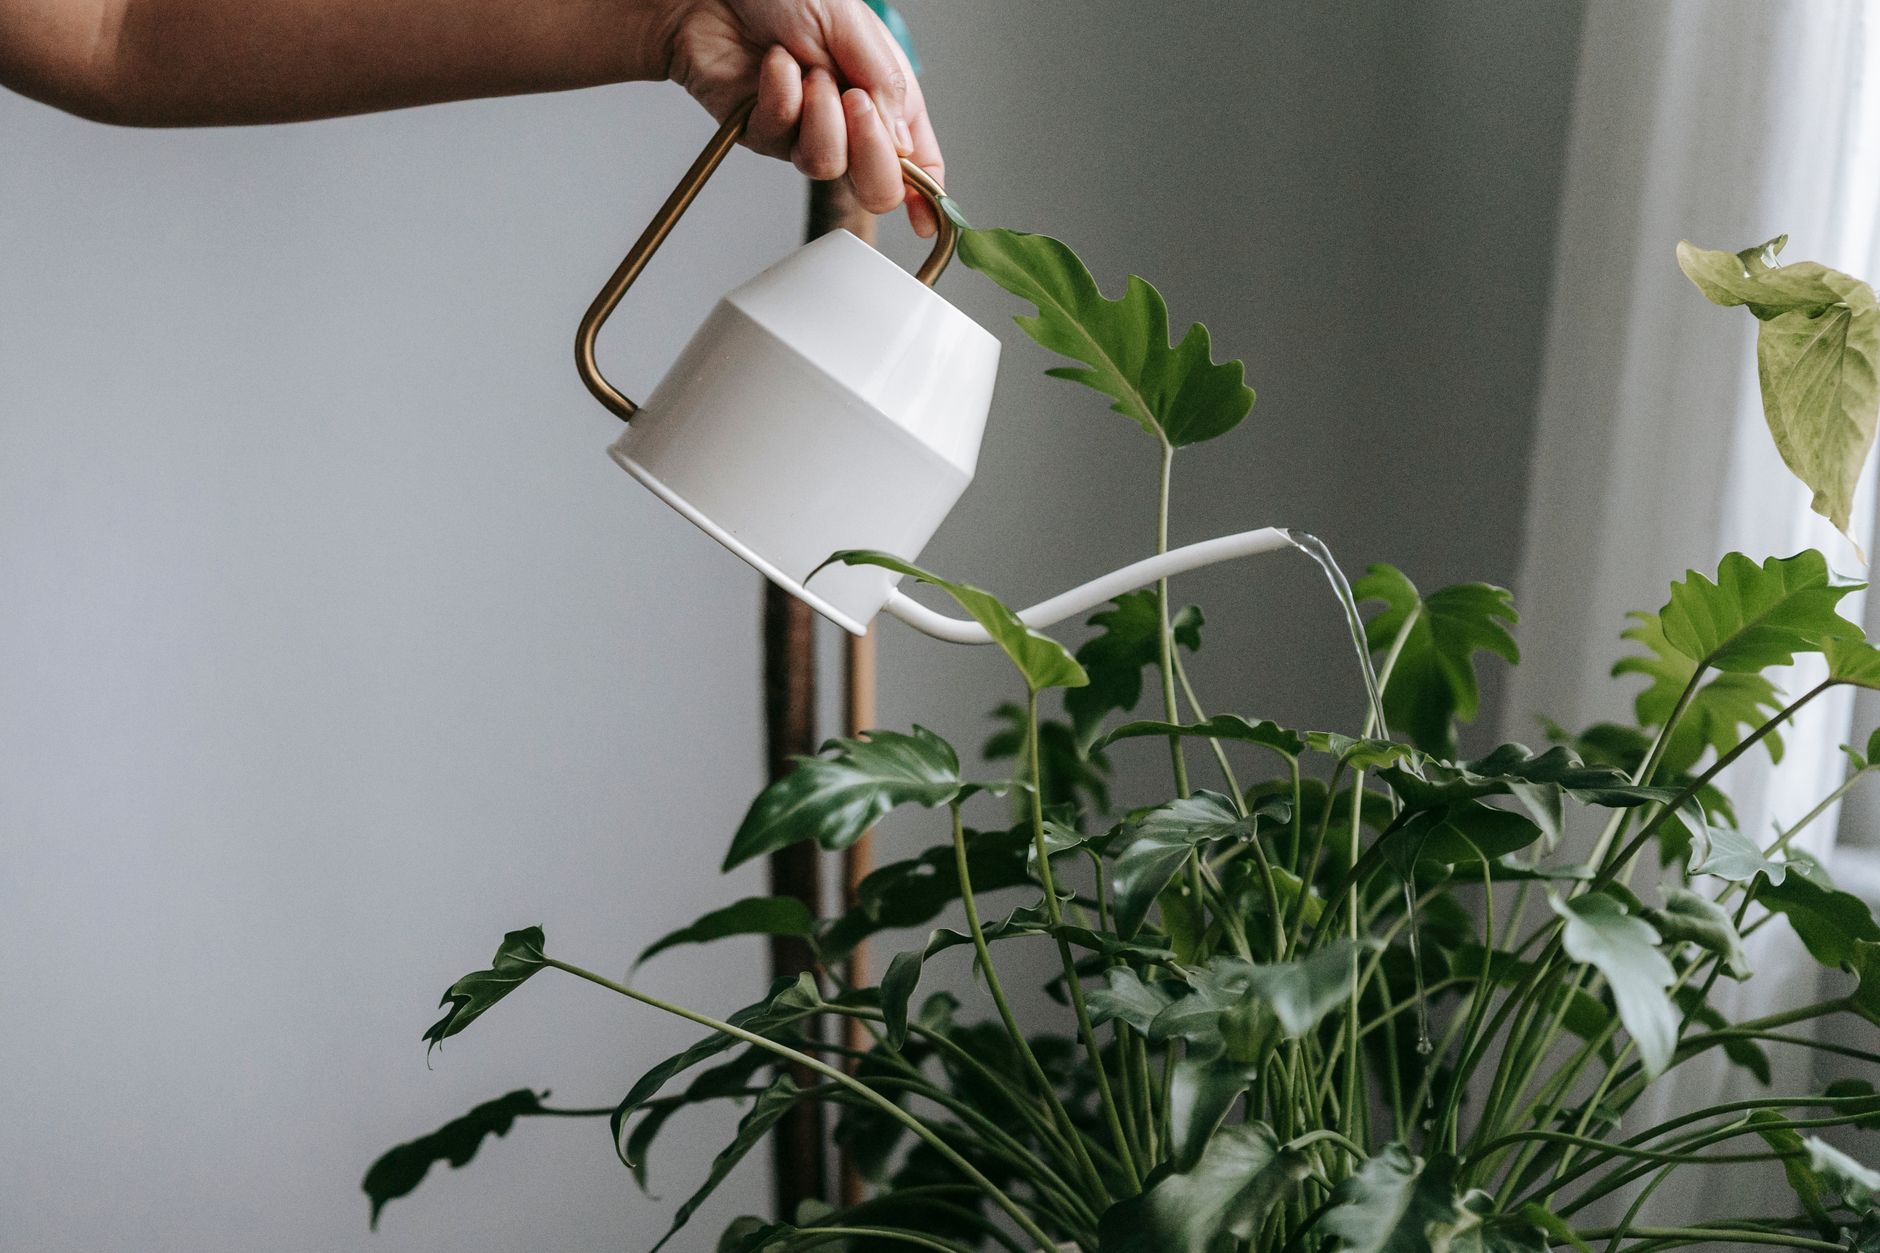
A watering can is most controllable for a manageable collection. Choose a capacity you can safely carry, a long narrow spout, and a flow you can stop precisely. Water close to the media surface in several controlled passes rather than dumping the whole volume at once, and treat each plant separately.
Connect a Hose Only When the Indoor and Outdoor Water Path Is Safe
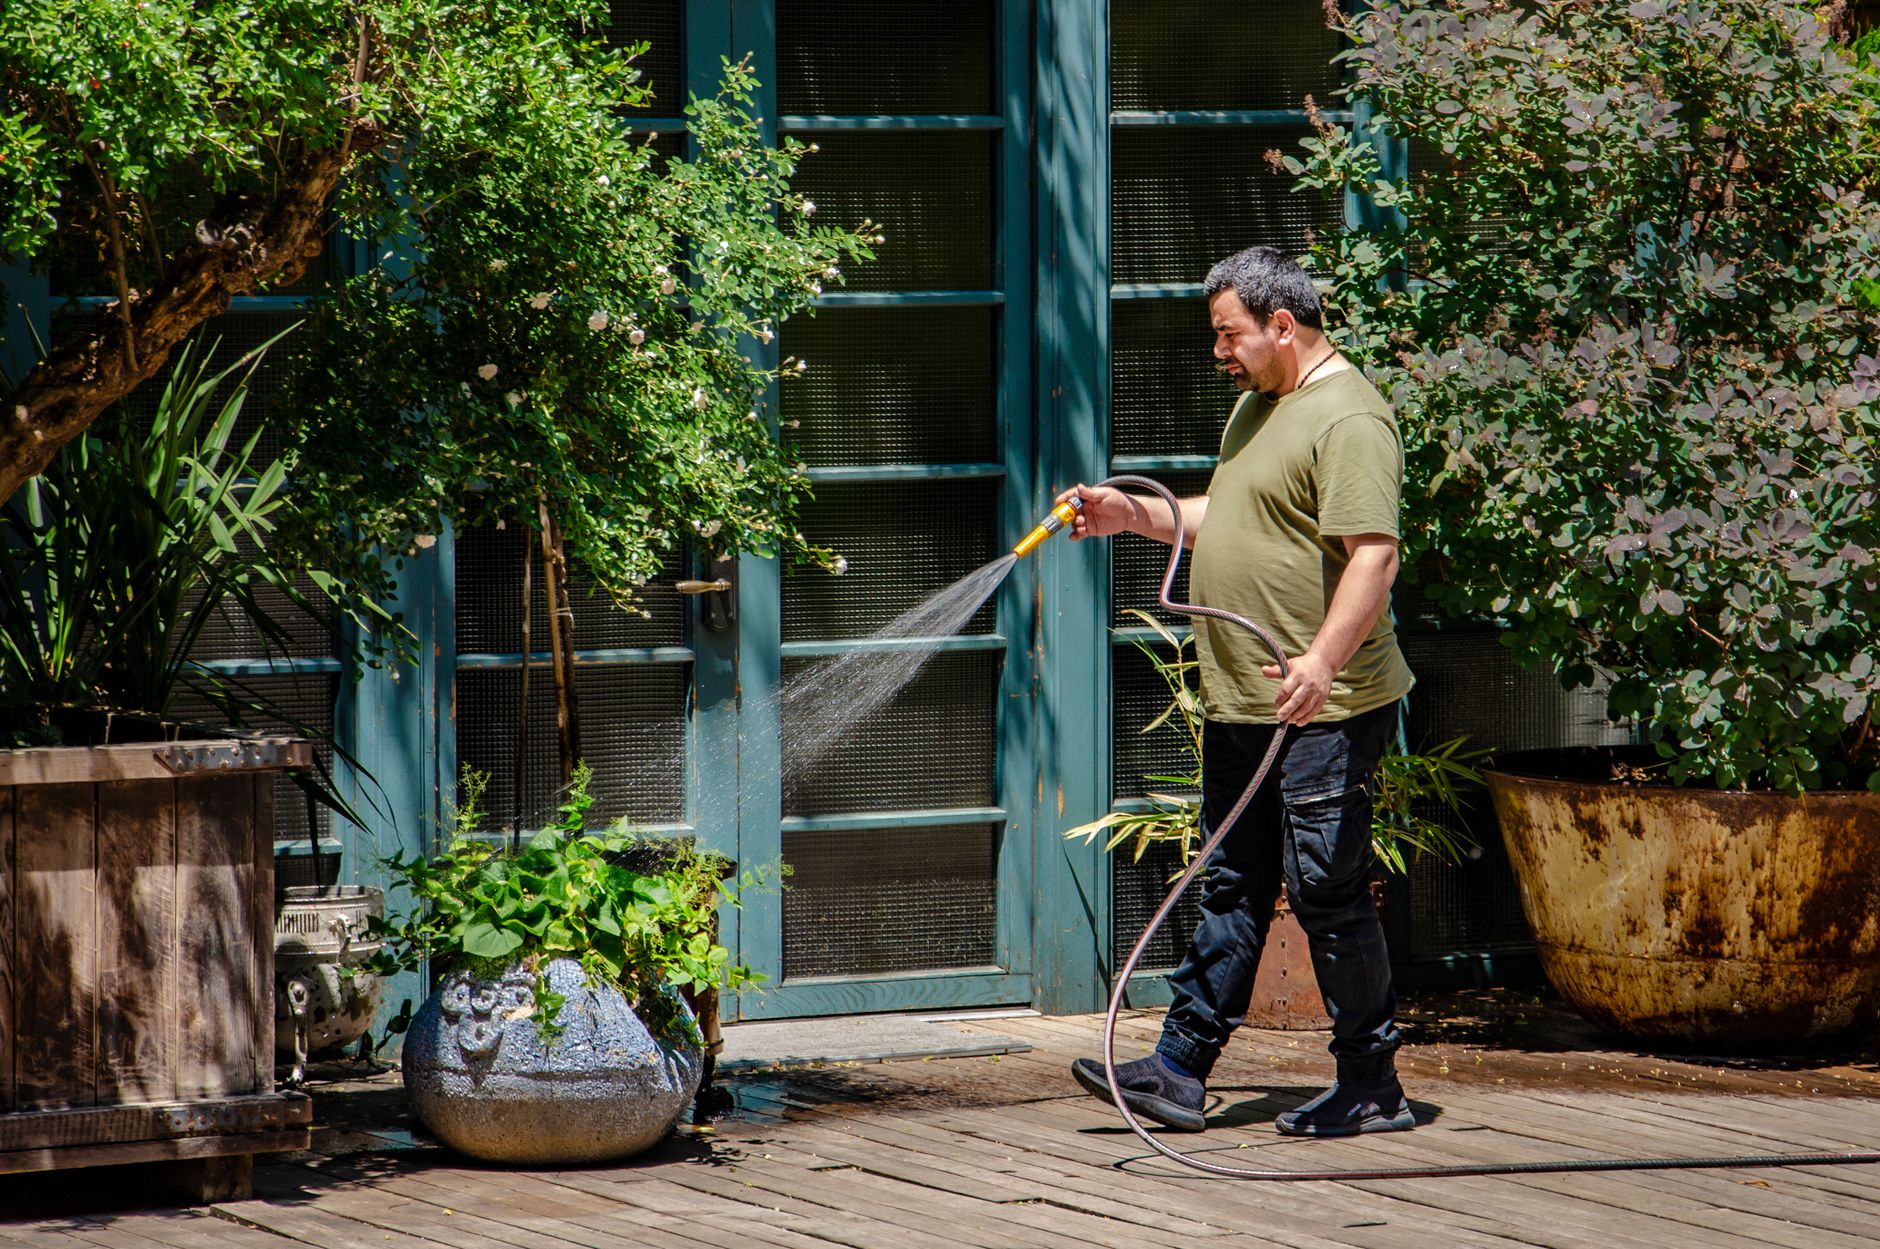
A compact or retractable hose is convenient, but an indoor faucet connection is not risk-free. Confirm the adapter is compatible, the shutoff nozzle works, and the door closes properly. Turn off the faucet after use and release pressure before disconnecting. Never leave a pressurized indoor connection running unattended, and avoid spraying where wind can carry water below.
Build a Drip System Around Watering Zones, Not Plant Count
Divide containers into zones by water need, container size, sun, wind, and growing medium — not by pot count. Use adjustable emitters, add multiple emitters to large containers, and run separate schedules where needs differ. Pressurized systems need backflow prevention, a filter, pressure regulation, and secure tubing. For a reservoir system, confirm the pump can overcome the height difference.
Use Self-Watering Containers for Plants That Benefit From Even Moisture
Self-watering containers suit thirsty plants such as tomatoes, peppers, cucumbers, leafy greens, and many annuals; they are less suitable for succulents, cacti, and Mediterranean herbs. Check the overflow hole, water-level indicator, wick, and rain exposure. A full reservoir adds weight, heavy rain can overflow, and a dry reservoir can break capillary continuity. Never seal the overflow.
Make Hanging, Railing, and High-Shelf Planters Reachable From a Safe Position
Reduce watering difficulty and fall risk at the same time. Prefer lowerable hanging mechanisms, a long watering wand, fixed emitters, interior-side railing boxes, and shelves below shoulder height. Secure all planters, brackets, and tubing, and account for wet planter weight and wind. Never lean over the railing or climb on furniture.
Water the Root Ball by Need, Not by Minutes or a Fixed Calendar
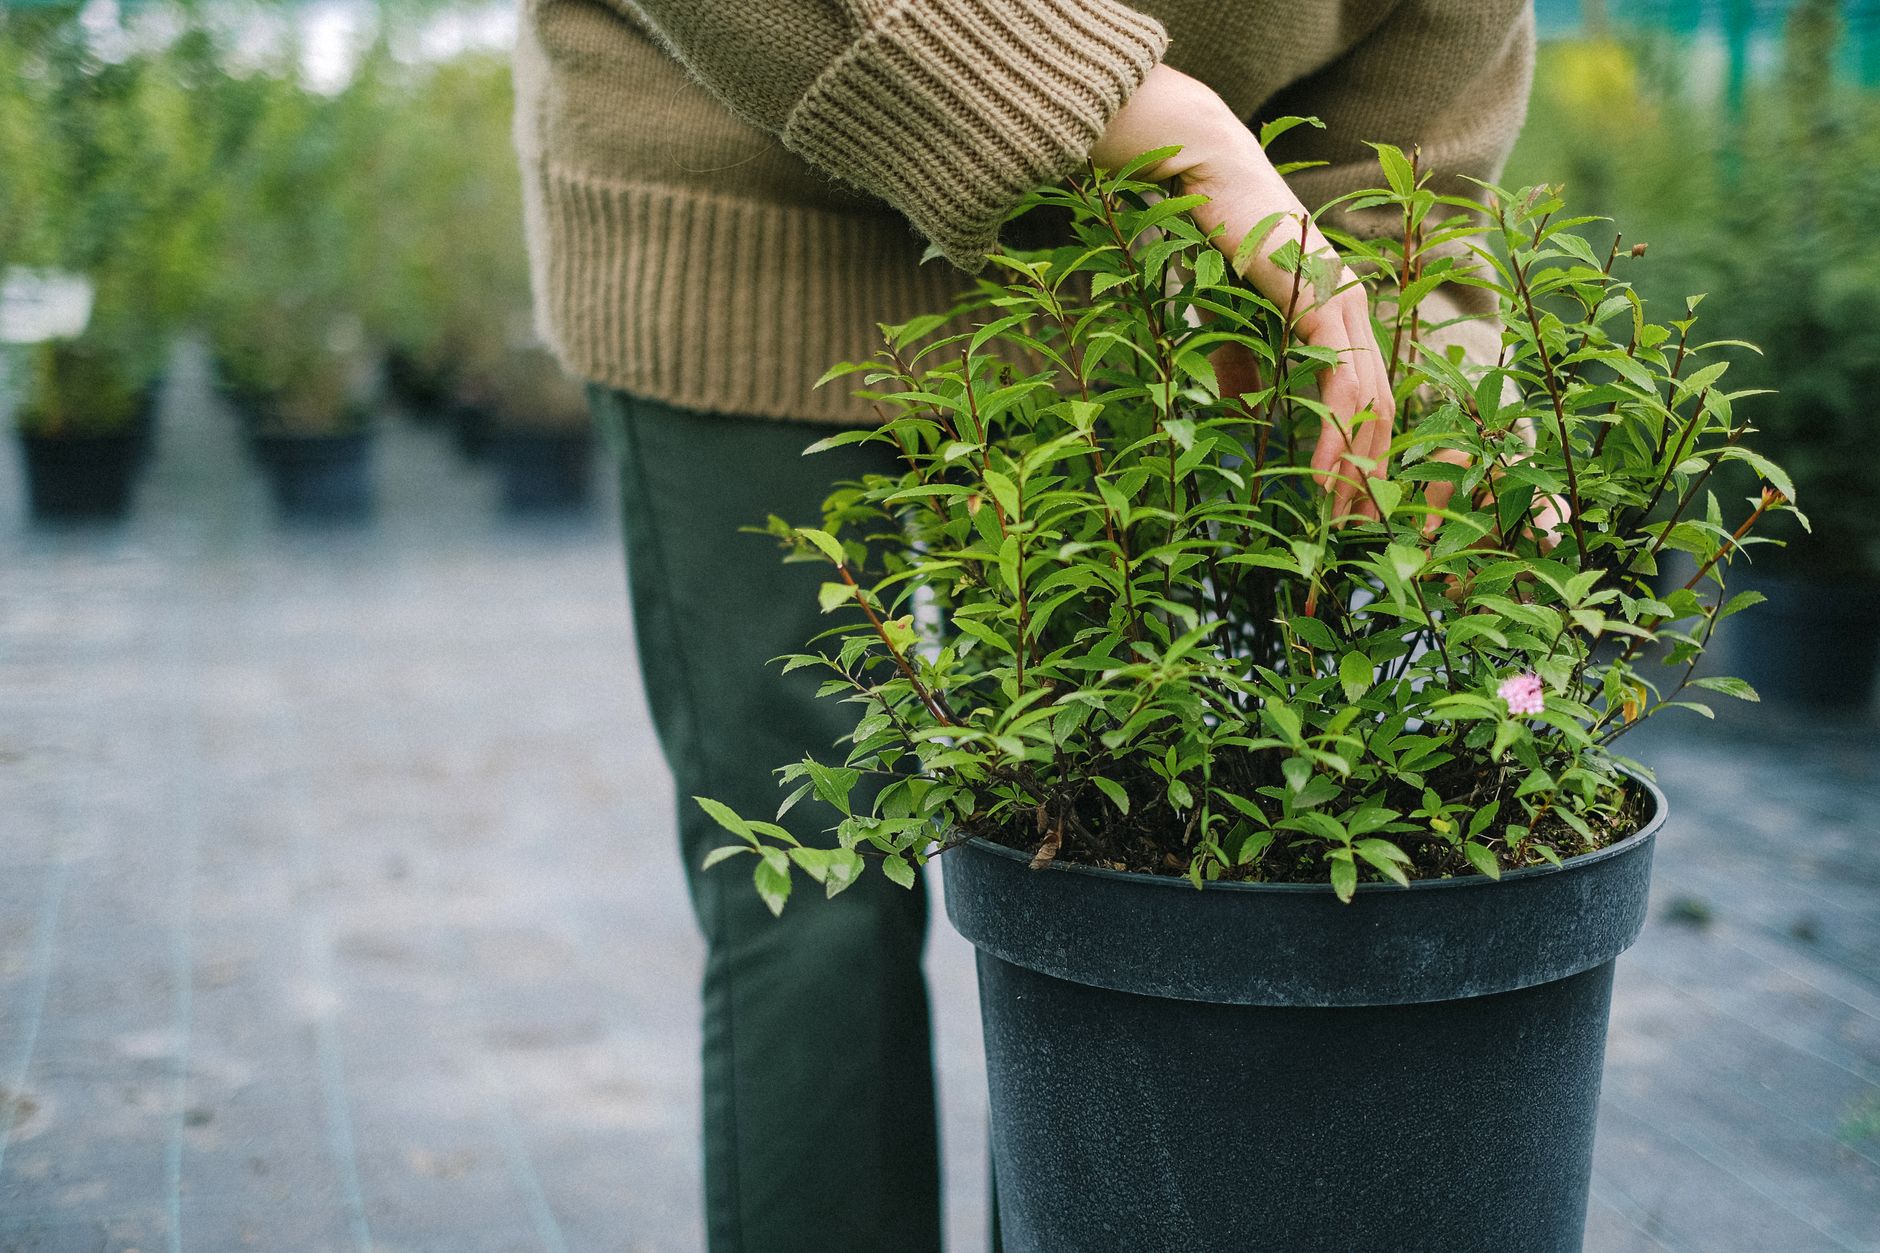
Container watering involves two decisions: whether a pot needs water, and how much water and time it takes to rewet that root ball. Minutes matter only after you measure your actual flow; no fixed schedule applies to every deck.
Check Moisture With More Than One Signal
Use several signals: a finger check at plant-appropriate depth, a wooden skewer, pot weight, growing-medium colour, a reservoir indicator, recent weather, and plant-specific signs. A light pot usually means moisture loss, and wilt can come from either dry or waterlogged roots. Check more often during hot weather and rapid growth — but checking more often does not mean watering more often.
Water Slowly Enough for the Root Ball to Absorb It
For a traditional draining container: confirm the pot needs water, keep the drainage hole open, place it over a deep saucer or tray, and apply water slowly across the media surface. Pause when water pools, then apply a second pass after the first is absorbed. Stop when the root ball is moist and controlled drainage begins. Tiny daily sips may wet only the upper media; one fast pour can run over the rim.
Rewet Hydrophobic Growing Medium Before Increasing the Watering Schedule
Some pots drain immediately while the root ball stays dry — a condition called hydrophobic growing medium. Signs include media pulling away from the container wall, water exiting the drainage hole at once, a pot that stays light after watering, and wilting soon after watering. Correct it by watering slowly in several rounds, temporarily bottom-soaking a movable container where appropriate, and replacing severely degraded medium. This is an absorption problem, not a need for more frequent watering.
Calibrate Drip Irrigation by Output, Not Timer Minutes Alone
Timer minutes mean nothing until you know how much each emitter delivers. Place identical collection cups under selected emitters, run the system for a known period, and compare output. Then check the actual pots: is the root zone wet, is the saucer overflowing? Adjust emitter flow, count, zone, and run time, then recheck after moving pots, plant growth, and weather changes.
Adjust for Heat, Wind, Rain, Plant Growth, and Container Type
Water demand rises with strong sun, wind, high temperature, a larger canopy, flowers and fruit, small containers, fabric or unglazed pots, hanging baskets, and dark pots in sun. Demand falls with cooler weather, cloud cover, rain, reduced growth, and large glazed pots in sheltered spots. Rain may wet leaves while pots under an overhang stay dry, so check the root zone after rain. Mulch helps reduce surface evaporation.
Distinguish Dry Wilt From Wet-Root Wilt
Not every drooping plant needs water. Dry-root clues include a light pot, dry media through the root zone, media pulled away from the pot edge, and improvement after watering. Wet-root clues include a heavy pot, wet or sour-smelling medium, yellow leaves, poor drainage, and no improvement after watering. Check moisture before watering and correct drainage, pot size, or frequency as needed. Do not add water just because a plant droops in afternoon heat.
Control Runoff, Protect the Deck, and Reduce the Daily Workload
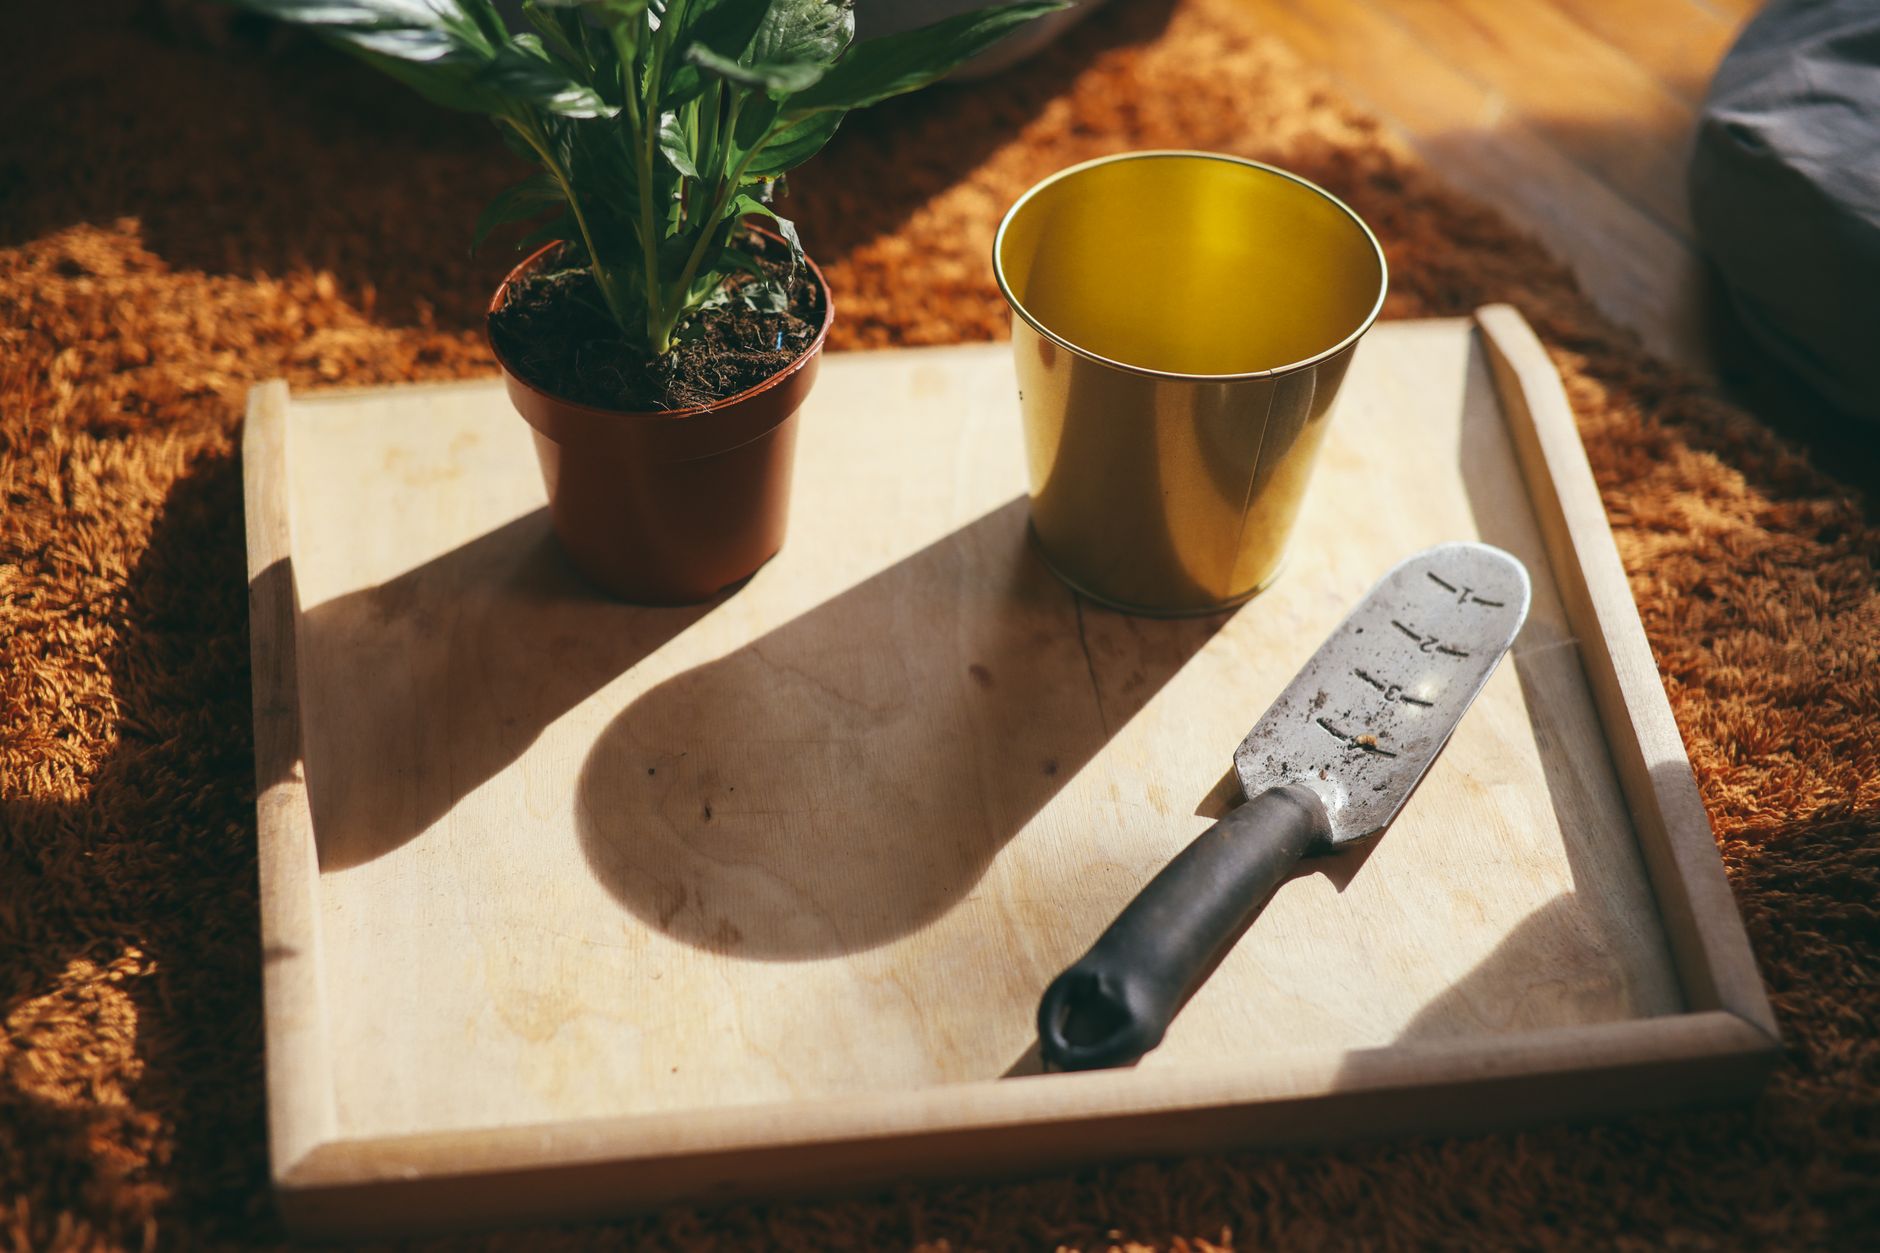
The final piece is protecting the deck surface and people below while making watering easier. Protect the deck and neighbours from dirty runoff, and reduce watering frequency by changing the setup before adding automation.
Use Deep Detachable Saucers, Shared Trays, and Pot Feet
Saucers must be wider than the drainage area and deep enough for normal runoff; detachable saucers are easier to empty. Shared waterproof trays can create one controlled watering zone but must not block a doorway or path. Pot feet keep drainage holes clear. Empty collected water after heavy rain, and never let a full saucer overflow toward the edge.
Protect Wood, Composite, Concrete, Tile, or Waterproof Membranes Appropriately
For every deck surface, remove spilled soil, wipe up fertilizer runoff, lift and inspect containers periodically, and keep drains clear. On wood, avoid trapped moisture and watch for staining or decay. On composite, follow the manufacturer’s cleaning guidance. On membranes and tile, avoid puncturing or drilling without permission. Contact the property owner or a professional if water enters the structure.
Create a Contained Watering Zone Away From the Deck Edge
For many plants or neighbours below, create one contained watering zone away from the deck edge, doors, electrical connections, and the walking route. Use deep saucers, large waterproof trays, pot feet, and a bucket for removed runoff, and keep dry-adapted plants separate from thirsty ones. The tray is a collection point, not a shallow pool. Do not pour collected fertilizer drainage over the deck edge.
Reduce Watering Demand Before Adding a Larger System
Reduce labour and runoff by changing the setup before buying a bigger pump. Replace very small pots with larger containers, use nonporous or glazed pots for fast-drying plants, avoid dark pots in intense sun, mulch suitable containers, group compatible plants, and move thirsty pots out of reflected heat. Larger containers dry more slowly but are heavier when wet, so every change must stay within structural limits.
Test Automatic and Vacation Watering Before Leaving
A new automatic system should run through several normal cycles while you are home. Test reservoir capacity, pump operation, timer, emitter output, blocked lines, tubing connections, saucer overflow, and plant response. Create a failure plan: keep the reservoir contained, place lines away from walkways, and ask someone to inspect during a long trip. Do not install a new wick, bottle, pump, or timer on departure day.
Troubleshoot Common Upper-Deck Watering Problems
Diagnose before watering more or buying another device.
| Problem | Likely causes | First checks | Avoid |
|---|---|---|---|
| Water runs out but plant remains wilted | Hydrophobic media or a gap around the pot edge | Pot weight and centre-root moisture | Increasing watering frequency without rewetting |
| Water drips onto the space below | Saucer overflow, deck gaps, pot near edge | Trace runoff during one watering | Watering in shallow sips |
| A saucer stays full for hours | Too much water, blocked drainage | Drainage hole, pot feet, media | Leaving pots in standing water |
| One drip-irrigated pot is dry | Blocked emitter, low pressure, kinked tubing | Catch-test output and inspect the root zone | Increasing the whole system’s run time |
| Plants wilt in afternoon but soil is wet | Heat stress, root damage, poor oxygen | Pot temperature, drainage, root-zone moisture | Automatically watering again |
Conclusion
Work through the setup in order: confirm deck rules and structure, map water and runoff, group plants by need, choose a method, and calibrate before leaving it unattended. The goal: a moist root ball, a protected deck, and no water dripping below.
FAQ
How Do You Water Plants on an Upper Deck Without a Hose?
Use a watering can for a few pots, a covered reservoir with a small pump or gravity-fed drip for several pots, and self-watering containers for individual thirsty plants. Collect runoff, test the system, and check moisture before watering.
How Many Minutes Should You Water Outdoor Plants on a Deck?
Minutes alone cannot answer the question. Duration depends on flow rate, container volume, growing medium, plant size, weather, and existing moisture. Hand-water slowly until the root ball is moist and controlled drainage begins. For drip irrigation, measure emitter output, test the root zone, and adjust by zone.
How Do You Keep Potted Plants From Ruining a Deck?
Keep drainage holes functional, use deep detachable saucers and waterproof collection trays, and set pots on feet. Empty standing water, inspect pots periodically, and clean soil and fertilizer runoff promptly. Follow the deck manufacturer’s or property manager’s care guidance.
Are Self-Watering Pots or Drip Irrigation Better for an Upper Deck?
It depends on the number and type of plants. Self-watering containers are better for individual thirsty plants and reduce free drainage. Drip irrigation is better for several grouped containers that can be zoned and calibrated. Manual watering suits a small mixed collection; a hybrid setup is often most reliable. Neither method is set-and-forget.
Sources
- University of Maryland Extension container gardening guidance
- Illinois Extension container and hanging-planter guidance
- Virginia Tech container and balcony watering guidance
- Iowa State University Extension and Outreach drip irrigation and watering guidance
- Colorado State University Extension drip irrigation guidance
You Might Also Like