How to Test Soil Moisture: Finger Test, Moisture Meter, and When to Water
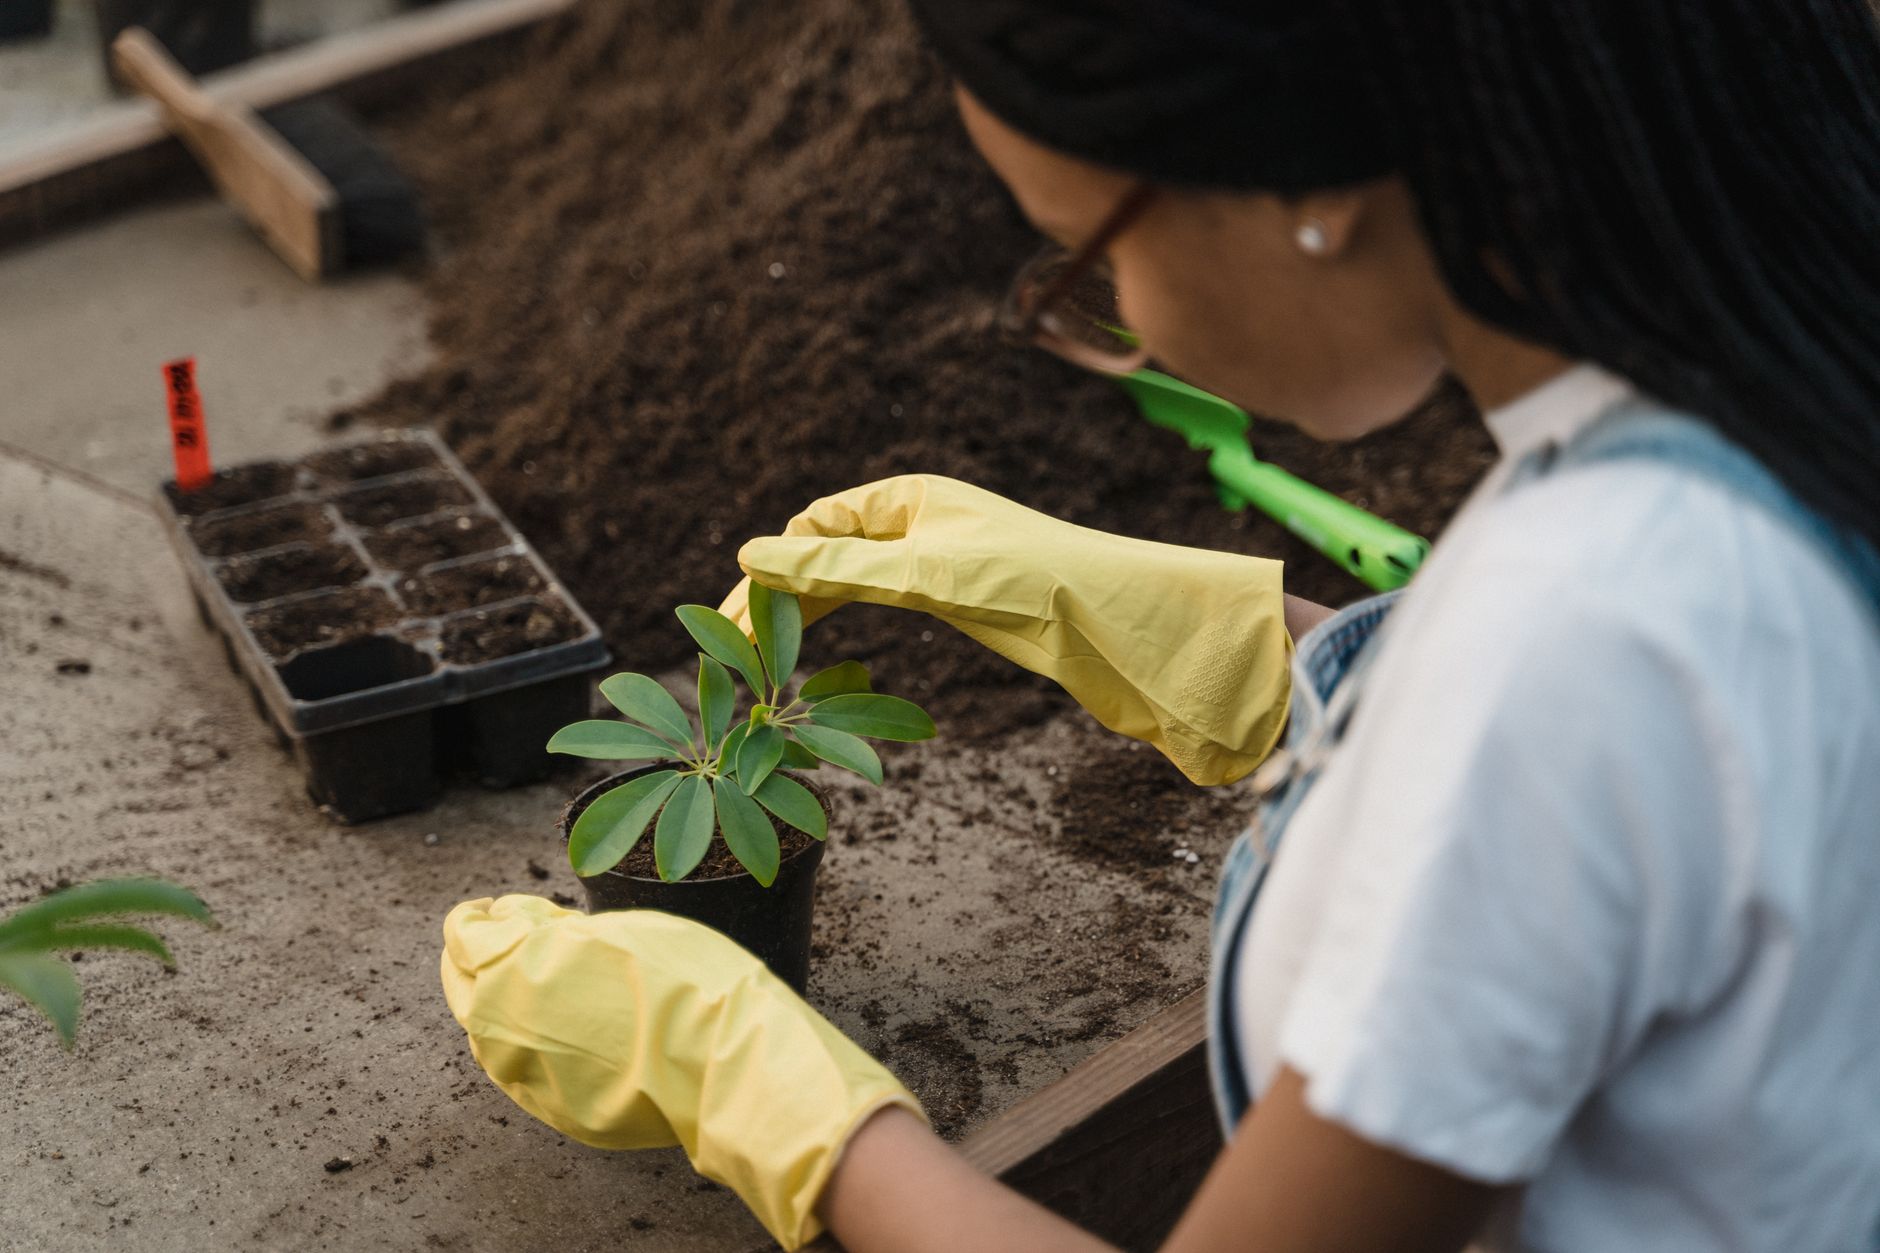
Testing soil moisture correctly is about reading the full picture — what your finger feels, what the pot weighs, what the plant shows, and what a meter suggests if you use one. No single method works every time because soil moisture varies with depth, pot size, potting mix, and environmental conditions.
Key Takeaways
- Cross-check two or three signals before watering: No single method is reliable alone. Combine a root-zone check with pot weight and plant behavior.
- Use a wooden skewer for deep pots where the top dries but bottom stays wet: This solves the most common misleading situation: a dry-looking surface with saturated soil below.
- Moisture meters can help but are not always accurate: Learn your meter’s baseline for each plant and potting mix before trusting its readings alone.
- When finger test and meter disagree, use a third check: Conflicting signals usually mean uneven moisture, hydrophobic soil, or a dry pocket.
- Test frequency depends on plant type, pot size, season, and environment, not a calendar: Adjust your testing rhythm as conditions change.
Quick Answer: The Best Way to Test Soil Moisture Before Watering

Combine a root‑zone check with pot weight and plant behavior. Lift the pot to compare wet and dry weight, insert a finger or skewer into the root zone, and look for thirst signs like slight wilting or lighter leaf color. Always confirm with at least two signals before watering. For indoor plants, this three‑step process takes less than a minute once you build the habit.
The 3-Step Soil Moisture Check Most Gardeners Should Use
- Look at the plant and pot first – Check for wilting, yellowing, or fungus gnats. Compare pot weight to its weight right after watering. A pot that feels suspiciously light likely needs water. One that feels heavy even days after watering may have drainage problems.
- Check moisture where the roots are – Use finger, skewer, meter, or weight. Never judge by the top layer alone. For deep pots, insert skewer to the bottom. Test two spots in wide pots.
- Make the watering decision by plant type – Succulents need deep drying; tropicals like pothos prefer top half dry; ferns need even moisture. Cross‑check two or three signals.
Soil Moisture Testing Methods at a Glance
| Method | Best for | Main weakness |
|---|---|---|
| Finger test | Small to medium pots | Cannot reach deep pots |
| Wooden skewer | Deep pots, chunky mixes | Takes practice to read |
| Pot weight test | Liftable containers | Not useful for heavy planters |
| Soil color/surface | Fast scan | Surface can lie; dark soils stay dark |
| Plant signs | Spotting stress | Wilting can mean either too wet or too dry |
| Moisture meter | Deeper pots, second opinion | Can misread chunky or salty soil |
| Trowel/hand | Outdoor beds | Slightly disturbs soil |
| Tensiometer/sensor | Irrigation zones, large gardens | Cost and setup |
Finger Test, Moisture Meter, Pot Weight, or Skewer: Which Method Should You Use?
The best method fits plant, container, and experience level. For small pots under six inches, finger plus weight gives reliable results. For deep pots over eight inches, skewer plus weight works better because the top inch may be bone dry while the bottom stays soaked. For chunky orchid mixes, the skewer is essential. For succulents in terracotta, weight is the most reliable indicator. For moisture-loving ferns in plastic, finger and weight together work. When unsure, start with weight and skewer — they work for nearly all containers.
How to Test Soil Moisture Without a Meter

Manual methods cost nothing and give immediate feedback. The key is consistency — test the same way each time to build a reliable baseline for each plant.
The Finger Test: How Deep to Check and What “Dry Enough” Feels Like
Check 1–2 inches down for most houseplants. Cool and damp soil means wet. Slightly moist means partly dry. Dry, crumbly soil that leaves no residue means it is time to water. Succulents need deeper drying — check 2–3 inches and wait until completely dry. Ferns and moisture lovers should be checked at 1 inch; water when just slightly moist. In large pots, check at least two different spots.
Wooden Skewer or Chopstick Test for Deep Pots
Insert a clean bamboo skewer or wooden chopstick all the way to the bottom of the pot. Leave it in for 10–15 seconds. Damp soil that sticks means the bottom is still wet, so hold off watering even if the top feels dry. If the skewer comes out mostly clean, the pot is ready for water. For very deep pots, insert at a slight angle to reach different depths.
The Pot Weight Test for Houseplants and Containers
Lift the pot right after watering and note the weight. Lift again when you suspect the plant is dry. When the pot feels about 70–80% lighter than its saturated weight, it is time to water. For heavy ceramic pots, use a kitchen scale once to establish a baseline weight. After two or three cycles, you will know the target weight without the scale.
Soil Color, Surface Texture, and Pull-Away Clues
Dry soil looks lighter in color than wet soil. Cracking at the surface or soil pulling away from pot edges signals over-drying. Use visual clues as a first indication, then confirm with touch or weight. Dark potting mixes can stay dark even when dry, so never rely on color alone.
Plant Signs: Drooping, Curling, Yellowing, and Crispy Leaves
Drooping leaves are the most common thirst signal, but they can also indicate overwatering or root rot. Crispy brown edges may point to underwatering, salt buildup, or low humidity. Yellowing lower leaves often come from overwatering. Always check root-zone moisture before acting on any visual sign. A plant that droops in wet soil likely has root damage and needs less water.
Trowel or Hand Check for Outdoor Soil and Raised Beds
For outdoor beds, dig a few inches down with a trowel and feel the soil at root depth. Test several spots because moisture varies with sun exposure. For vegetable beds, check at least 4 inches deep. Use the ribbon test: squeeze a handful of soil — if it forms a ribbon, it is still moist; if it crumbles, it needs water.
How to Use a Soil Moisture Meter Without Getting Misled
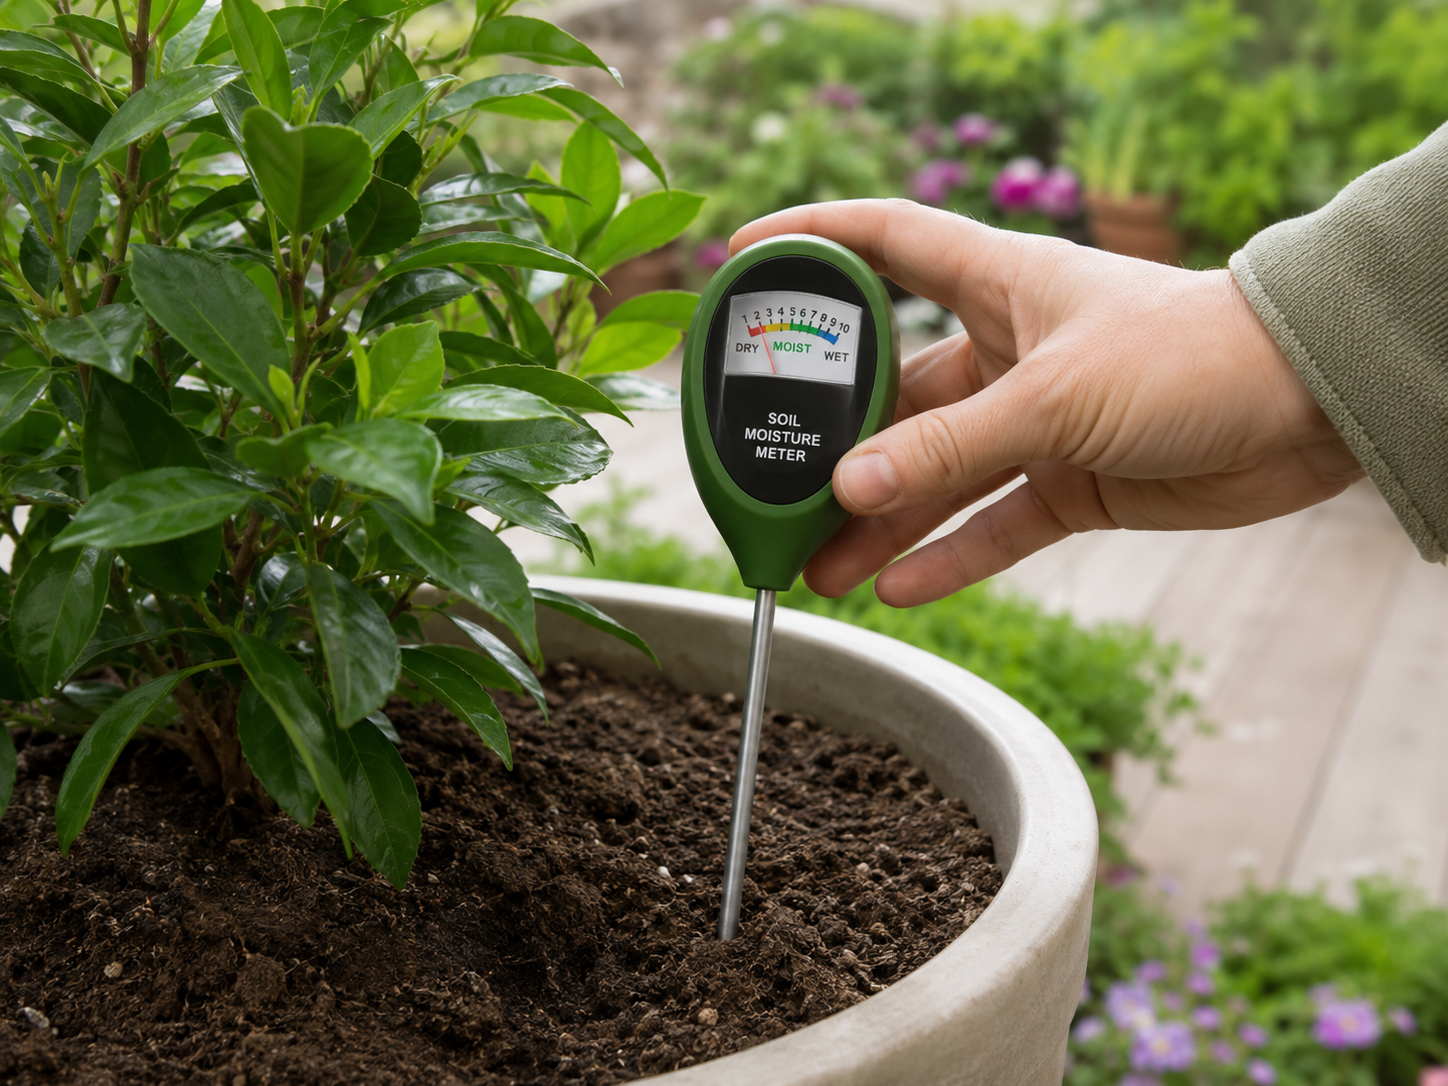
Moisture meters measure electrical conductivity between two metal probes. Because water conducts electricity, more moisture usually means a higher reading. But dissolved salts from fertilizer also conduct electricity, giving false wet readings in salty soil. Use them as a second opinion, not the sole decision maker.
How to Insert a Moisture Meter Probe Correctly
Insert the probe into the root zone — roughly the middle third of the pot depth. In pots wider than 8 inches, test at least two spots. Wait 30–60 seconds for the reading to stabilize. Clean the probe with a damp cloth or fine sandpaper after each use. Insert slowly to avoid damaging roots. Ensure both prongs are fully buried.
What Moisture Meter Readings Actually Mean
Most analog meters use a 0–10 scale where 0 is bone dry and 10 is soaking wet. The “dry” threshold varies by plant type and potting mix. Learn your target range for each plant by testing right after watering and again when the plant shows early thirst signs. Over two or three watering cycles, you will build a plant-by-plant baseline.
Why Moisture Meter Readings Can Be Wrong
Chunky potting mixes create air pockets that give false dry readings. High salt from fertilizer or tap water gives false wet readings. Small pots under 4 inches are too shallow for stable readings. Cheap two-prong analog meters often drift. Three-prong or digital meters tend to be more reliable. If your meter says wet but the plant looks thirsty and the pot feels light, suspect salt buildup and flush the soil before trusting the meter.
How to Learn Your Meter’s Baseline Before Trusting It
Test the meter right after watering and note the reading. Test again when the plant is clearly ready for water. After three to five cycles, you will see a pattern: for a given plant, the meter will read around 7–8 when wet and 2–3 when dry. Clean the probe tips monthly with fine sandpaper. Remember that repotting changes the baseline due to fresh mix density and salt content.
Tensiometers, Digital Soil Sensors, and Lab Tools: When They Make Sense
Tensiometers measure actual soil suction but require maintenance. Digital soil sensors with Bluetooth provide continuous moisture alerts. For most home gardeners with fewer than 50 plants, manual methods are faster and more reliable. For large greenhouse setups or automated irrigation, sensors can save time and prevent overwatering.
When Finger Test and Moisture Meter Disagree
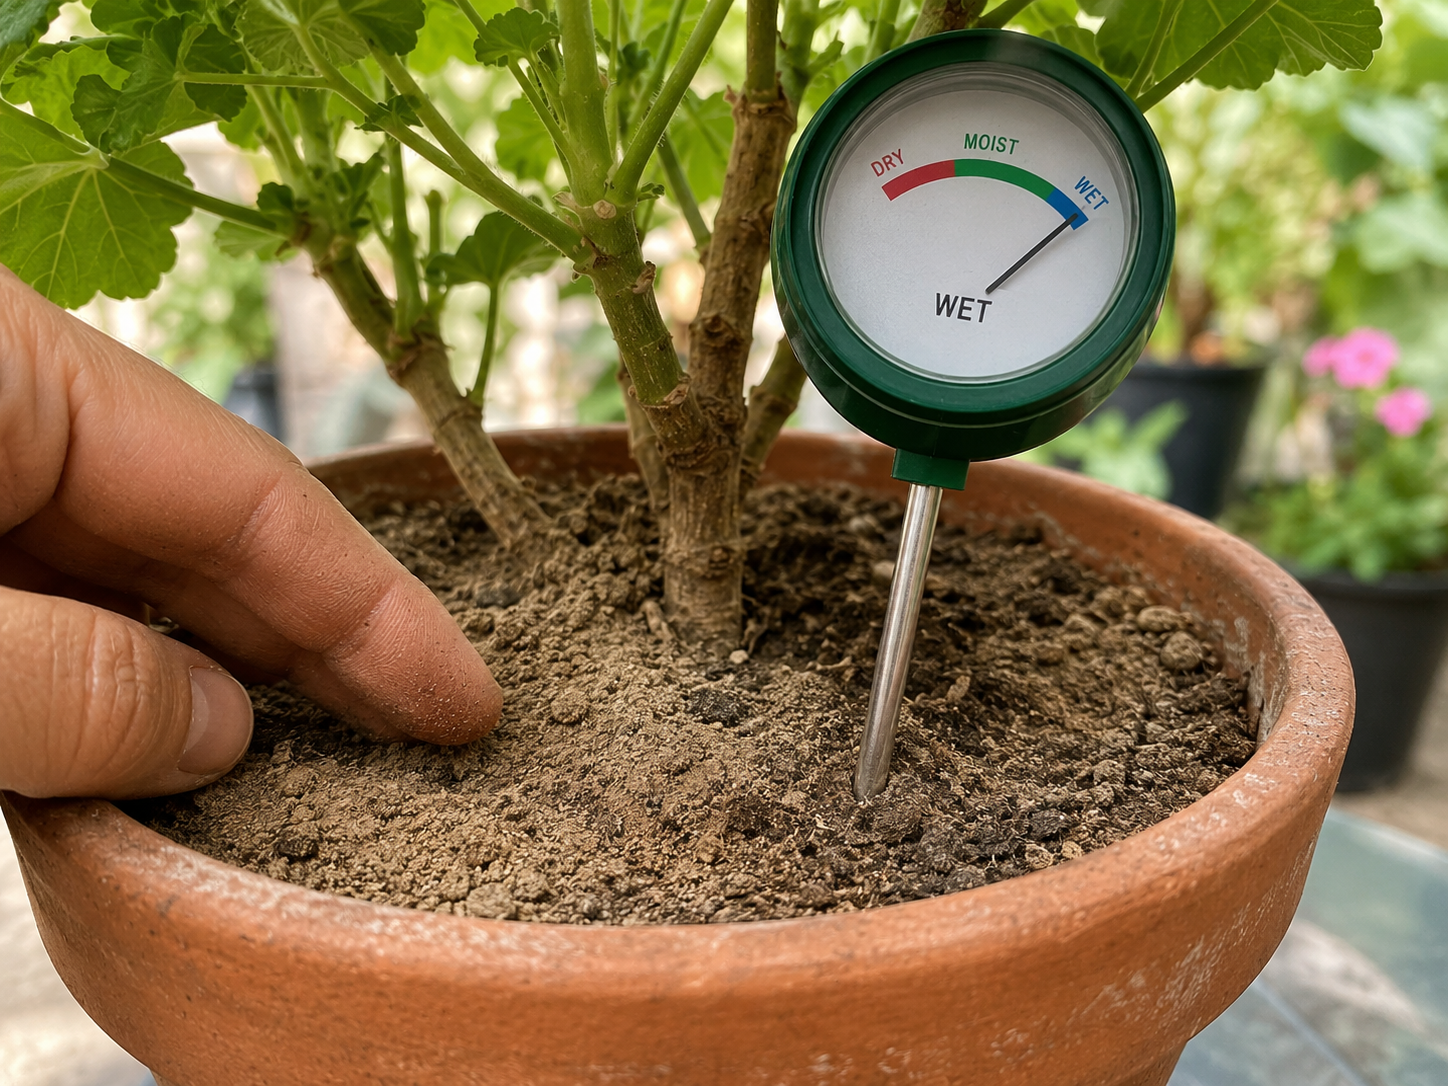
Conflicting signals between your finger and a moisture meter are useful information. They reveal something about your soil, pot, or watering pattern. Cross-check further before watering.
Meter Says Wet but the Soil Surface Feels Dry
This is classic top-dry, bottom-wet. Check with a skewer all the way to the bottom. If the skewer comes out with damp soil, the pot is still wet. If the plant is wilting despite wet soil, suspect overwatering damage. Lift the pot — if heavy, hold off watering and improve drainage.
Meter Says Dry but the Soil Feels Wet
This usually means chunky potting mixes with air gaps or hydrophobic peat. Check pot weight — if heavy and your finger confirms moisture, trust weight and finger over the meter. To fix hydrophobic soil, switch to bottom-watering to rehydrate evenly.
Soil Looks Dry but the Plant Still Droops
Always check the root zone before watering. If deeper soil is wet and pot heavy, drooping is likely from overwatering damage. If deeper soil is dry and pot light, water deeply immediately. Never trust drooping alone — always confirm with root-zone moisture and pot weight.
Top-Dry, Bottom-Wet Pots: Why This Happens
The top dries faster from air exposure; the bottom stays wet due to gravity and poor drainage. This is strongest in deep pots, plastic containers, and dense mixes. Fix by using a skewer to probe the bottom, adding perlite, and ensuring no water sits in a saucer.
How Often to Test Soil Moisture by Plant Type and Situation
Overwatering kills more plants than underwatering, so test before watering rather than following a fixed schedule. Test whenever you think the plant might be thirsty, and check more often during active growth than dormancy.
Soil Moisture Needs by Plant Group
| Plant group | Moisture goal | Best test methods |
|---|---|---|
| Succulents and cacti | Dry deeply between watering | Skewer, pot weight |
| Aroids and leafy tropicals | Partly dry, not bone‑dry | Finger + skewer + pot weight |
| Ferns and moisture lovers | Evenly moist, not soggy | Finger + pot weight |
| Seedlings | Lightly moist, never saturated | Surface check + weight |
| Container vegetables | Consistent moisture | Finger/trowel + weight |
| Outdoor beds | Moisture several inches down | Trowel/hand check |
| Lawns/irrigation zones | Even root‑zone moisture | Tensiometer + manual check |
| Orchids/bark mixes | Airy, damp‑dry cycle | Skewer, pot weight |
When to Test More Often
Test more frequently during hot weather, active growth, bright light, and in small or terracotta pots. Test less often in winter dormancy, low light, after repotting, and in large plastic or glazed pots. Terracotta dries much faster than plastic. Air conditioning and heating also dry the soil faster. If you bring plants outside for summer, expect daily checks; inside for winter, once every week or two may be enough.
Soil Moisture, Root Health, and Fungus Gnats
Consistently wet soil encourages root rot and fungus gnats. Letting the top inch dry between waterings disrupts the gnat life cycle and gives roots oxygen. If gnats persist, repot with a mix containing at least 30% perlite. Deep moisture more than a week after watering signals poor drainage; repot with more drainage material or switch to a terracotta or fabric pot.
Conclusion
Testing soil moisture correctly combines multiple signals — what your finger feels, what the pot weighs, what the plant shows, and what a meter suggests. Start with finger test and pot weight for small pots. Add a skewer for deep pots and chunky mixes. Use a moisture meter as a secondary learning tool. When methods disagree, dig deeper. With practice, you will water with confidence instead of guesswork.
FAQ
What is the best way to test soil moisture?
Combine a root‑zone check using your finger, skewer, or trowel with pot weight and plant behavior. Use a moisture meter as a second opinion but never rely on it alone. Always check at root depth, not the surface.
What are five ways to test soil moisture?
The five most common manual methods are: finger test, wooden skewer test, pot weight test, soil color and surface texture, and leaf signs. For outdoor soil, add a trowel check. Always combine two or three methods before deciding to water.
Do soil moisture meters actually work?
Yes, but they are not always accurate on their own. Meters measure electrical conductivity and can misread in chunky mixes, salty soil, or small pots. The best way to use them is to learn your baseline for each plant by testing when wet and when dry. Cross-check with finger, skewer, or pot weight.
Should I trust my finger or my moisture meter when they disagree?
Cross-check with a third method like a skewer or pot weight. The disagreement often reveals uneven moisture or hydrophobic soil. If the pot feels light and the skewer is dry, water. If the pot feels heavy and the skewer shows damp soil deeper down, hold off.
Sources
- University of Florida IFAS Extension: “Soil Moisture Monitoring”
- Royal Horticultural Society: “Watering Plants: How and When to Water”
- Clemson Cooperative Extension: “Soil Moisture Sensors for Irrigation Scheduling”
- University of California Agriculture and Natural Resources: “Irrigation Management: Soil Moisture Monitoring”
You Might Also Like