How to Avoid Root Rot in Potted Plants: Signs, Watering Mistakes, and Rescue Steps
Root rot is one of the most common reasons potted plants fail, and it’s often misunderstood. You may water carefully, check the top inch of soil, and still find your plant wilting with mushy roots. The problem isn’t always how much you water—it’s how water behaves inside the pot, how your soil mix drains, and how the root system responds. This article walks you through diagnosing root rot, understanding why it keeps happening, and building a prevention system that works. If your plant is already struggling, you’ll find rescue steps that give it a real chance at recovery.
Key Takeaways
-
Test moisture at the bottom of the pot, not just the surface: The top-inch watering rule often fails because the deeper root zone stays wet longer than the soil surface. Use a wooden skewer, moisture meter, or pot weight to check conditions near the bottom before watering.
-
Match pot size and material to your plant’s root system: A pot much larger than the root ball traps excess moisture and creates rot-friendly conditions. Unglazed terracotta dries faster than plastic or glazed ceramic, and drainage holes are essential for preventing water buildup.
-
Adjust your watering rhythm for light, season, and growth rate: Plants use water more slowly in low light, winter, cool rooms, and after repotting. Check actual pot conditions instead of following a fixed weekly schedule to avoid overwatering during slow-growth periods.
-
Rescue plants by removing rotten roots and repotting in fresh mix: Cut away all mushy, brown, or smelly roots with clean tools, then replant in a well-draining mix suited to the plant. After rescue, provide bright indirect light, water sparingly, and avoid heavy fertilizing for at least a month.
-
Hydrogen peroxide is not a cure for root rot in potted plants: The real fix is removing damaged roots, changing the potting mix, using a clean pot, and correcting the watering conditions that caused the rot in the first place.
Is It Root Rot or Just an Overwatered Plant?
When leaves turn yellow or droop, many plant owners immediately suspect root rot. But the same symptoms can come from simple overwatering without rot, underwatering, or environmental stress. Making the wrong call can lead to unnecessary repotting or missed treatment. The key is to check the roots themselves.
Root Rot Symptoms: What to Check Above and Below the Soil
Above-ground signs alone are not enough to confirm root rot. Use this table to narrow down whether root rot is likely, then follow up with a root inspection.
| Symptom | Could be root rot? | What to check next |
|---|---|---|
| Yellowing lower leaves | Maybe | Soil moisture, root smell, root color |
| Wilting even when soil is wet | Yes, possible | Root firmness and oxygen-starved soil |
| Mushy, brown, black, or smelly roots | Strong sign | Remove plant and inspect root ball |
| Soft crown or collapsing stems | Serious sign | Check crown rot and stem base |
| Fungus gnats with wet soil | Warning sign | Indicates consistently damp mix |
| Crispy dry leaves with dry soil | Less likely | Could be underwatering or low humidity |
| Slow growth in a wet pot | Possible early warning | Check pot size, light, mix, and drainage |
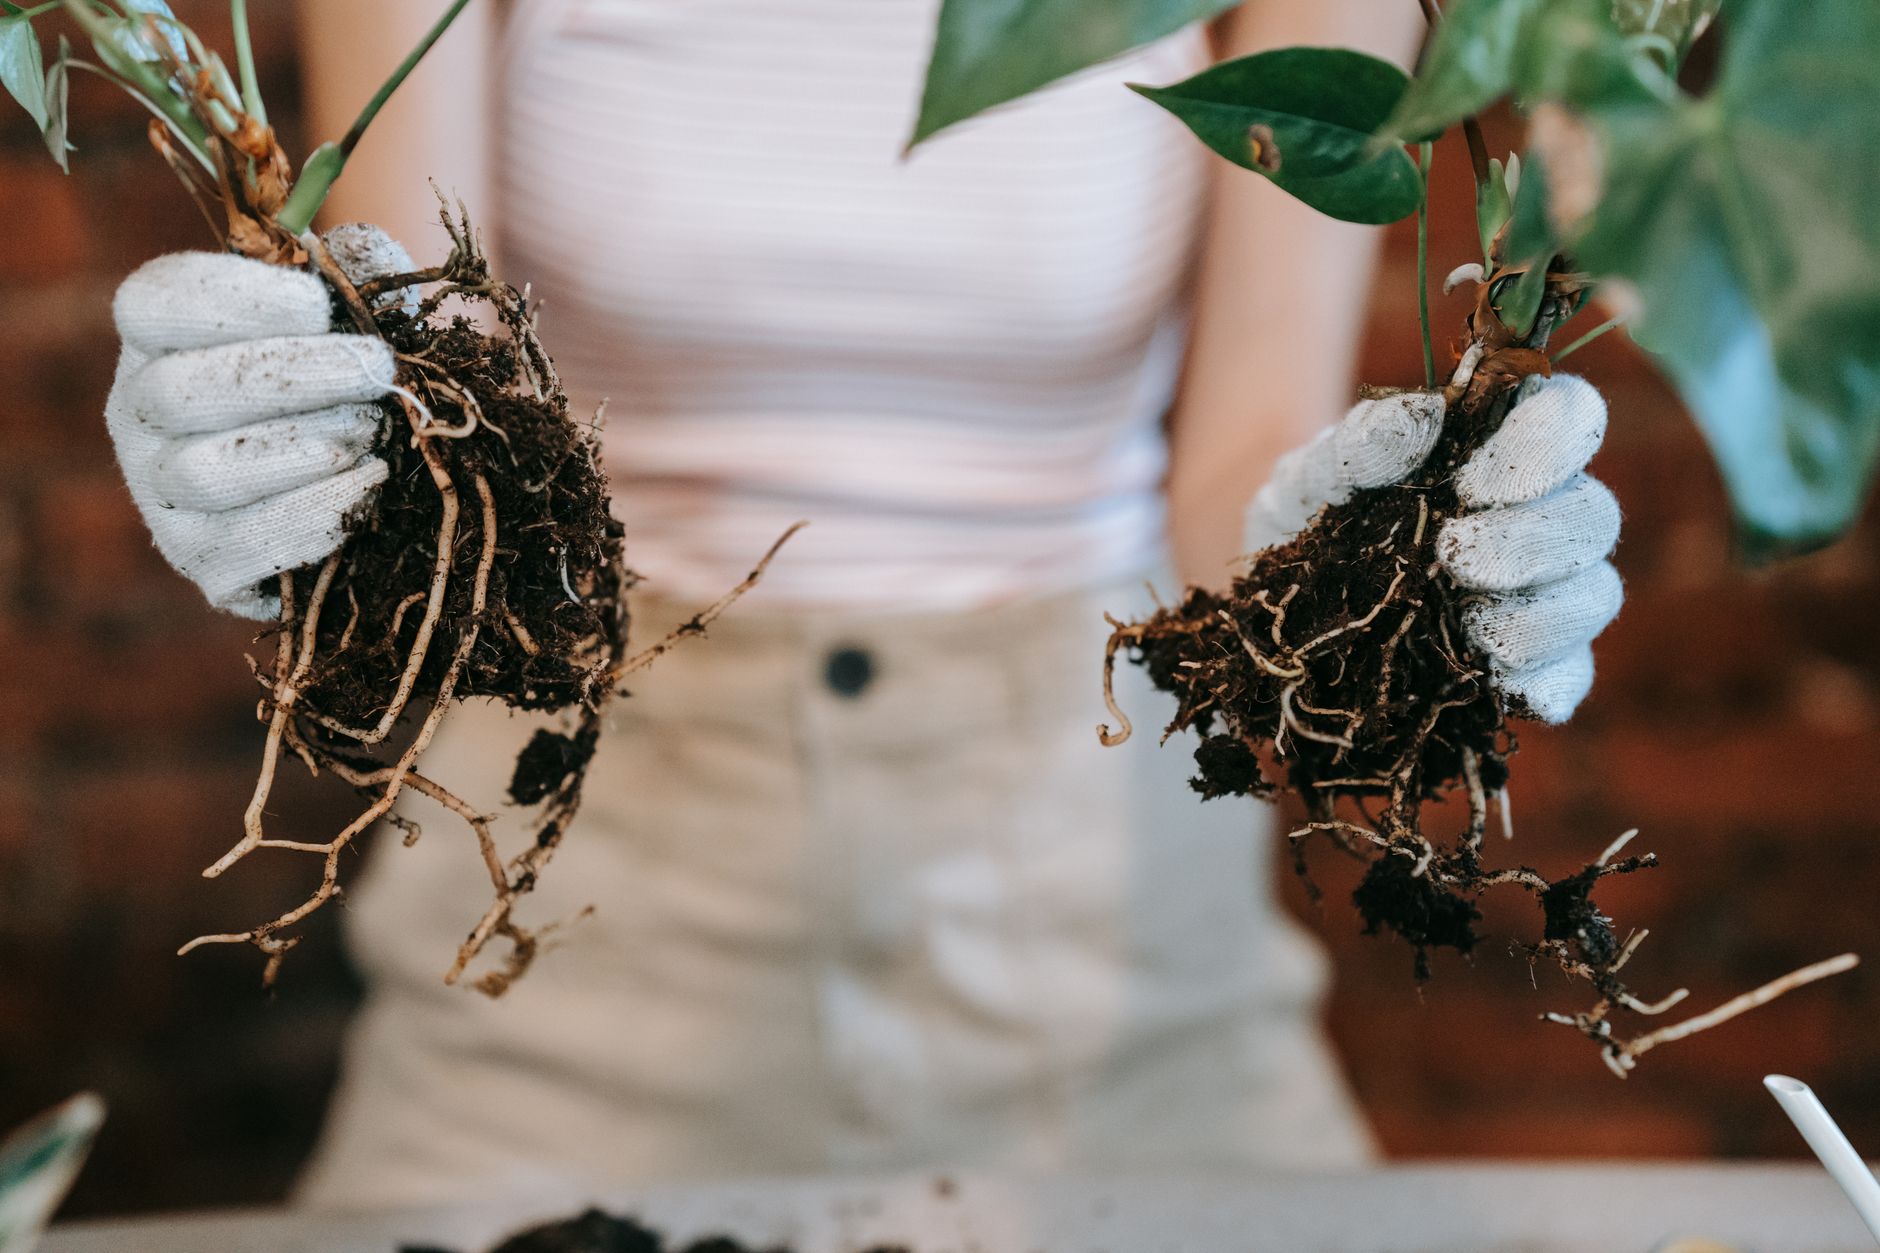
Healthy roots are firm and light-colored—white, cream, or pale tan. Rotted roots turn brown or black, feel soft or mushy, may have a sour smell, and often pull apart easily. If you gently tug a root and the outer sheath slides off, that’s rot. Above-ground symptoms like wilting with wet soil can look almost identical to underwatering, so trust the roots, not the leaves. If your plant is declining and the pot stays wet for days after watering, inspect the root zone.
Overwatering vs. Underwatering: Why the Leaves Can Look Similar
Roots need both water and oxygen. When potting mix stays waterlogged, air spaces fill with water and roots cannot breathe. The plant wilts even though the pot is wet, often mistaken for underwatering, leading owners to water more and worsen the problem. An underwatered plant usually has dry soil throughout the pot. The leaves may look crisp, curl downward, or feel papery. With overwatering, the soil stays damp longer than expected, and leaves may feel soft or show yellowing. Check root zone moisture at least a few inches deep, and feel the weight of the pot. A light pot suggests the soil is drying; a heavy pot after several days suggests it’s staying too wet.
When to Pull the Plant Out of the Pot
A gentle inspection is part of diagnosis. Pull the plant out if:
- The soil stays wet for many days after watering.
- The plant keeps wilting despite wet soil.
- The potting mix smells bad (sour or rotten).
- The stems or crown feel mushy at the base.
Early detection gives the best chance to save the plant. Gently slide the root ball out. If roots are healthy and soil evenly moist, simply place it back. If you find brown, mushy roots, proceed to the rescue steps.
Why Potted Plants Keep Getting Root Rot
If you water less and still lose plants, the problem isn’t your watering frequency—it’s the whole system: pot size, pot shape, drainage, potting mix, light, and watering method.
The Top-Inch Watering Rule Can Mislead You
A common advice is to water only when the top 1–2 inches feel dry. This works for small, fast-draining pots but fails in larger or moisture-retentive setups. Surface soil dries first while the bottom may stay saturated. If you water based only on the surface, the lower root zone can remain soaked for weeks. Test deeper with a skewer, chopstick, or moisture probe. Learn the pot’s weight when dry versus wet. For deep pots, plastic or glazed pots, or dense mixes, rely on deeper moisture checks rather than surface feel.
Overpotting: When a Bigger Pot Holds Too Much Water
Overpotting means using a pot much larger than the root ball. The extra soil volume holds more water than the roots can absorb, especially in low light, cool rooms, dense mix, or non-porous pots. This creates a persistently wet environment. For most houseplants, move up gradually—one to two inches in diameter at a time. Choose a pot only slightly larger than the root ball, leaving about an inch of space around the sides.
Pot Material, Drainage Holes, and the Gravel Layer Myth
Terracotta pots are porous and dry faster than plastic or glazed ceramic. Plastic and glazed pots hold moisture longer, which can be risky for plants that need drying between waterings. Drainage holes are essential for nearly all potted plants. Without them, water collects at the bottom. Empty saucers and cachepots after watering. A common misconception is that a layer of gravel at the bottom improves drainage. In reality, gravel raises the water table inside the pot, bringing water closer to the roots. Instead, use a well-draining potting mix and ensure adequate drainage holes.
Soil Mix Problems: Compaction, Garden Soil, and Water-Retentive Media
Roots rot, not soil, but the wrong mix creates the conditions. Dense garden soil compacts easily and leaves little room for air. A good potting mix for most houseplants should be light and airy with perlite, coarse bark, pumice, or coconut coir. Different plants need different mixes: succulents need a grittier mix than ferns. Always start with fresh, clean mix when repotting.
How to Prevent Root Rot Before It Starts
Prevention means building a system where roots get water without staying wet too long.
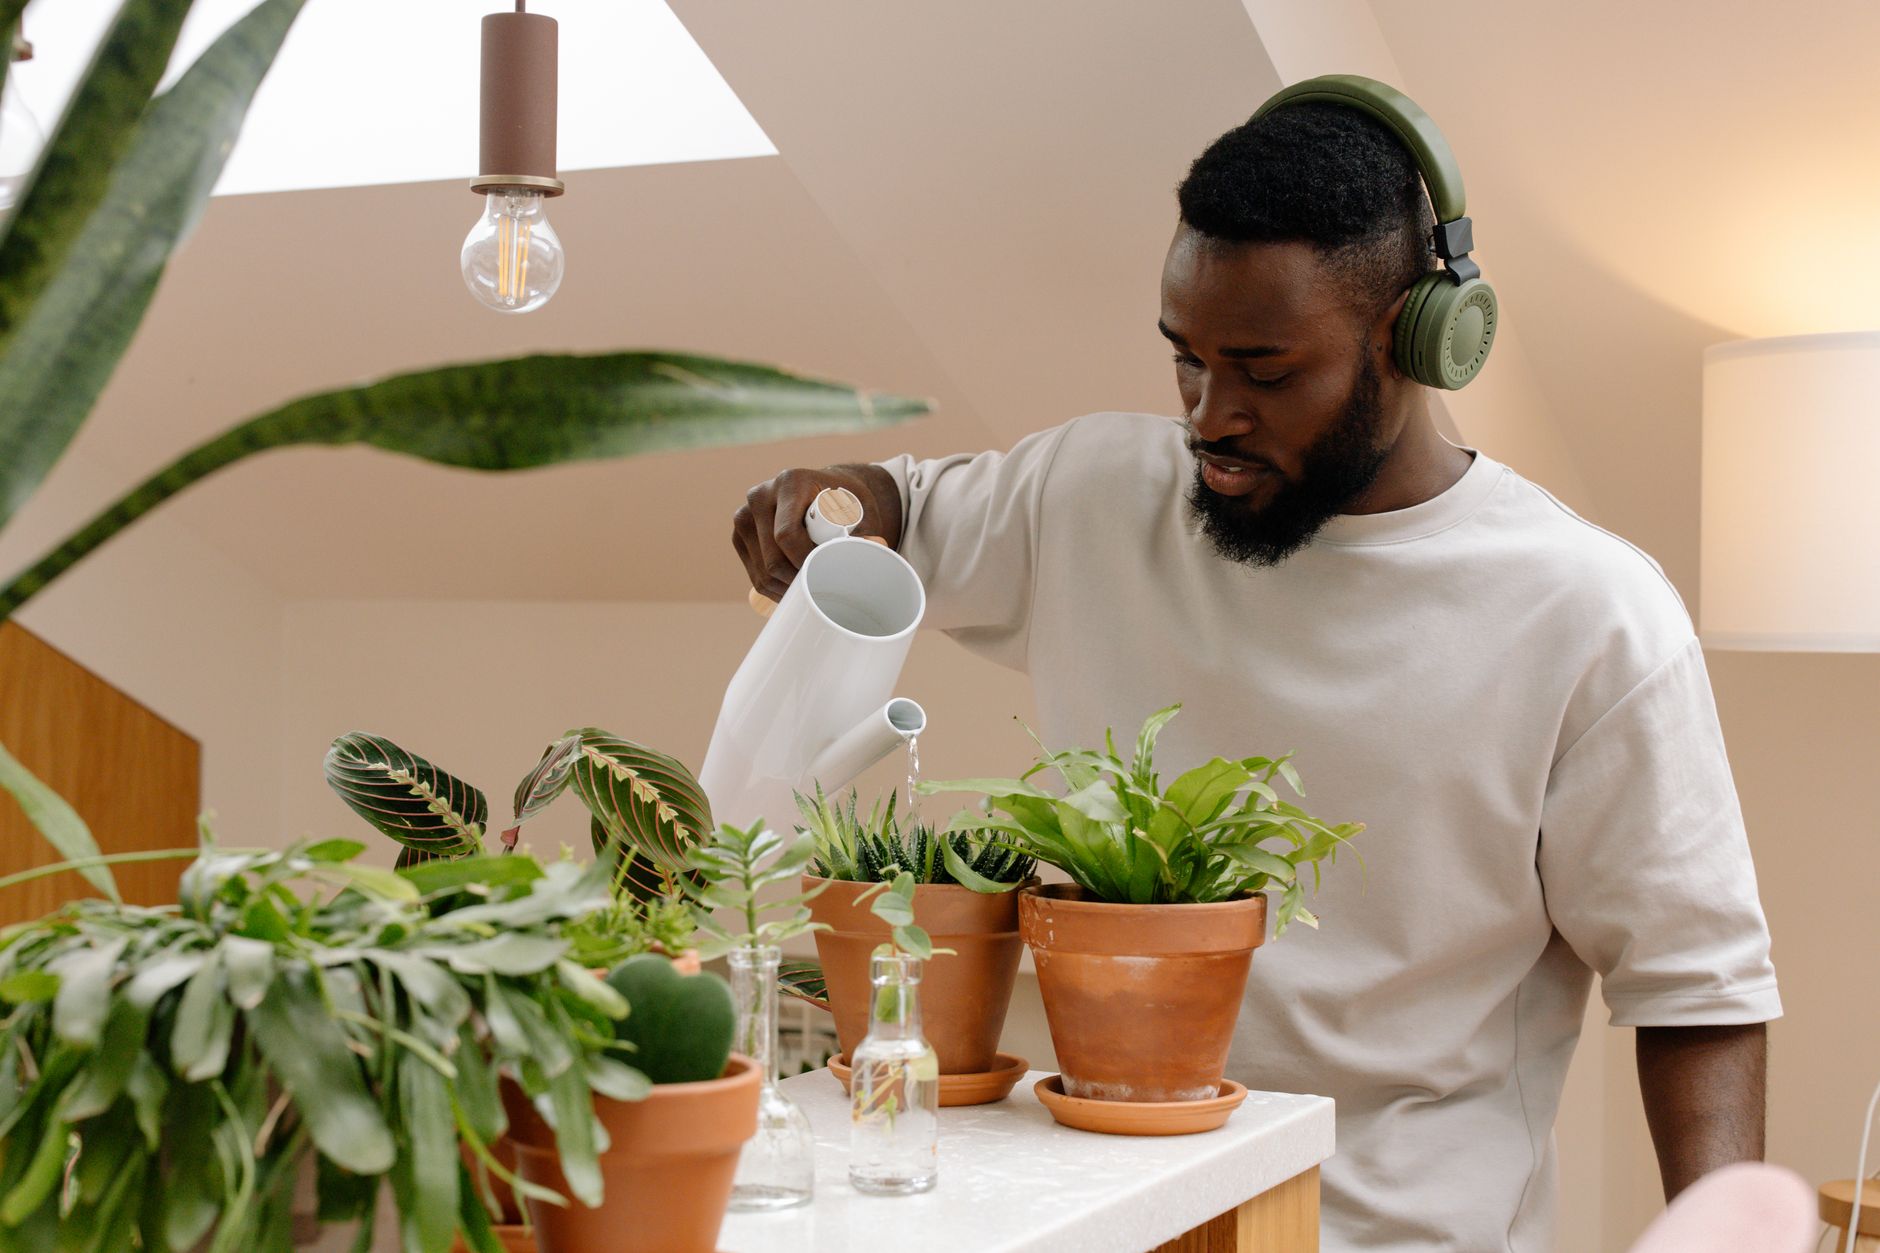
Water the Whole Root Ball, Then Let It Dry Appropriately
Water thoroughly when the plant needs it—pour enough so it runs out the drainage holes. Let the pot drain completely and empty the saucer. Don’t follow a fixed calendar. How dry should the mix get? Tropical plants like ferns may stay lightly moist; succulents need the mix to dry out fully. Aroids like monsteras do well when the top few inches dry out. “Dry enough” depends on plant type, pot size, mix, light, and season.
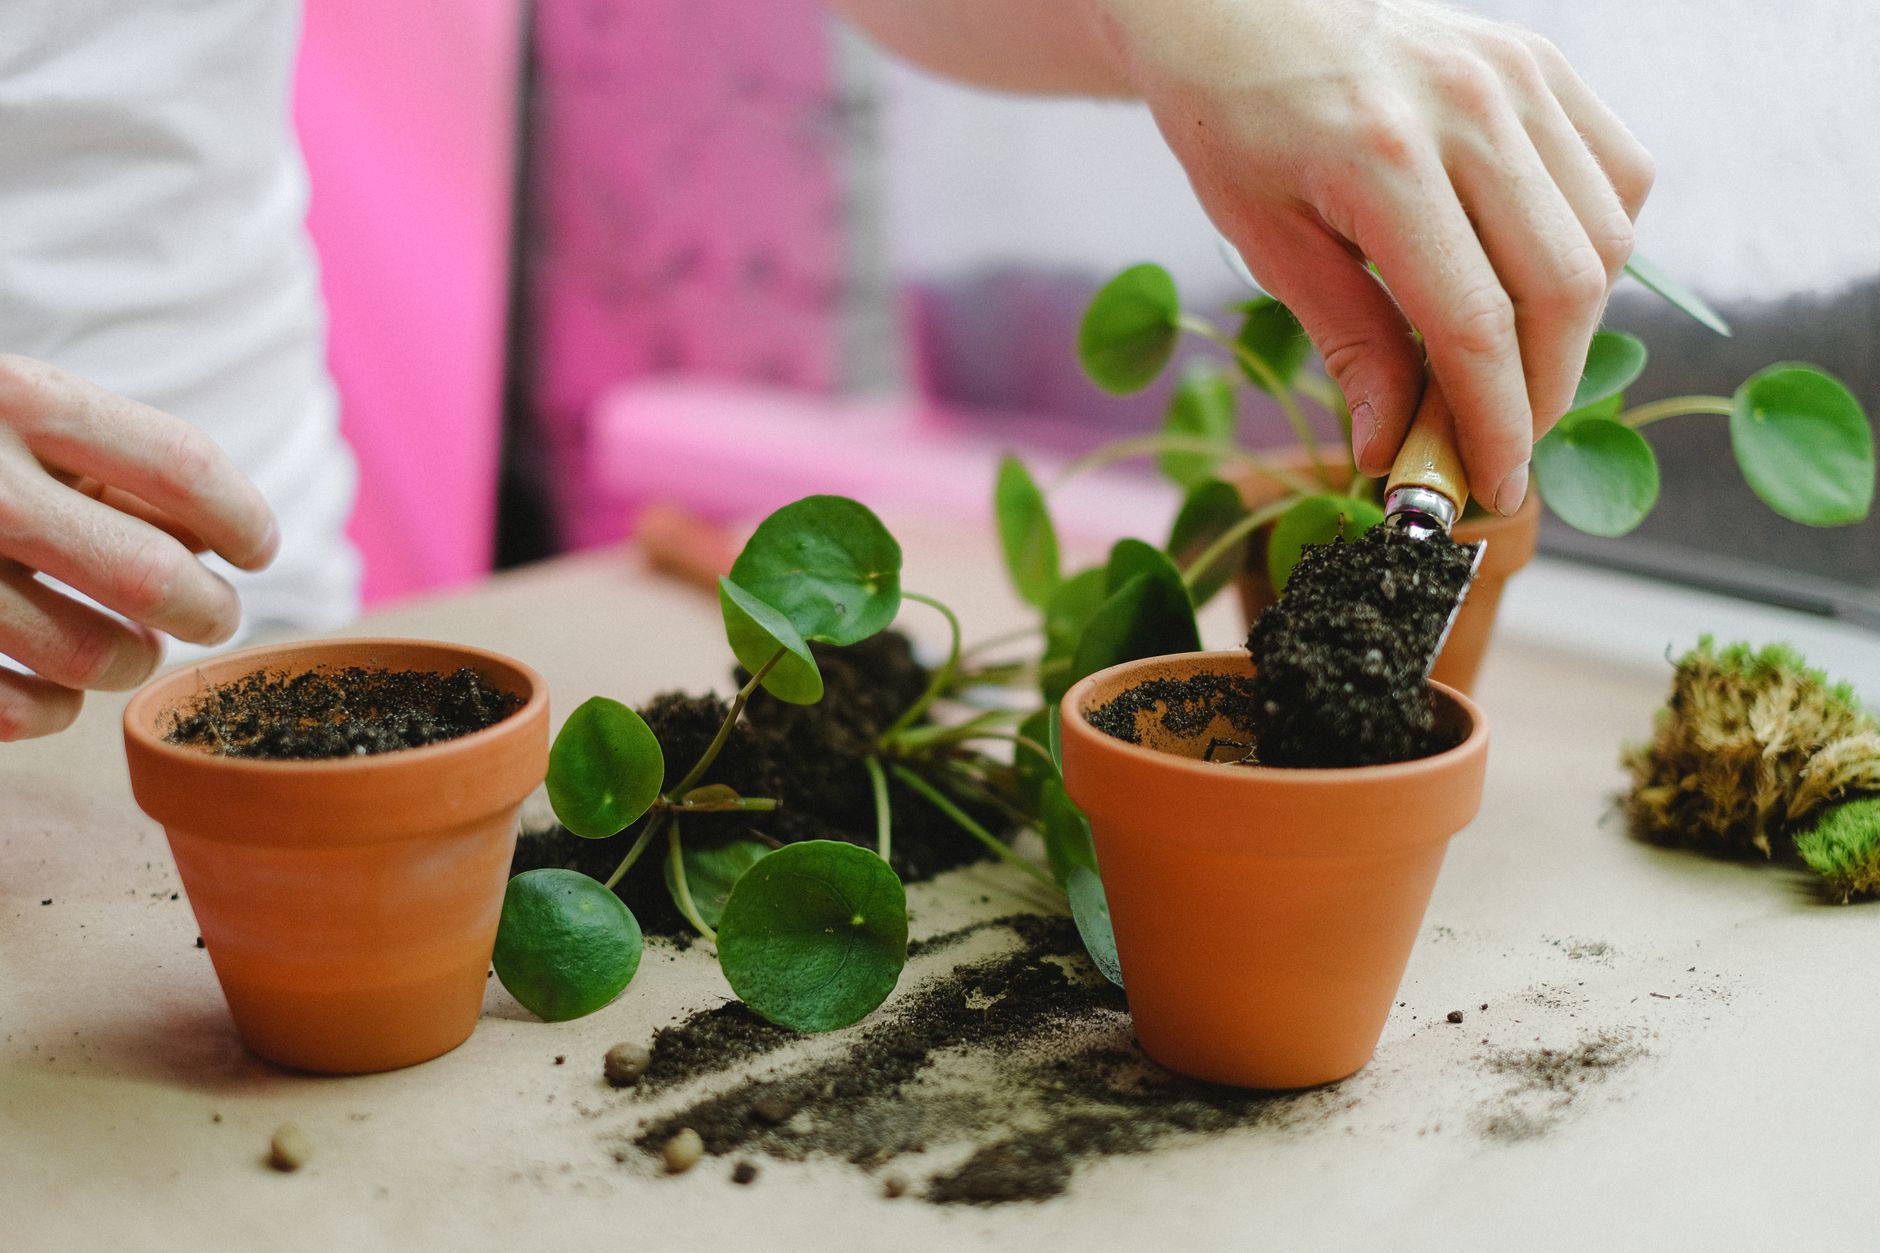
Match Pot Size and Soil Mix to the Plant’s Root System
When repotting, choose a pot only one or two inches larger in diameter than the root ball. Use a well-draining mix suited to the plant. For plants with small root systems, avoid deep decorative pots that expose a tiny root ball to a large volume of wet media. Adding perlite or orchid bark to standard potting soil improves structure for common houseplants.
Adjust Watering for Light, Season, Temperature, and Growth Rate
Many root rot problems start after an environmental change. Plants in low light use water much slower. In winter, cool temperatures and shorter days reduce growth and water uptake. New cuttings, recently repotted plants, and stressed plants may drink less. Check pot weight and moisture at depth instead of a weekly schedule. A plant that needed water every five days in summer might need it every twelve days in winter.
Prevent Fungus Gnats Without Keeping Soil Bone-Dry Forever
Fungus gnats appear when potting mix stays consistently damp. Allow the top layer of soil to dry between waterings, avoid letting water sit in saucers, and use clean indoor potting mix. Sticky traps catch adults; biological controls like Bti target larvae. The long-term fix is better watering timing and surface drying.
How to Save a Plant With Root Rot
If you’ve confirmed root rot, act quickly.
Step 1: Remove the Plant and Inspect the Roots
Slide the plant out of its pot. Shake off or rinse away old wet mix. Healthy roots are firm and light-colored; rotten roots are brown, black, soft, mushy, or stringy and may smell bad. If all roots are gone, take healthy stem cuttings for propagation.
Step 2: Cut Away Rot and Repot in Fresh Mix
Use clean, sharp scissors to remove every bit of mushy, dark, or smelly root. Cut back a few millimeters into healthy tissue. If root loss is severe, trim some foliage to reduce water needs. Repot into a clean pot with drainage holes using fresh, well-draining mix. Do not reuse old mix or pot without thorough cleaning.
Step 3: Aftercare—Light, Watering, and Recovery Timeline
Place the plant in bright, indirect light but avoid harsh direct sun. For most plants, wait a few days after repotting to let tiny root injuries callus over, then water sparingly—keeping the mix lightly moist but not soggy. Succulents should be kept drier; ferns need more consistency. Do not fertilize heavily for the first month. Recovery signs include leaves stabilizing and new growth. Full recovery can take weeks or months.
Should You Use Hydrogen Peroxide for Root Rot?
Hydrogen peroxide is often mentioned as a treatment but is not a miracle cure. The core rescue steps—removing rotten roots, changing the mix, using a clean pot, and fixing watering—are what save the plant. Hydrogen peroxide can oxidize organic matter but may also damage living roots and beneficial microbes. For potted plants, the risk often outweighs the benefit. A fresh potting mix and proper watering achieve better results without chemicals.
Conclusion
Root rot is avoidable once you understand how water behaves in a pot. The top inch can be dry while the bottom stays wet, overpotting traps moisture, and pot material changes evaporation. By checking moisture at depth, matching pot size to root mass, using the right mix, and adjusting watering for light and season, you can keep roots healthy. If rot sets in, early intervention—unpotting, cutting away rot, and repotting in fresh mix—gives your plant the best chance. Hydrogen peroxide is not a shortcut; the real fix is changing the conditions that caused the rot.
FAQ
Why do my plants still get root rot even though I only water when the top 2 inches are dry?
The deeper soil can stay wet long after the surface dries, especially in deep pots, plastic or glazed pots, dense mixes, or low light. Test moisture at the bottom with a skewer or moisture meter, and learn how the pot feels when dry versus wet.
What is overpotting and how does it cause root rot?
Overpotting means using a pot much larger than the root ball. The extra mix holds more water than the roots can absorb, keeping soil wet longer and reducing oxygen around the roots. This effect is worse in low light, cool temperatures, or non-porous pots.
Is root rot caused by soil or roots?
Root rot is caused by pathogens that attack the roots. Those pathogens thrive in wet, compacted, or contaminated potting mix. The soil itself does not rot—it provides the environment. Using a clean, well-draining mix and proper watering prevents the conditions that lead to rot.
Can a plant recover from root rot?
Yes, if enough healthy roots remain after trimming. After removing damaged roots, repot in fresh mix and adjust watering. Recovery may take weeks to months. If all roots are gone, try propagating healthy stem or leaf cuttings instead.
You Might Also Like