How to Install Landscape Fabric: A Complete Step-by-Step Guide
Landscape fabric can suppress weeds when installed correctly and in the right places. Install it poorly or in the wrong spot, and you create more work. This guide walks you through preparation, installation, and maintenance so you get it right the first time. While landscape fabric is a useful tool for certain applications, it is not a magic solution—it requires careful planning and realistic expectations.
Key Takeaways
- Prepare soil thoroughly before laying fabric: Remove all weeds, roots, and debris first. Level the soil, add amendments, and install drip irrigation before rolling out the fabric. Skipping prep is the most common cause of early failure.
- Choose the right fabric for your project: Woven fabric works best under gravel and in high-traffic areas. Non-woven fabric suits mulched beds that are not disturbed often. Heavier fabric (5+ ounces per square yard) lasts longer under stone.
- Install with proper overlap and coverage: Overlap seams by 6–8 inches, secure with staples every 12–18 inches, and cover with 2–3 inches of mulch or gravel to protect from UV damage. Exposed fabric degrades quickly.
- Landscape fabric works best in limited applications: It performs well under gravel paths and in non-planted areas but is not recommended for vegetable gardens, perennial beds, or areas needing annual soil amendments.
- Plan for ongoing maintenance and eventual replacement: Inspect fabric yearly for tears and clogging. Most woven fabric lasts 3–5 years; heavy non-woven can last 8–10 years. Removal is labor-intensive, so factor that into your decision.
Getting Started: Preparing the Soil Before Installing Landscape Fabric
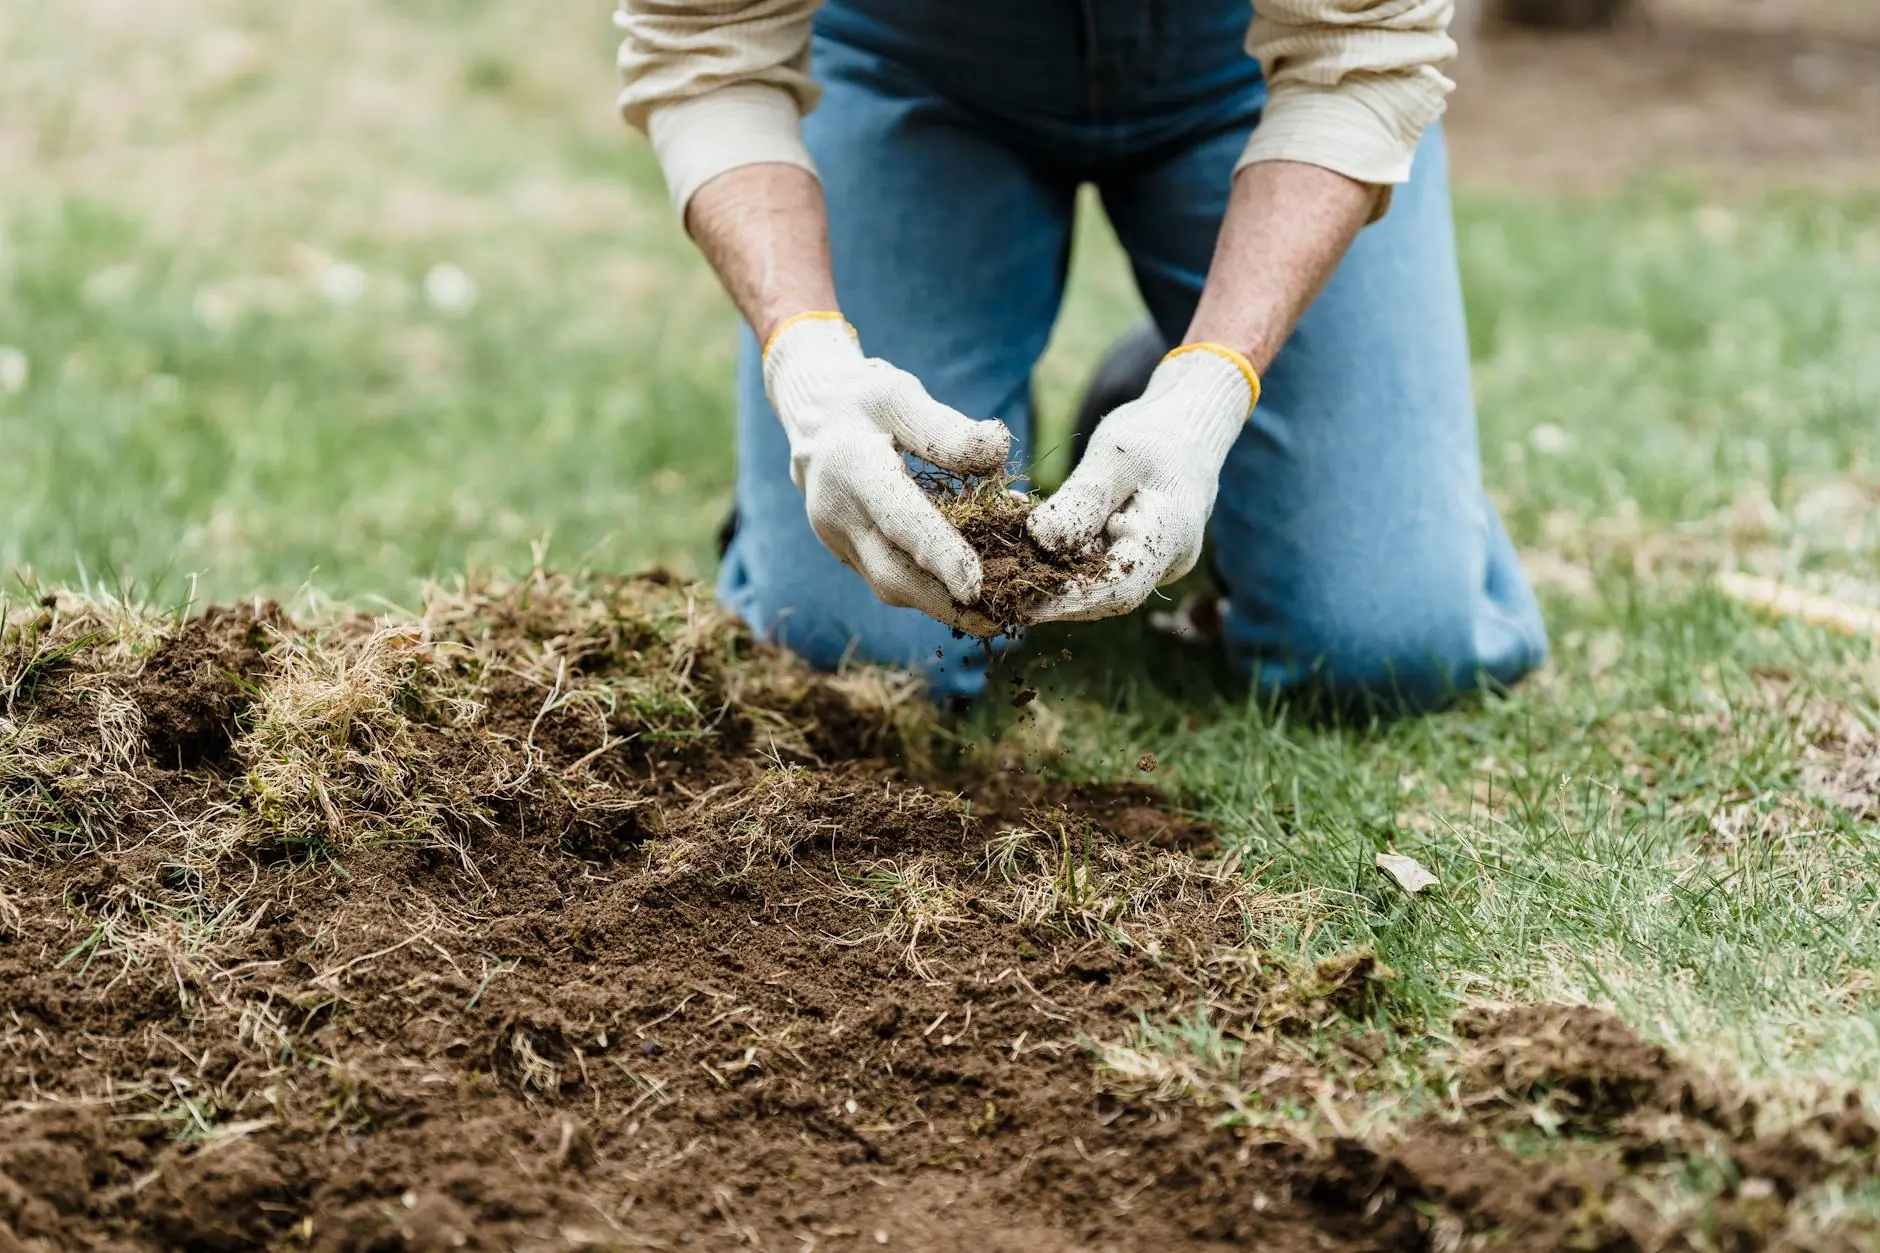
Proper soil preparation determines success. Skipping this step is the most common cause of early failure. The time spent upfront will save hours of frustration later when weeds appear or fabric shifts.
Clearing Weeds and Debris Thoroughly First
Do not lay fabric over existing weeds—they will push through or rot underneath, creating an uneven surface. Remove all vegetation. Pull weeds by hand or use a hoe. For perennial weeds with deep roots, such as dandelions or bindweed, apply glyphosate-based herbicide and wait for die-back (usually 7–14 days). Remove rocks, sticks, roots, and any sharp debris that could cause bumps or punctures. Even small stones left beneath the fabric can create pressure points that lead to tearing over time.
Leveling and Tilling the Soil for a Smooth Base
Level and smooth the soil so fabric lies flat. Till 4–6 inches deep to break compaction and remove remaining roots. Use a rake to smooth the surface, fill low spots with additional soil, and grade so water drains away from structures (1–2% slope is sufficient). For large areas, consider renting a power tiller or utilizing a landscaping rake for efficiency. A perfectly flat base prevents wrinkles and ensures uniform contact with the ground.
Install Irrigation, Soil Amendments, and Optional Underlayment
Add compost, fertilizer, or other soil amendments now—once fabric is down, you cannot easily add organic matter. Lay drip irrigation tubing before the fabric, positioning emitters near planned plant locations. Some gardeners add a cardboard layer beneath the fabric for extra weed suppression; cardboard breaks down in a season or two but provides initial help against aggressive weeds. For areas prone to nut sedge or Bermuda grass, consider a double layer of cardboard plus fabric, though this reduces water permeability slightly.
Choosing the Right Landscape Fabric Before Installation
Choosing the wrong type is a fast track to disappointment. The right fabric depends on location, traffic, and expected lifespan. Understanding the differences will help you make an informed purchase.
Woven vs Non-Woven Landscape Fabric
Woven fabric (polypropylene fibers woven into a grid) is strong, durable, and water-permeable. It resists tearing and holds up well under foot traffic and heavy stone. Best for high-traffic areas like gravel paths, stone patios, or under decks. Non-woven fabric (felt-like, heat-bonded fibers) offers excellent weed suppression and superior water permeability but is less durable under stress. Best under mulch in low-disturbance beds where you rarely walk or dig. For most residential projects, woven fabric provides the best balance of strength and longevity.
What Fabric Weight Should You Choose?
Weight is measured in ounces per square yard. Lightweight fabric (3 oz) may be fine for short-term use under light mulch but degrades quickly in sun or under stone. Medium-weight (4 oz) works for general mulched beds. Heavy-duty fabric (5+ oz) is necessary under gravel, in high-traffic zones, or on slopes where erosion is a concern. Heavier fabric costs more but lasts longer and resists punctures from sharp stones.
Best Landscape Fabric for Gravel, Mulch, and Slopes
Use heavy-duty woven (5+ oz) under gravel; it withstands the weight and sharp edges of stone. For mulched beds, medium-weight non-woven or woven works well—non-woven allows more water through, which benefits plants. On slopes, select heavy woven fabric with good tear resistance; the weight helps it stay in place, and the increased staple spacing (every 6–8 inches) ensures it doesn’t shift.
How to Properly Install Landscape Fabric Step by Step
Step 1: Prepare the Area
Remove all weeds, roots, rocks, and debris. Level and grade the soil for drainage. Add compost or fertilizer as needed. Install drip irrigation tubing, placing emitters where plants will go. Lay optional cardboard barrier if desired. Ensure the entire surface is smooth and free of sharp objects.
Step 2: Roll Out the Fabric
Measure your area and cut the fabric with a utility knife, leaving a few extra inches on each side for overlap and tucking. Roll out flat on the prepared soil. Fabric sides (top vs. bottom) usually do not matter—follow package instructions if given. Unroll slowly, smoothing out wrinkles with your hands or a broom. Pull the fabric taut but not tight; slight slack allows it to conform to the ground.
Step 3: Overlap Seams
Overlap adjacent strips by 6–8 inches minimum; increase to 12 inches for aggressive weeds like quackgrass or bindweed. On slopes, overlap the uphill edge over the downhill edge to prevent water from running under the fabric and causing erosion. For long runs, use a straight edge to keep seams aligned.
Step 4: Secure with Staples
Place landscape fabric staples (U-shaped pins) every 12–18 inches along all edges and seams. On slopes or in windy areas, space staples every 6–12 inches. Drive staples flush with the soil using a rubber mallet or staple gun designed for fabric. For large areas, consider renting a landscape stapler to save time. Check that the fabric is still flat after stapling.
Step 5: Cut Openings for Plants
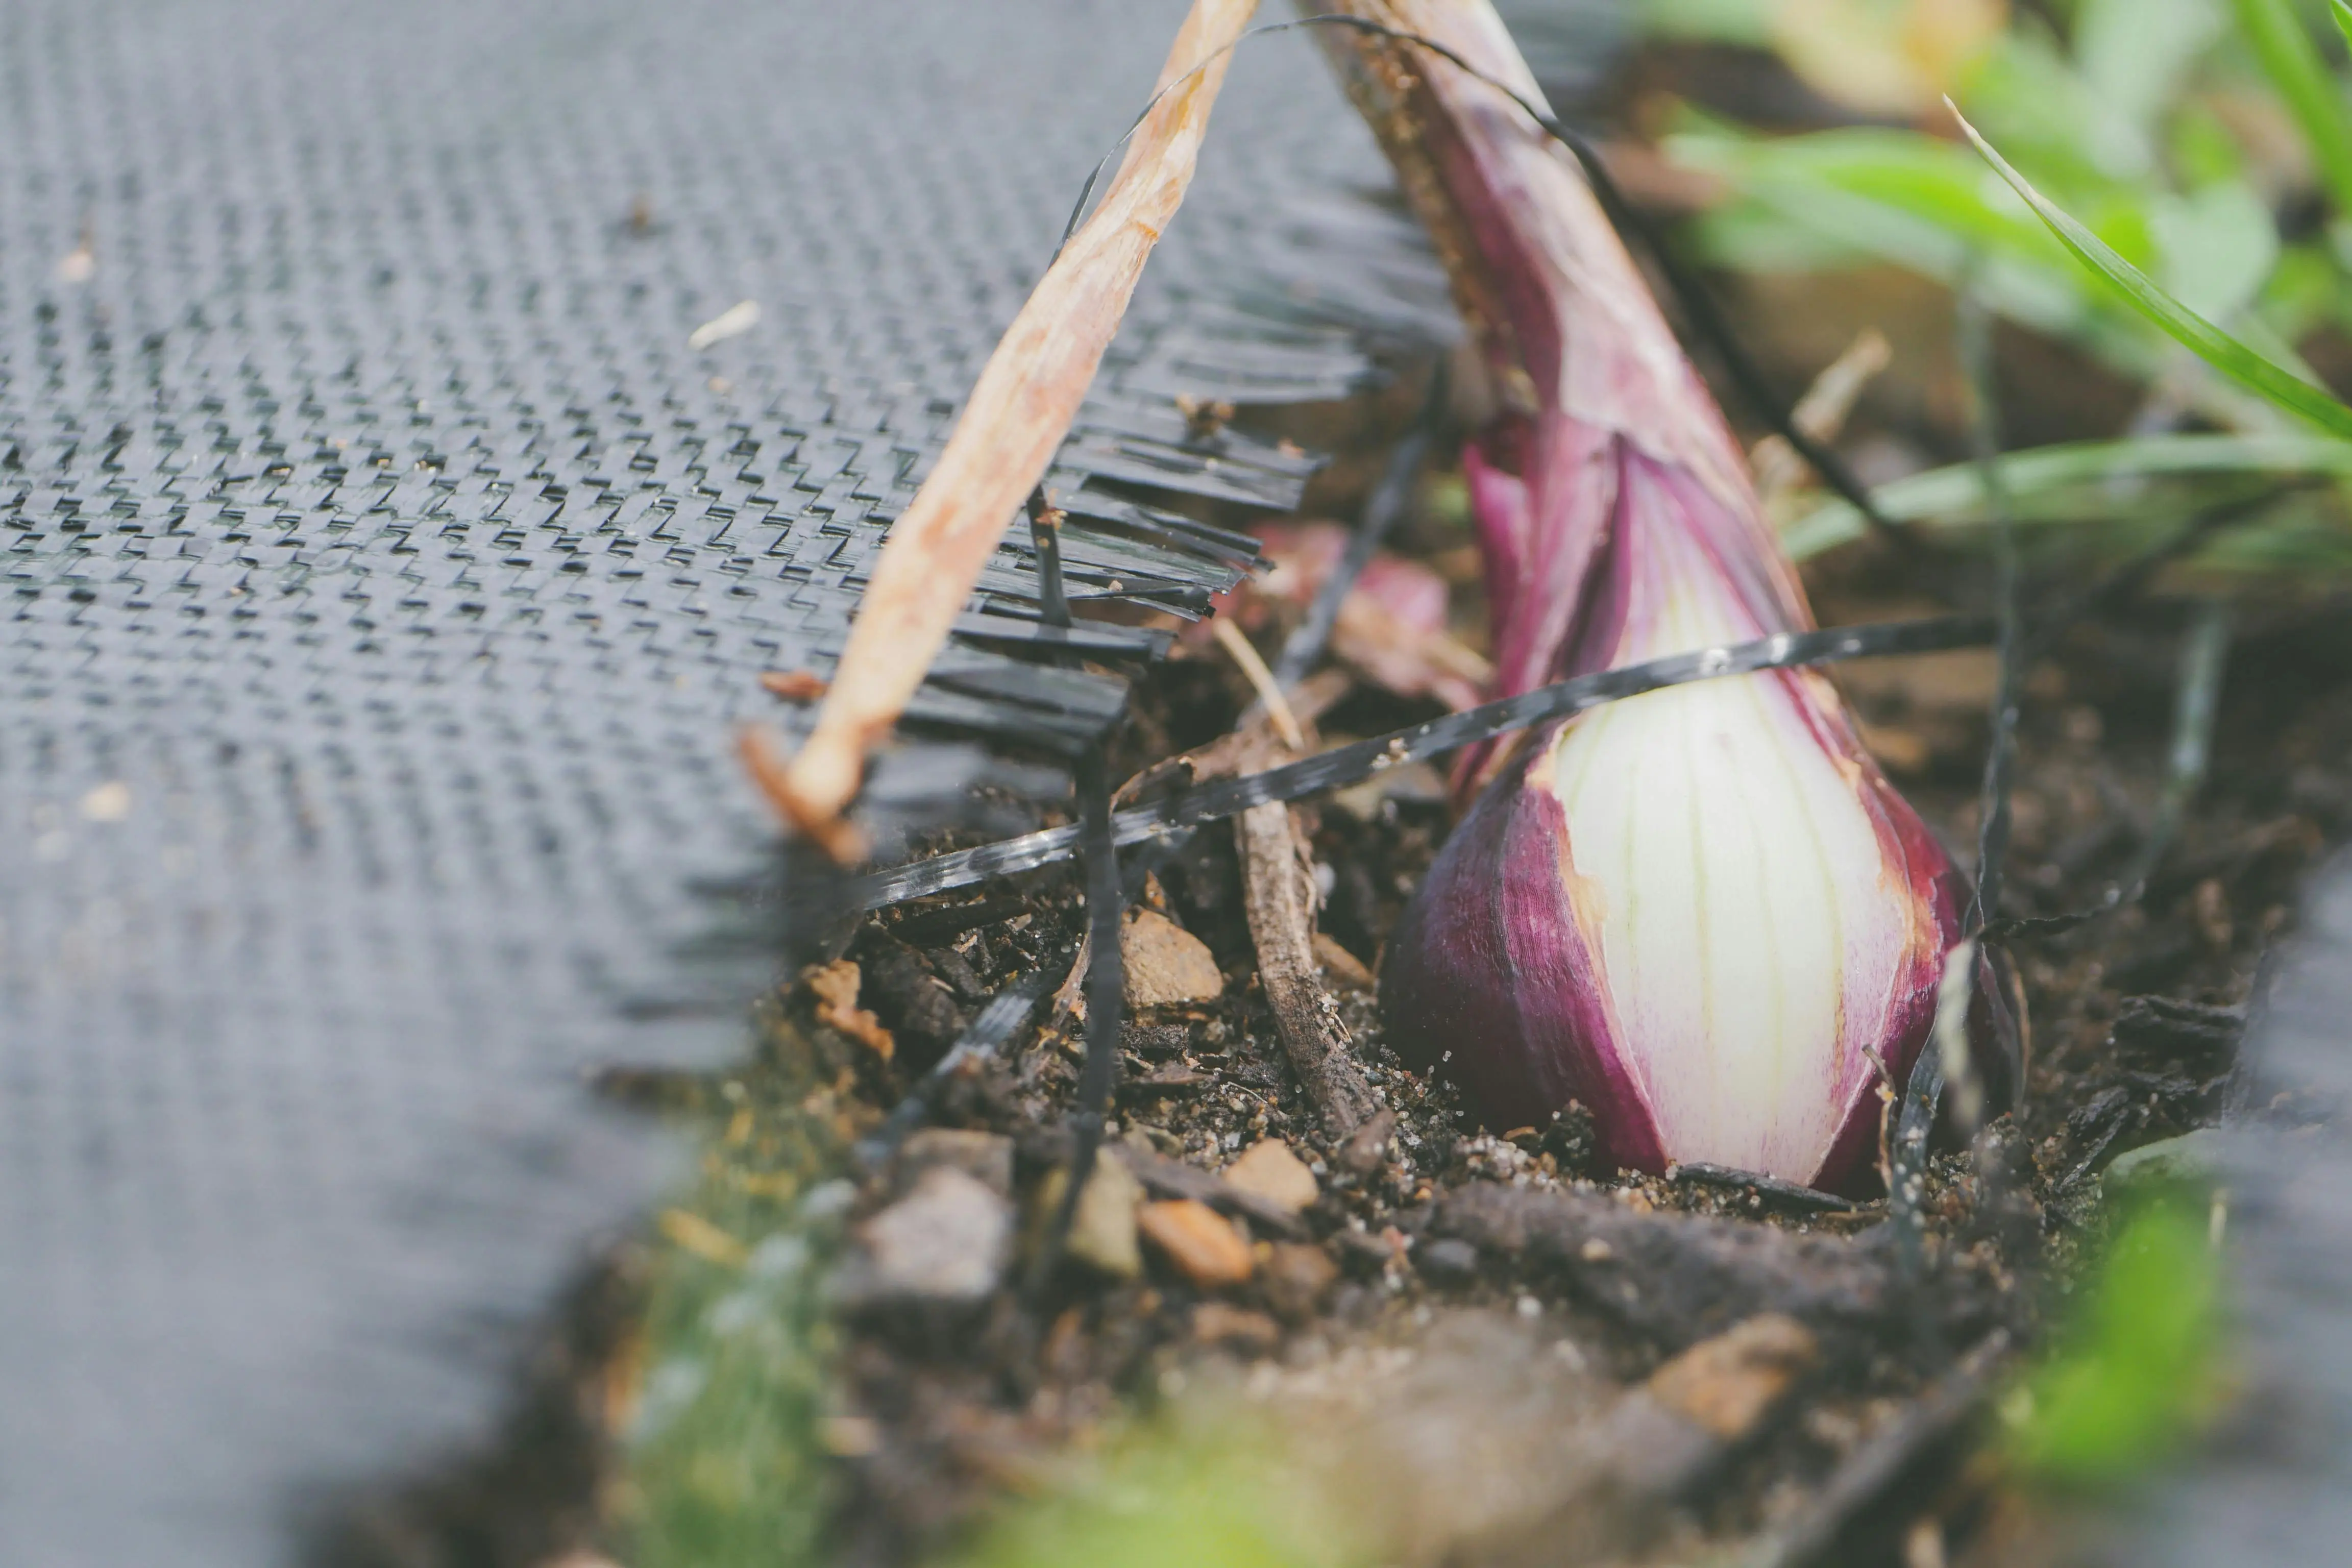
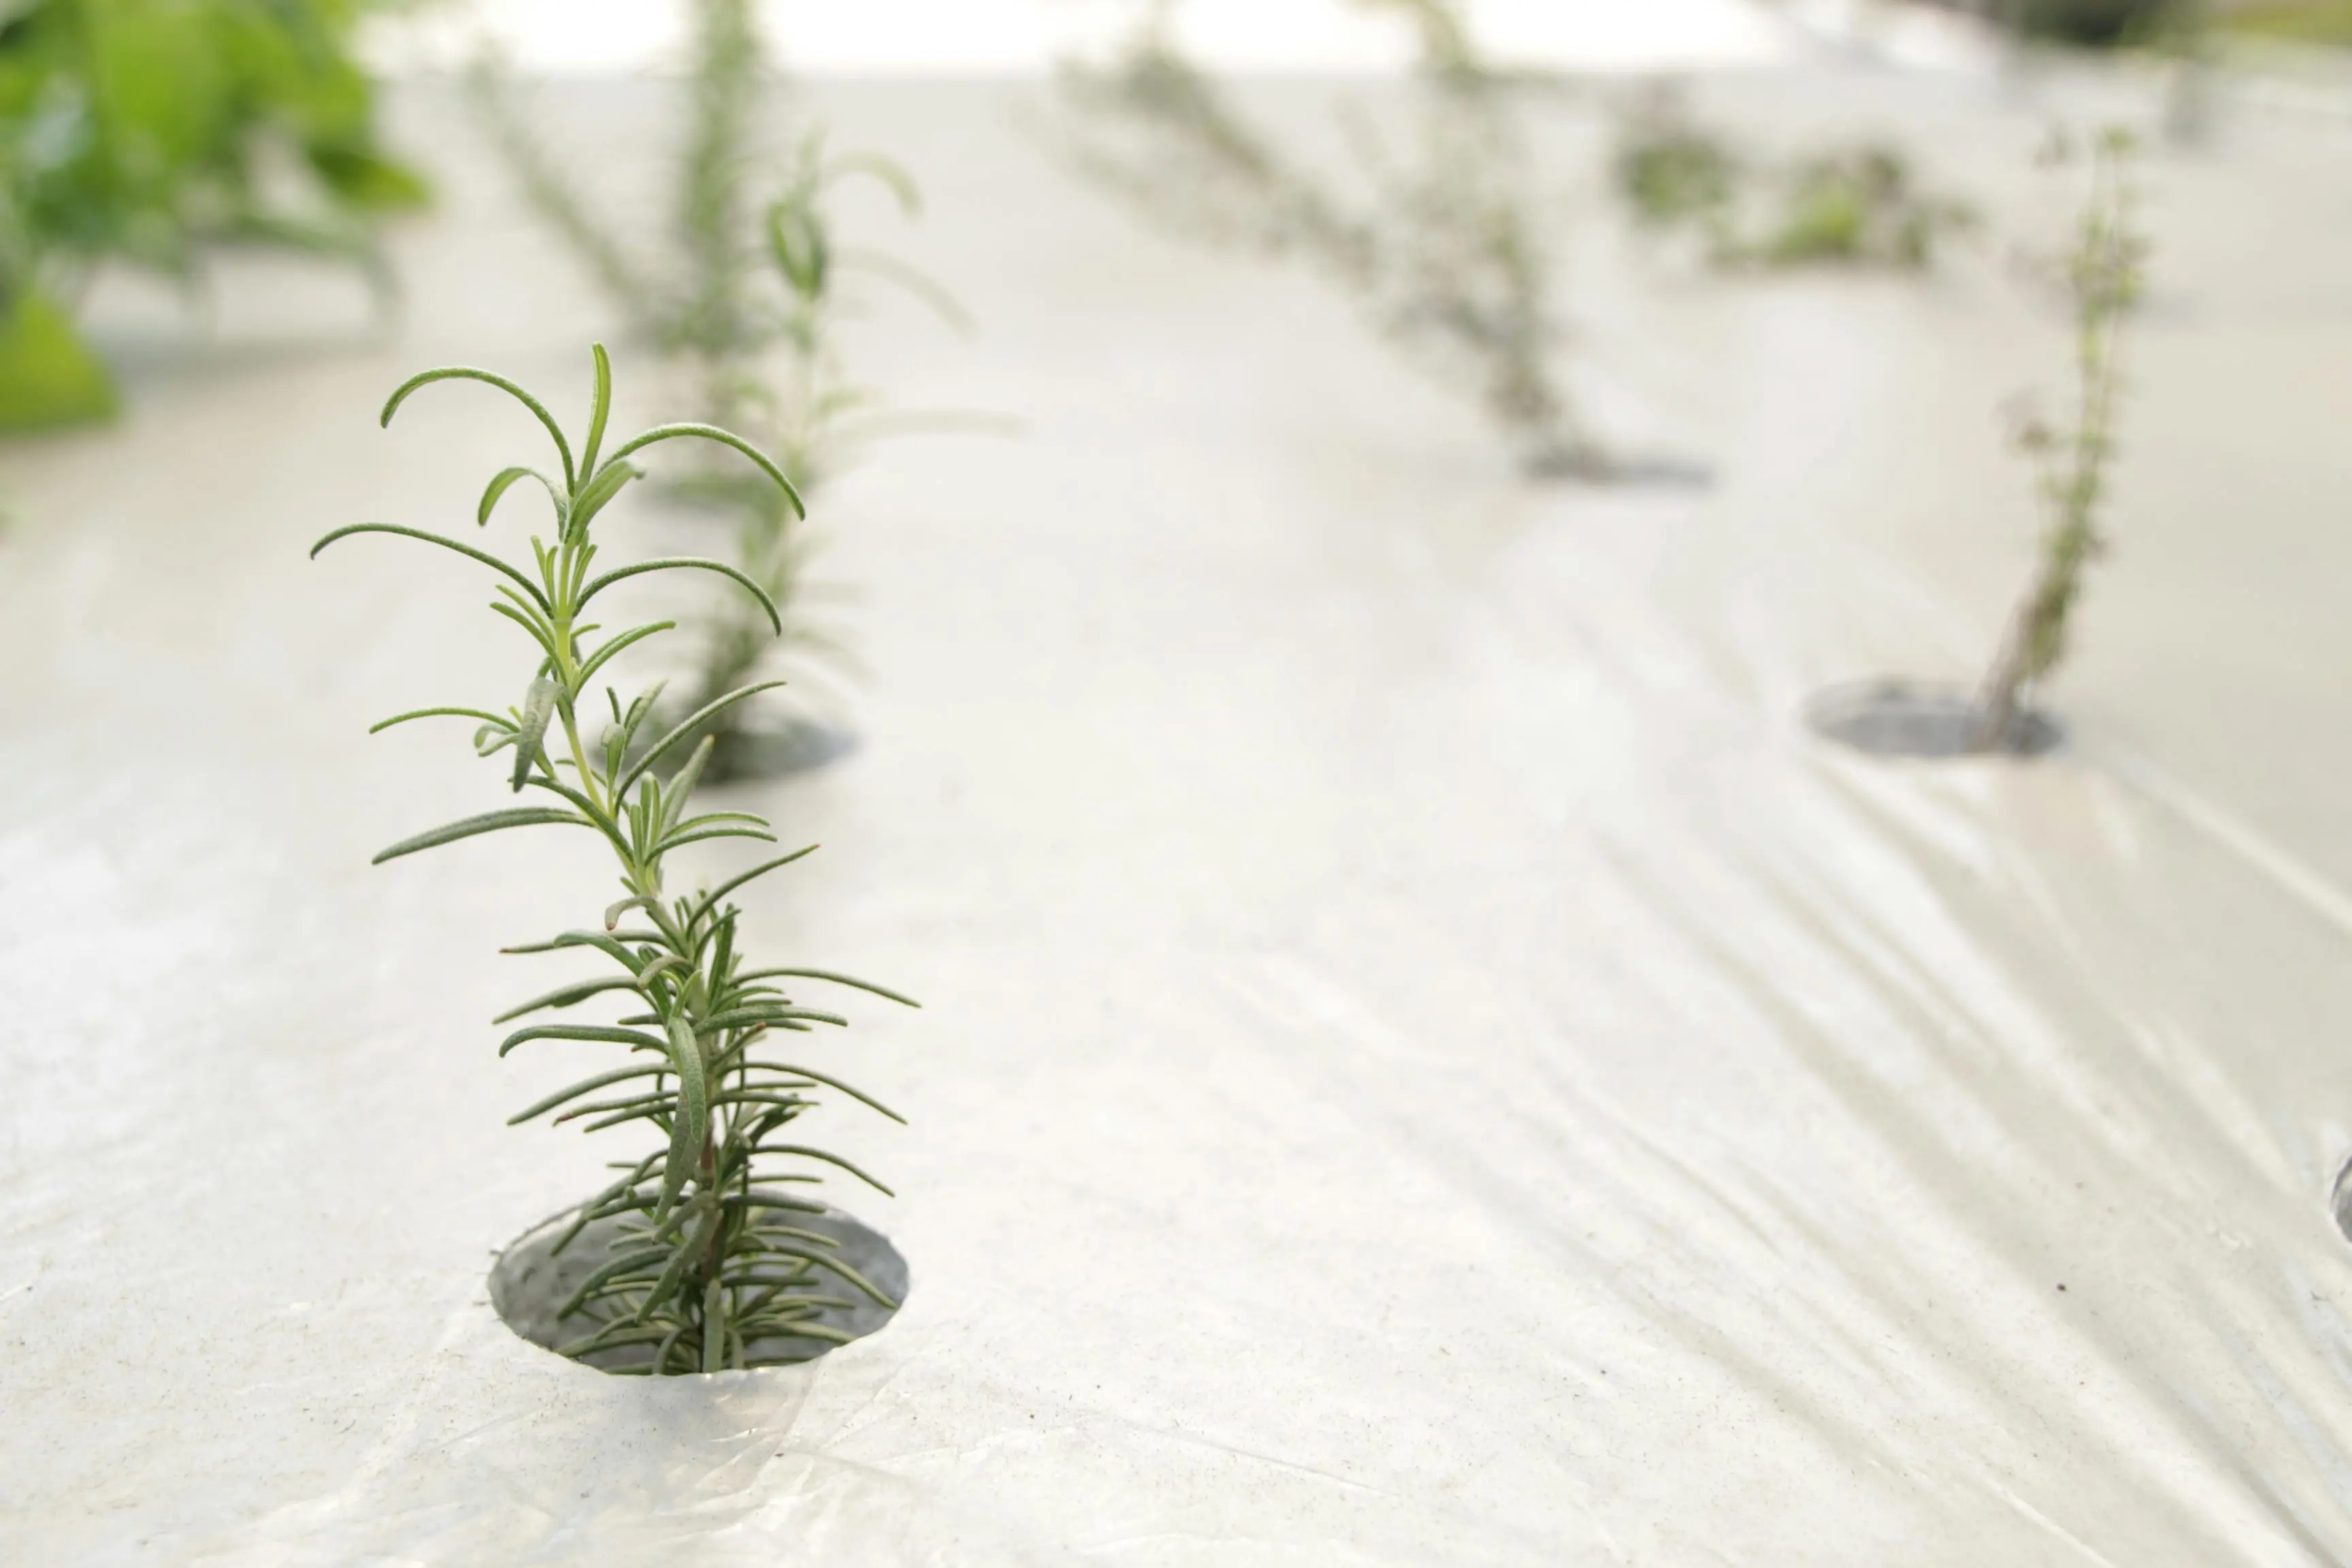
Cut an X-shaped slit for each plant, fold back the flaps, dig a hole, place the plant, then fold the flaps back around the stem. Make the opening no larger than the root ball to minimize exposed soil where weeds can grow. For trees or shrubs, cut a square or circle around the trunk rather than an X, to allow for future growth. Leave 1–2 inches of space between the fabric and the stem for air circulation.
Step 6: Add Mulch or Gravel
Cover the entire fabric with 2–3 inches of mulch (wood chips, bark) or 3–4 inches of gravel. This layer protects the fabric from UV degradation, holds it in place, and improves appearance. Do not mix soil on top—the mulch or gravel must be clean to prevent weed seeds from germinating. For gravel areas, use a rake to spread evenly and ensure no fabric is exposed.
Installing Landscape Fabric in Tricky Spots: Slopes, Gravel, and Around Plants
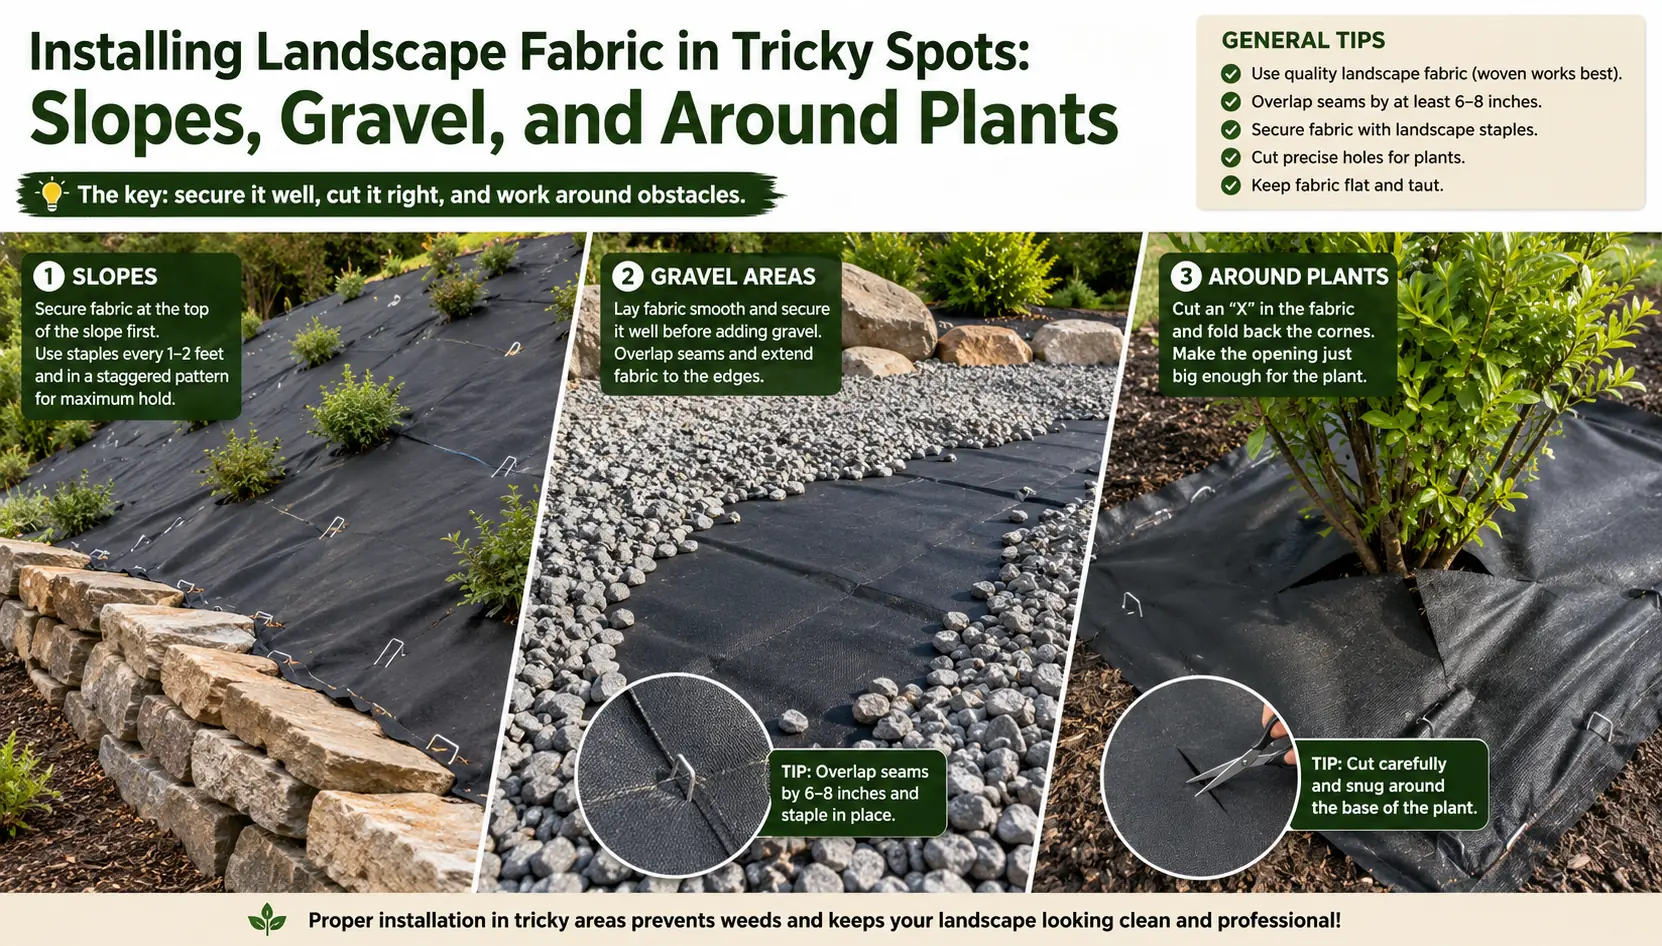
How to Install Landscape Fabric on a Slope
Start at the bottom of the slope and work upward so uphill edges overlap downhill edges—this prevents water from seeping under the fabric. Use staples every 6–12 inches, and for steep slopes, dig a shallow trench at the top, tuck the fabric edge into it, and backfill with soil to anchor it. Adding a layer of gravel on top helps weigh the fabric down.
How to Install Landscape Fabric Under Gravel or Stone
Use heavy-duty woven fabric (5+ oz) to withstand sharp edges. Secure all edges with extra staples, and extend the fabric a few inches beyond the gravel edge; cover this exposed border with edging (metal, plastic, or stone) to hide it. For longest-lasting results, consider a double layer of fabric—the first layer prevents weeds, the second protects the first from puncture.
Installing Around Existing Plants, Shrubs, and Trees
Lay fabric up to each plant. Cut a slit from the edge of the fabric to the plant’s location, then cut a circle or large X around the trunk. Wrap the fabric around the trunk and secure the slit with a staple or fabric tape. Leave 1–2 inches of space for growth and air circulation. Do not pile mulch or gravel against the trunk, as this can lead to rot and pest problems.
Common Landscape Fabric Installation Mistakes and How to Avoid Them
Not Removing Weeds or Roots Before Installing Fabric
Existing weeds and roots will push through or rot beneath the fabric, causing bumps and attracting pests. The most reported frustration—weeds appearing within months—almost always traces back to incomplete removal. Take the time to clear everything, including perennial root fragments.
Using Landscape Fabric in the Wrong Areas
Landscape fabric is not recommended for vegetable gardens (where soil is tilled yearly), perennial beds (where bulbs and divisions are common), or areas needing annual soil amendments. It performs best under gravel paths, rock gardens, and non-planted areas (under sheds, decks, foundation strips). Consider alternatives like cardboard or heavy mulch for ornamental beds.
Ignoring Drainage and Permeability Concerns
Fabric must allow water and air through to prevent root rot and soil compaction. Permeability decreases over time as debris accumulates—faster under mulch than under gravel. Test by pouring water on the fabric after a few months; if it beads up or pools, the fabric is clogged and may need cleaning (gently brush or rinse) or replacement.
Why Landscape Fabric Remains Controversial
Fabric can harm soil biology: earthworms and beneficial insects cannot move through easily, and soil beneath becomes compacted and anaerobic. Mulch cannot decompose into the soil, depriving plants of nutrients. When fabric fails (3–5 years for woven, longer for non-woven), removing it is labor-intensive and often damages roots. Best used only in non-planted areas under gravel or stone where long-term soil health is less critical.
Long-Term Maintenance: Keeping Landscape Fabric Effective Over Time
Inspecting, Repairing, and Replacing Landscape Fabric
Inspect fabric yearly for tears, thinning, or exposed spots caused by UV exposure, animal activity, or foot traffic. UV degradation is the primary cause of failure. Repair small tears (under 4 inches) with fabric tape or patches cut from scrap. For large degradation (multiple tears or widespread thinning), replace the fabric entirely. Woven fabric in full sun may last 3–5 years; heavy non-woven under gravel can last 8–10 years. Signs of failure: poor drainage, exposed edges, weeds growing through the fabric. To remove old fabric, pull back mulch or gravel, cut into manageable strips, and peel up carefully. After removal, add compost and aerate the soil to restore health.
Why Weeds Still Grow Despite Landscape Fabric
Organic matter (dust, leaves, decomposing mulch) accumulates on top of the fabric, creating a thin growing medium for windblown weed seeds. This is why fabric under mulch fails faster than under gravel—mulch decomposes and forms a soil layer. Regular maintenance is essential: sweep debris off fabric, replenish clean mulch annually, and pull any emerging weeds before they establish roots through the fabric.
Conclusion
Landscape fabric works when carefully installed and used in the right places. Prepare soil thoroughly, choose the right fabric (woven for gravel, non-woven for low-disturbance mulch), install flat with proper overlap and coverage, and cover with adequate mulch or gravel. For gravel paths and non-planted areas, it is a useful tool that saves labor for several years. For flower beds and vegetable gardens, other methods (cardboard mulching, regular weeding, or organic mulches) are usually better. Plan for maintenance and eventual replacement from the start, and approach the project with realistic expectations—landscape fabric is a temporary solution, not a permanent fix.
FAQ
What is the best overlap for landscape fabric?
6–8 inches minimum; 12 inches for aggressive weeds.
How far apart should landscape fabric staples be?
12–18 inches along seams and edges; 6–12 inches on slopes or in windy areas.
Can water drain through landscape fabric?
Yes, but permeability decreases over time as debris accumulates. Regular inspection and cleaning can help maintain drainage.
Should landscape fabric go under mulch or gravel?
Both work, but gravel generally provides longer-term performance because it doesn’t decompose. Mulch requires more frequent replacement and can contribute to clogging.
You Might Also Like