Bromeliad Care: How to Successfully Grow and Care for Bromeliads Indoors
You just brought home a bromeliad, but soon the flower fades and leaf tips turn brown. Bromeliads are different from most houseplants. Once you understand how they naturally grow, they become easy and rewarding to keep indoors. This guide covers how to care for a bromeliad, raise the pups it produces, and stop worrying over every leaf change. Whether you own a popular Guzmania, a silver-leaved Aechmea, or a colorful Neoregalia, the same core principles apply.
Key Takeaways
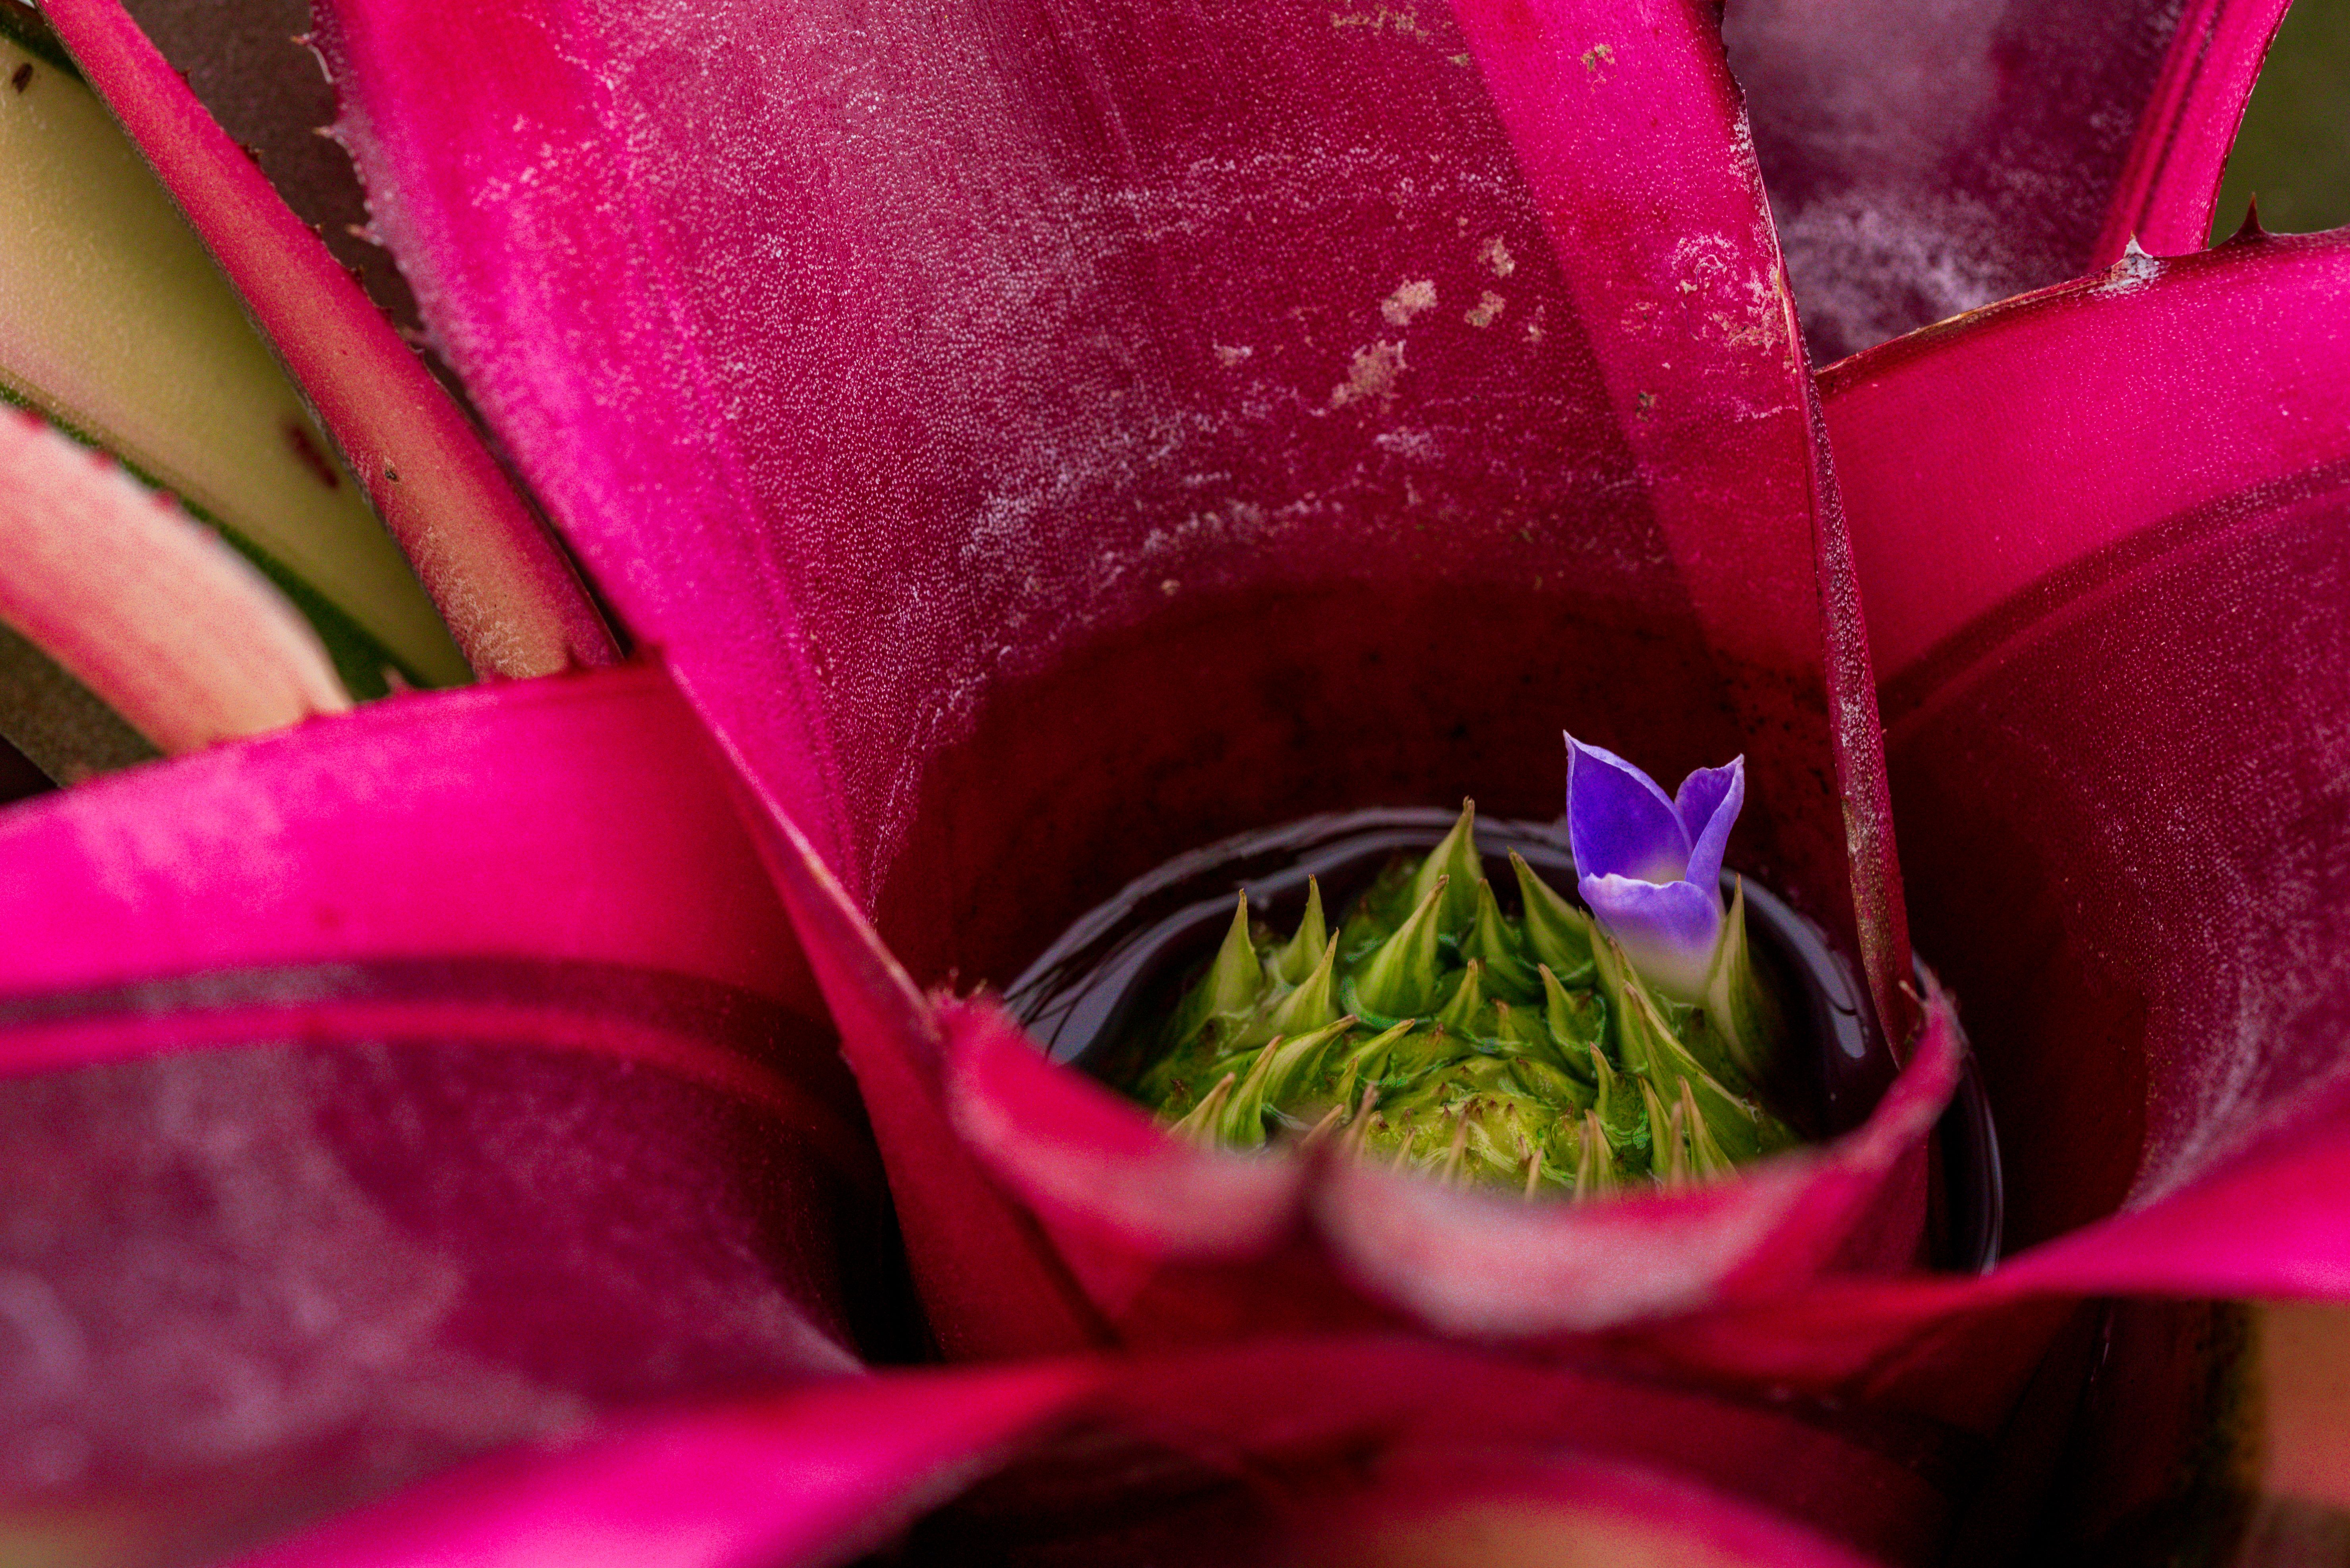
- Water in the central cup, not just the soil: Bromeliads absorb most moisture through the rosette cup. Keep it filled with fresh water and flush it weekly, while only lightly watering the potting mix when dry.
- Bright indirect light keeps bromeliads healthy and colorful: A spot near an east or west window works best. Too little light causes fading and stretching, while direct sun burns the leaves.
- The flower only blooms once, but the plant lives on through pups: After the flower fades, the mother plant produces offsets called pups. Let them grow to at least one-third the mother’s size before separating.
- Brown leaf tips are usually cosmetic, not a sign your plant is dying: Dry indoor air and tap water minerals cause crispy leaf edges. Switching to filtered or distilled water and raising humidity often solves the problem.
Understanding Your Bromeliad: Light, Water, and the Right Environment
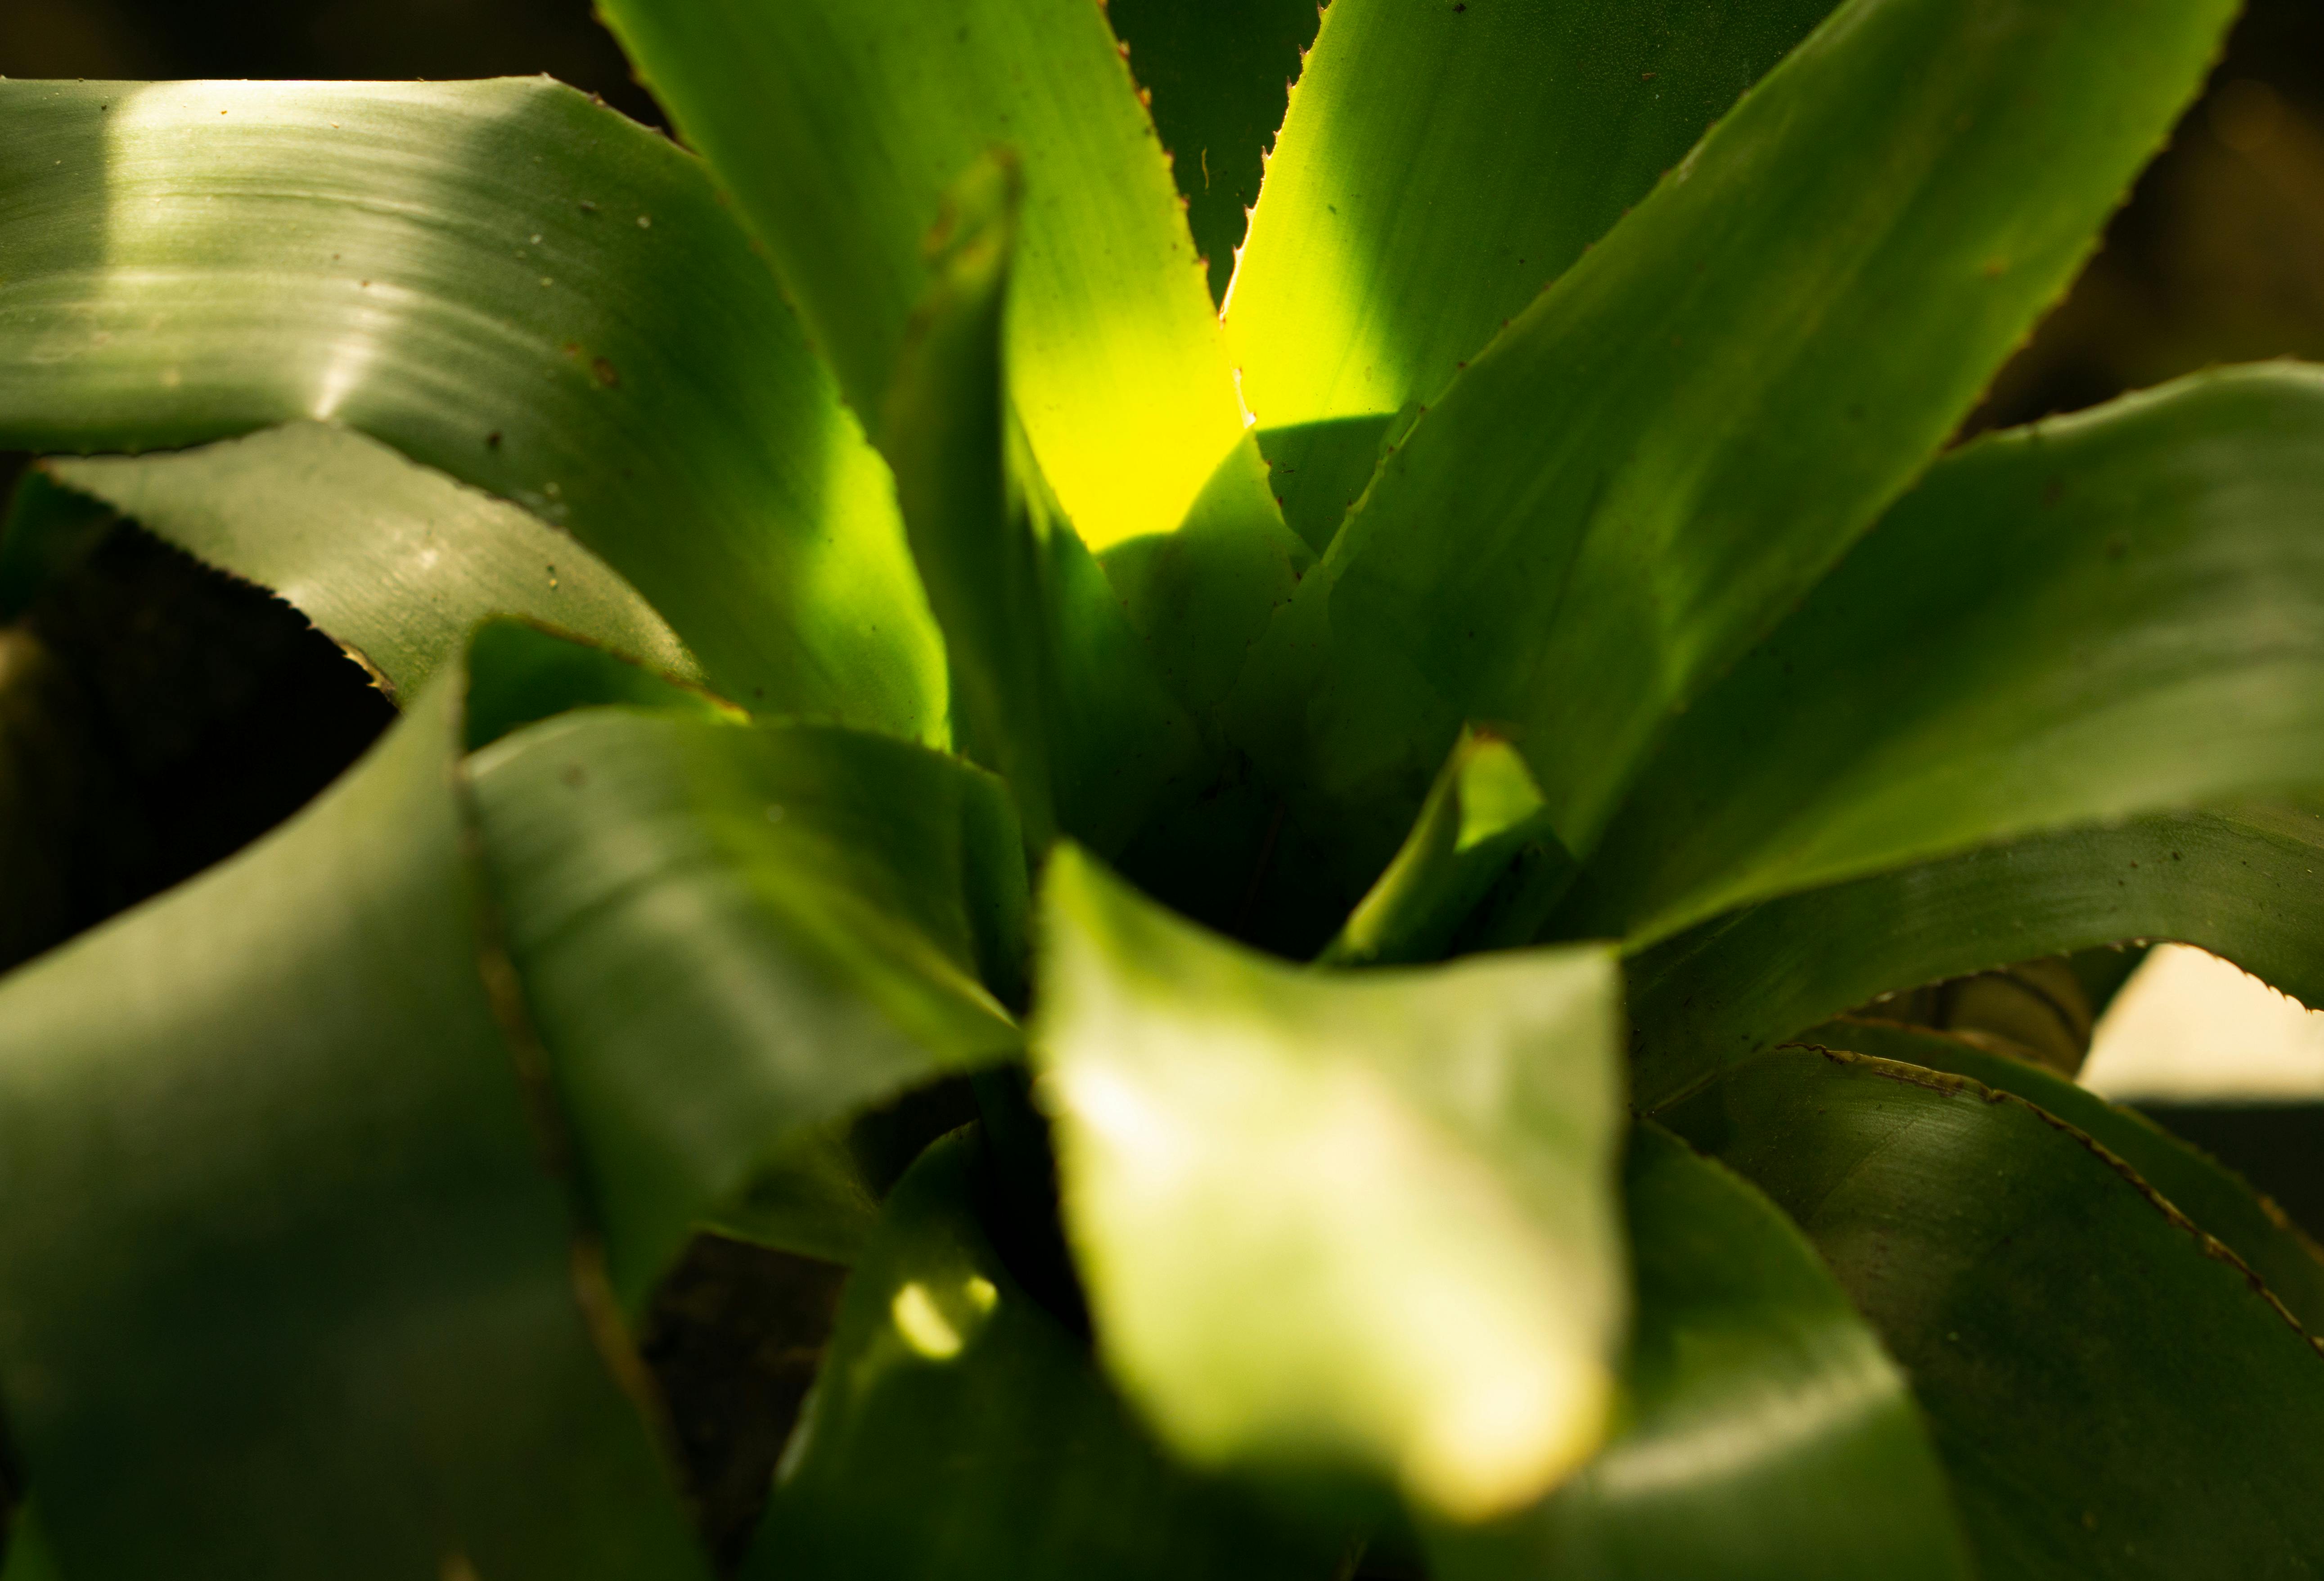
Getting the basics right makes everything easier. Bromeliads are native to tropical climates where they grow on trees or rocks, which shapes how you should treat them indoors. Their roots are primarily anchors, not heavy feeders, and their leaves form a central cup that collects water and debris. Recreating these conditions—bright filtered light, good air circulation, and a well-draining medium—is the secret to success.
Best Light Conditions for Indoor Bromeliads
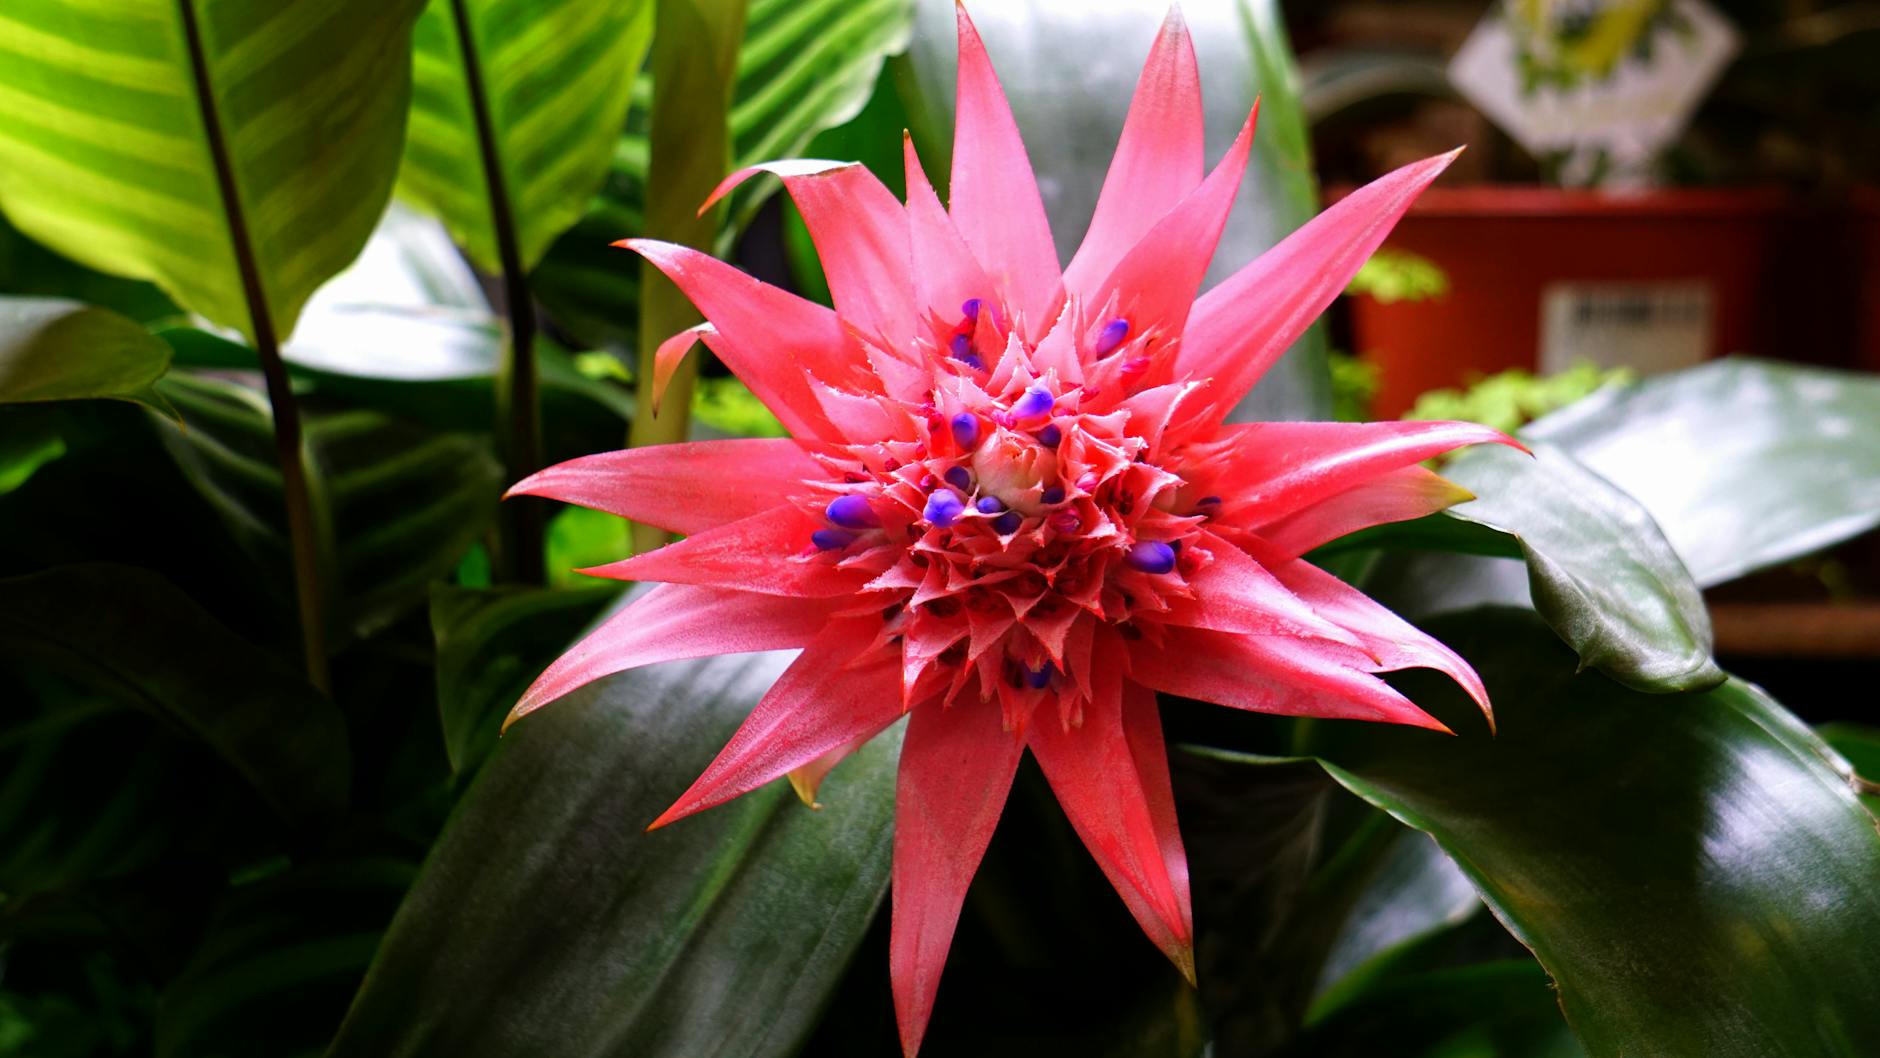
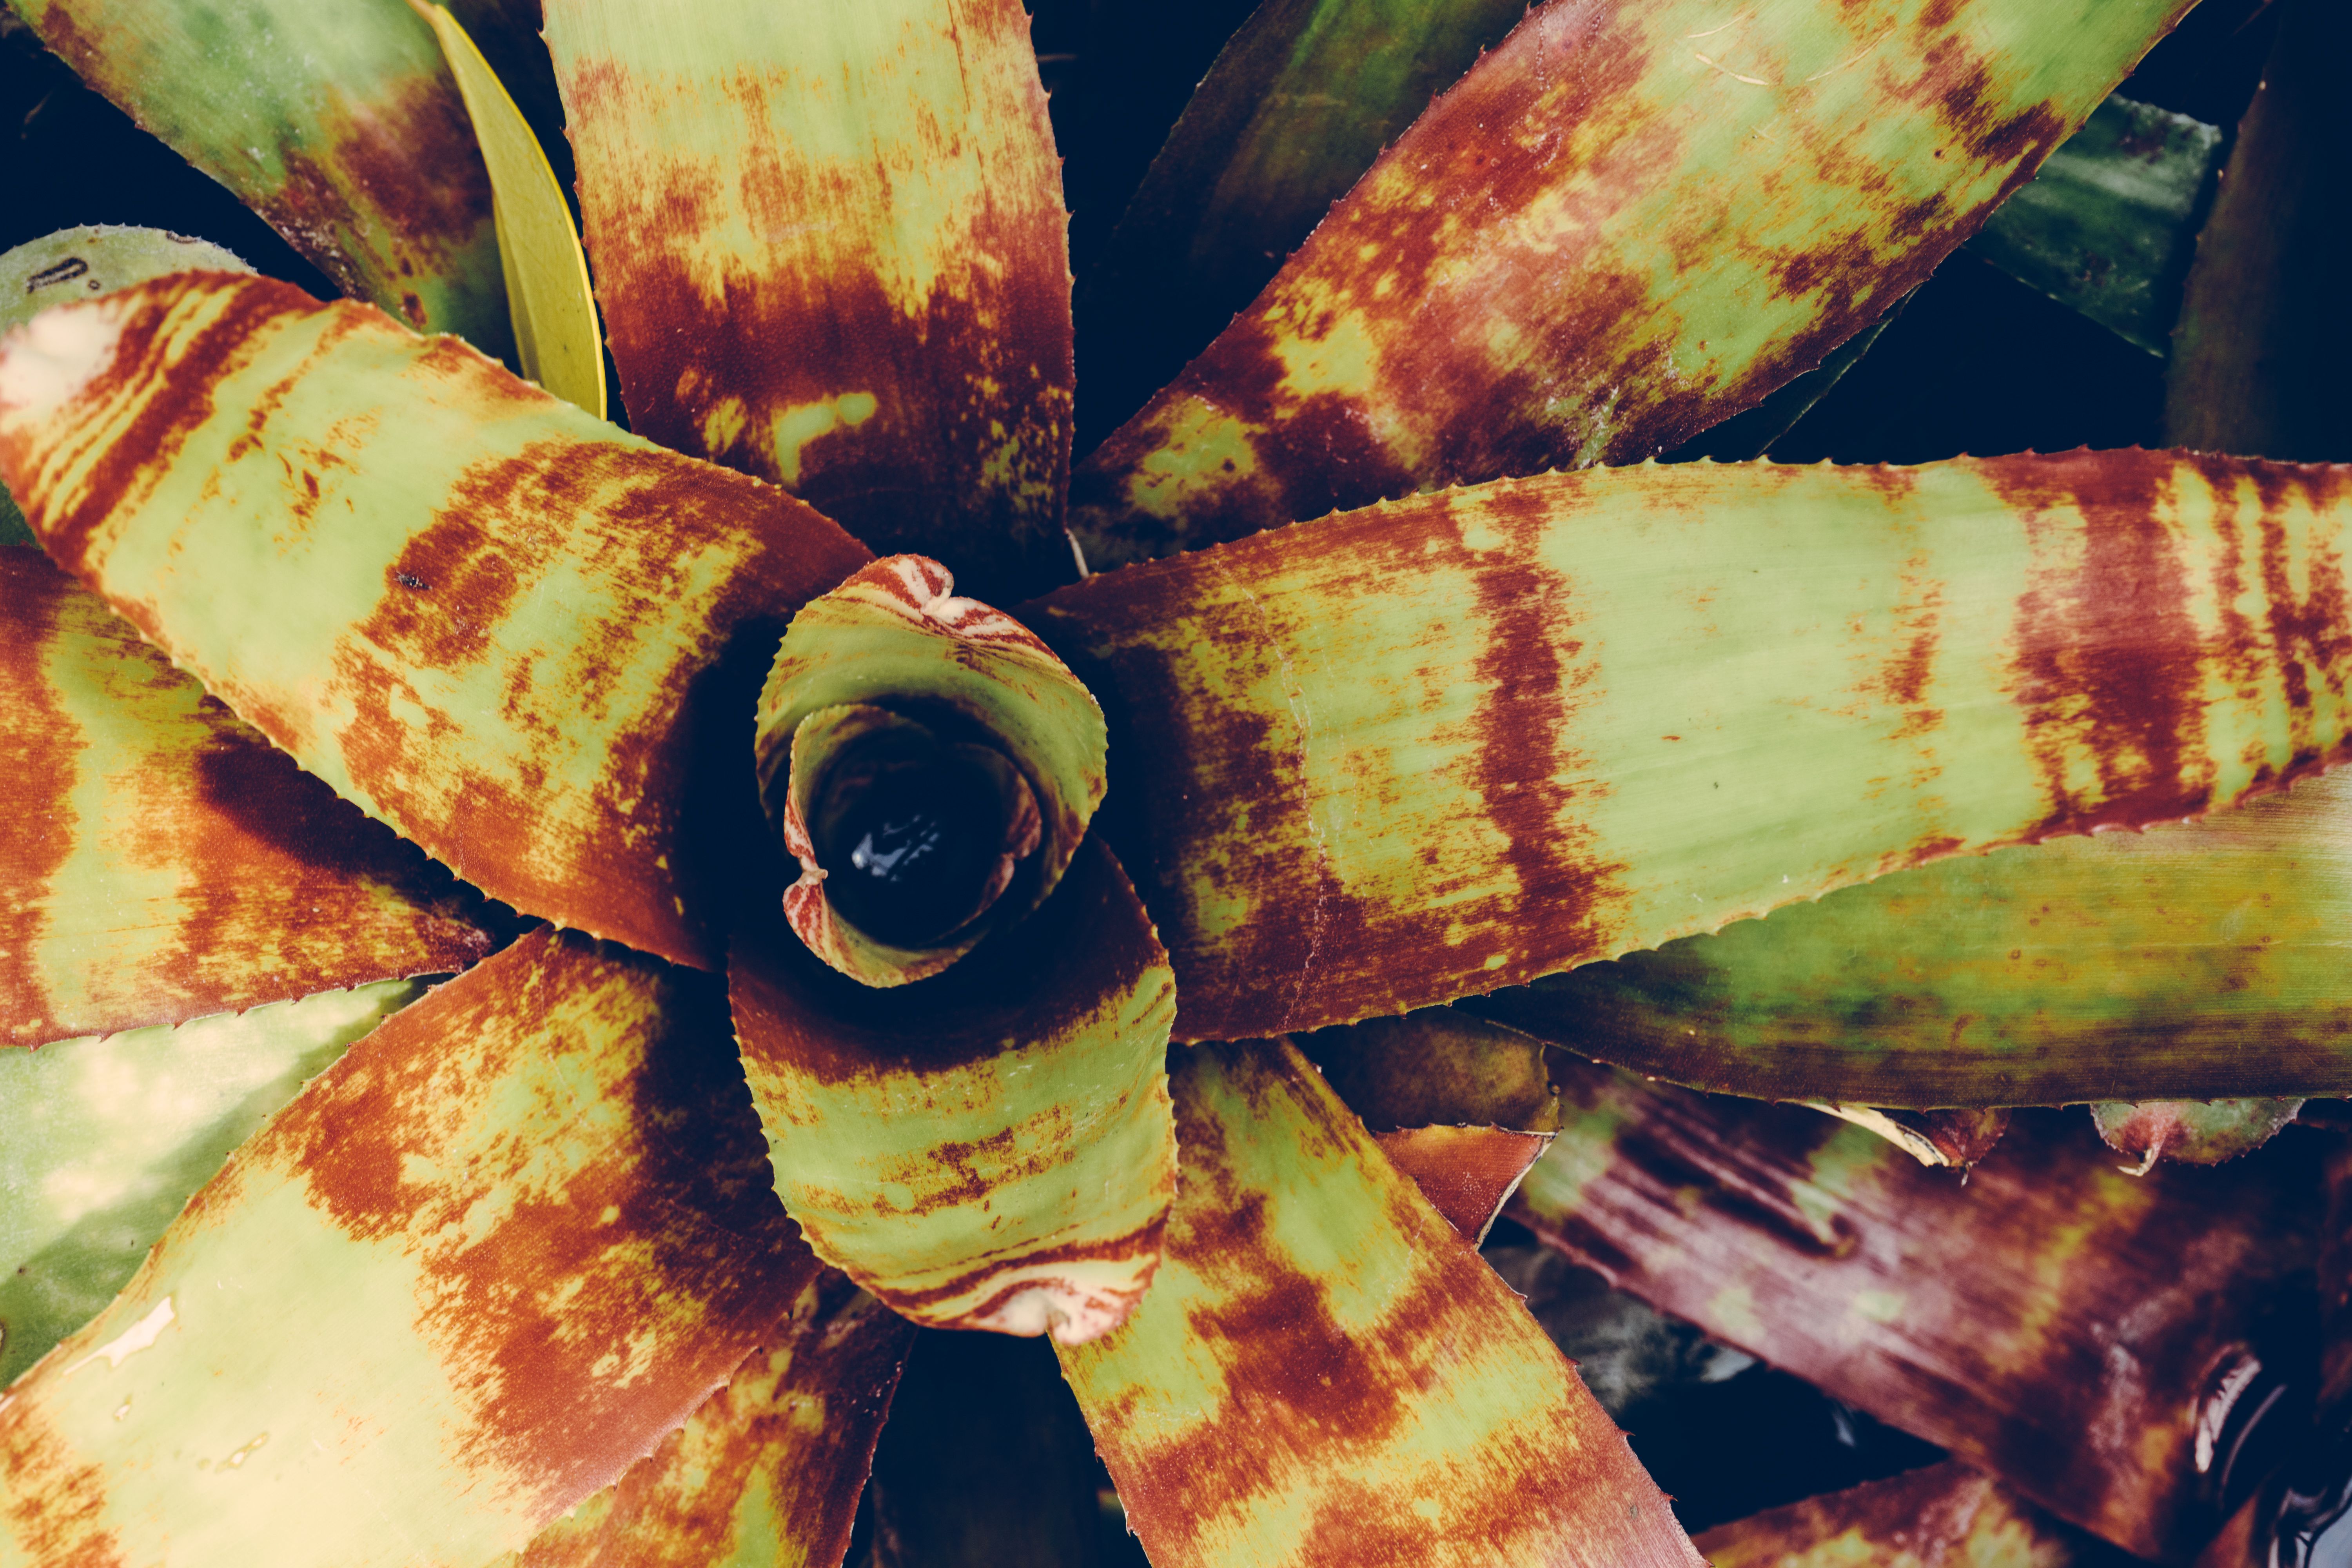
Most bromeliads prefer bright, indirect light. An east or west window works well; a south window with a sheer curtain also works. Too little light causes stretching and color fading—the rosette becomes leggy and the bracts lose their vibrant reds, oranges, or pinks. Too much direct sun creates scorch marks that look like pale, dried patches on the leaf surface. If the plant stays colorful and compact, lighting is good. For darker months, grow lights placed a foot above the plant for 10–12 hours a day help maintain growth and color. Variegated and silver-leaved varieties like Dyckia or Hechtia can tolerate slightly brighter light, while soft-leaved types like Neoregalia prefer more shade.
How to Choose the Right Pot and Soil for Bromeliad Pots
Bromeliads are epiphytes—their roots anchor rather than suck up moisture. Standard houseplant soil causes root rot because it stays wet too long. Use a coarse, fast-draining mix of orchid bark, perlite, and a bit of peat moss or coco coir. Orchid mix straight from the bag works; you can also add a handful of horticultural charcoal to improve drainage and reduce odor. The pot must have drainage holes; small terracotta is best because it wicks excess moisture away. A cramped pot is better than a large one full of wet soil, as bromeliads prefer tight quarters. If you want to display a larger pot, slip the nursery pot inside a decorative cachepot and empty any standing water after watering.
Temperature and Humidity: Keeping Your Bromeliad Comfortable
Bromeliads thrive between 60–80°F. Avoid cold drafts and sudden temperature swings—don’t place them near air conditioning vents or leaky windows in winter. A few degrees below 60°F can cause chilling injury, visible as darkened, water-soaked patches. Humidity around 50–60% is ideal. A small humidifier helps more than misting, because misting only raises humidity temporarily and can invite fungal growth if water sits on leaves. Pebble trays add humidity if the pot isn’t sitting in water. Grouping bromeliads together also creates a microclimate with higher humidity. If you see leaf edges curling or browning at the tips, humidity is likely too low.
How to Water a Bromeliad: Cup Watering vs. Soil Watering

This is the most confusing part of bromeliad care. Watering a bromeliad is completely different from watering other houseplants. The trick is to treat the central cup as the primary water reservoir and the soil as a secondary support.
Should You Water a Bromeliad in the Soil or the Central Cup?
Both, but for different reasons. The central cup (tank) is where the bromeliad absorbs most water. Fill the cup with water, let it sit, then tip the plant to empty leftover water after 15–30 minutes. Flush and replace water weekly to prevent bacteria and mineral buildup. Stagnant water in the cup can breed mosquitoes or cause rot, so never let it sit unchanged for more than a week. Water the potting mix lightly only when dry—usually every one to two weeks. Use a moisture meter or stick your finger two inches into the mix; if it feels barely damp, it’s time to water. The soil should never stay soggy. In winter or low light, reduce soil watering frequency.
What Kind of Water Is Best for Bromeliads?
Tap water often contains fluoride and minerals that cause brown leaf tips and white crust on the cup. Rainwater, distilled, or reverse-osmosis water is best. Filtered tap water works too, especially if you use a carbon filter that reduces chlorine and some minerals. If only tap water is available, let it sit out 24 hours to reduce chlorine (this doesn’t remove fluoride, which is the bigger problem for bromeliads). Switching water sources is the first thing to try if brown tips appear. For sensitive species like Neoregalia, distilled water is strongly recommended. Avoid using water that has passed through a water softener, as the salt content damages the leaves.
Why Dry Leaf Tips Happen and How Humidity Affects Your Bromeliad
Brown leaf tips are the most common cosmetic issue. Low humidity and poor water quality are the main causes, but over-fertilizing or salt buildup from the potting mix can also contribute. Trim brown tips with clean scissors at a slight angle to mimic the leaf’s natural shape—never cut into the green tissue. Lower leaves naturally age and brown, so not every tip means the plant is dying. If new growth develops brown tips, check your water source first, then assess humidity. A humidity gauge ($10) helps you track levels. For an extra boost, place a small humidifier on a timer near your plant collection.
Bromeliad Lifecycle: From Bloom to Pups and What Happens After
Bromeliads have a lifecycle that surprises most first-time owners. Understanding it is key to enjoying the plant without panic. Unlike most houseplants, bromeliads are monocarpic—they flower once and then slowly decline, but they ensure survival by producing offsets.
What Happens When Your Bromeliad Flower Dies
The flower is a temporary display lasting a few weeks to several months, depending on the species and hybrid. For Guzmania, blooms often last 4–6 months; for Aechmea, 2–3 months. When it fades, the plant shifts energy to reproduction, producing pups at its base. The mother plant slowly declines—that’s normal. The center leaves may become less vibrant, and the rosette may gradually tilt as pups form. Do not be alarmed; this is the natural progression. Continue normal care until the pups are large enough to separate.
Should You Cut Off a Dead Bromeliad Flower?
Yes, once the flower stalk has dried and browned completely. Cut it as close to the base as possible with clean shears without damaging the rosette. If the stalk is still green or firm, leave it—it may still provide some energy to the plant. Cutting too early can stress the mother. This improves appearance and redirects energy to pups. Some growers leave the stalk until it fully dries to ensure maximum nutrient reabsorption, but removing it earlier won’t harm the pups.
How to Propagate and Separate Bromeliad Pups
Wait until the pup is at least one-third the mother’s size; many wait until half or two-thirds for a stronger start. A larger pup establishes faster and has better root development. You can also leave pups attached for a clustered look, which can be very striking. To separate, remove the mother from its pot, gently brush away the mix, and cut the pup with a clean, sharp knife, ensuring some roots are attached. If the pup has no roots, don’t worry—it can still root if placed in a moist, light mix. Pot in a small container (2–4 inches) with chunky bromeliad mix and care for it like an adult, keeping the cup filled and the medium barely moist. Keep the new pup in bright indirect light and avoid direct sun for the first two weeks.
Will My Bromeliad Bloom Again? Understanding Its Natural Cycle
The mother plant will not bloom again. Each bromeliad flowers only once. The pups will bloom when mature, usually in one to three years with good care. Maturity depends on species, light, and feeding. To encourage blooming, keep the plant in bright light and consider using a very dilute, low-nitrogen fertilizer monthly during the growing season. Some growers use an ethylene trick (placing a ripe apple near the plant in a bag for a few days) but this is not recommended for beginners. Knowing this saves frustration—you are not failing; you are waiting for the next generation.
Common Bromeliad Problems: Troubleshooting Brown Tips, Rot, and More
Is My Bromeliad Dying or Just Doing Its Thing?
If the flower is dying but the center leaves are firm and green, the plant is finishing its bloom—normal. Outer leaves browning slowly in pairs or from the bottom up is also normal as the mother ages. If the center turns mushy, the base feels soft, or a foul smell comes from the cup, that’s rot from overwatering or stagnant water—hard to save, but you can try removing the rotten parts and repotting dry. Pale or stretched leaves mean more light is needed. Crispy, curling edges point to low humidity. Yellowing leaves all over often indicate overwatering the soil. Watch new growth: if new leaves are healthy-sized and green, the plant is fine.
How to Rescue a Grocery Store or Clearance Bromeliad
Grocery store bromeliads often arrive in poor condition: sitting in soggy soil, cup filled with old water, or wrapped in foil that traps moisture. Remove from pot immediately, check for rot by squeezing the base gently—if it’s mushy, cut away all brown, soft tissue with a sterile knife. Repot in proper bromeliad mix in a small terracotta pot with drainage. Give bright indirect light and flush the cup with clean water, then fill with fresh water. Trim dead or broken leaves. If the rosette center is firm and green, it will likely recover within weeks. Be patient—new roots may take a month to form.
Pests, Overwatering, and Other Beginner Mistakes to Avoid
Overwatering the soil is the top mistake—let soil dry between waterings. Ignoring the central cup is another—flush it regularly to prevent bacteria and mineral buildup. Scale and mealybugs are rare but can appear, especially on plants brought in from outdoors. Wipe them with a cotton swab dipped in rubbing alcohol. For heavy infestations, use insecticidal soap, but avoid getting soap inside the cup. Isolate infested plants until pests are gone. Another overlooked issue: using fertilizer that is too strong. Bromeliads are light feeders; use a balanced, water-soluble fertilizer diluted to quarter strength once a month during spring and summer. Fertilizing the cup directly can burn the inner leaves.
Conclusion
Bromeliads ask for specific things but none are complicated. Give bright indirect light, a chunky fast-draining mix, and water in the central cup while keeping the soil on the dry side. Expect the flower to fade and know pups are coming to continue the cycle. Brown leaf tips are usually cosmetic and can be minimized with better water and humidity. With these basics, you’ll enjoy months of color and years of new growth through pups. Once you master cup watering and pup propagation, bromeliads become some of the most satisfying houseplants to grow.
FAQ
How long do bromeliads last indoors?
The mother plant lives two to five years, depending on species and care. The flower lasts three to six months. Pups keep the plant going indefinitely, so you can have a continuous succession of blooms by separating and repotting offsets. With multiple plants at different stages, you can have a flowering bromeliad in your home almost year-round.
Should you cut off dead bromeliad flowers?
Yes, once the stalk is dry and brown. Cut close to the rosette base with clean shears to improve appearance and direct energy to pups. If the stalk is still green, leave it as it may still photosynthesize and feed the plant. The timing isn’t critical; just ensure the cut is clean to avoid infection.
How do I know when to remove bromeliad pups?
Wait until the pup is at least one-third the mother’s size, but many growers wait until half or two-thirds for a stronger start. A pup of that size has developed its own root system and will establish faster after separation. You can also leave pups attached for a clustered look, which often creates a more dramatic display.
Will my bromeliad bloom again after flowering?
No. Each bromeliad flowers only once. The pups will bloom in one to three years with good care. The exact time depends on the species, light intensity, and whether you fertilize lightly. Patience is key—once the pup reaches maturity, it will produce its own flower and begin the cycle again.
Did you find this post helpful?
A little support goes a long way in helping me create more free, in-depth content like this.